How to remove a DEBUG banner in Flutter App
Table of Contents
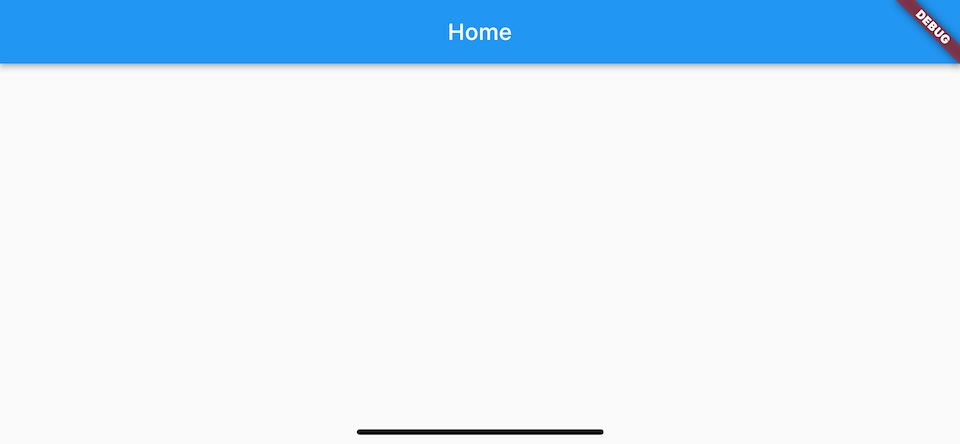
When you run a Flutter app for the first time, you probably notice a debug banner in the upper right of the screen.
What is the purpose of DEBUG banner
Flutter has three build modes, debug, profile, and release[1]. By default, Flutter shows the debug banner to indicate that the app is running in debug mode. This banner won't show up in the release mode, so you can leave it as-is if you don't mind.
This banner is intended to prevent people from complaining that your app is slow when running under debug configuration. In debug mode, Flutter enables many expensive diagnostics to aid in development. So performance in debug mode does not represent what will happen in release mode.
In my case, developers and designers are the only people who use debug mode. So, I don't see any benefits and want it to be gone.
You can easily support sarunw.com by checking out this sponsor.
Offline Transcription: Fast, privacy-focus way to transcribe audio, video, and podcast files. No data leaves your Mac.
How to remove a DEBUG Banner
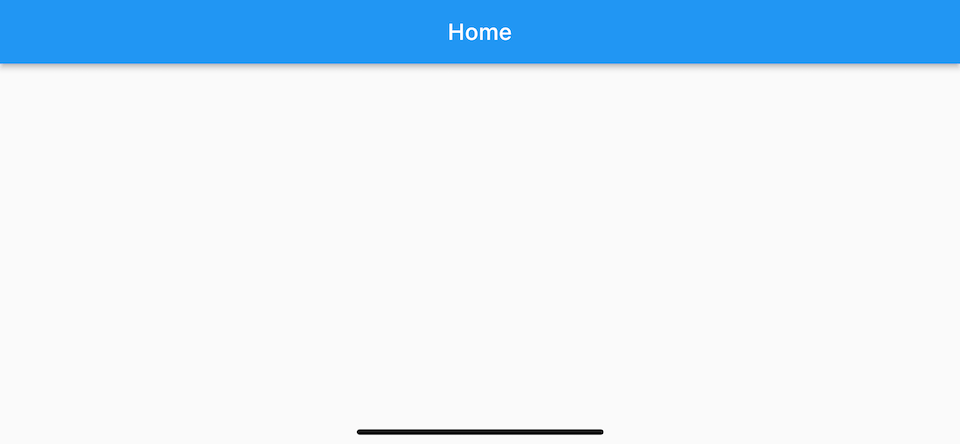
A debug banner is controlled by the debugShowCheckedModeBanner property of a MaterialApp and CupertinoApp widget. To remove or hide the debug banner in your Flutter app, set the debugShowCheckedModeBanner property to false in the constructor argument of a MaterialApp/CupertinoApp.
MaterialApp(
  debugShowCheckedModeBanner: false,
  home: Scaffold(
    appBar: AppBar(
      title: const Text('Home'),
    ),
  ),
);
Set the debugShowCheckedModeBanner property to false to hide the debug banner.
Read more article about Flutter or see all available topic
Enjoy the read?
If you enjoy this article, you can subscribe to the weekly newsletter.
Every Friday, you'll get a quick recap of all articles and tips posted on this site. No strings attached. Unsubscribe anytime.
Feel free to follow me on Twitter and ask your questions related to this post. Thanks for reading and see you next time.
If you enjoy my writing, please check out my Patreon https://www.patreon.com/sarunw and become my supporter. Sharing the article is also greatly appreciated.
Become a patron Buy me a coffee Tweet ShareReview Github PR with a web-based editor
If you prefer to review pull requests with an editor but hate the clone or checkout process, you can enjoy the review process without the hassle with new github.dev web-based editor.
How to reset push notification permission on macOS
Reset push notification permission on macOS isn't as straightforward as how we do it on iOS. Let's see how to do it.