How to Pop to the Root view in SwiftUI
Table of Contents
Before iOS 16, there was no easy way to programmatically control view in a navigation stack.
But in iOS 16, SwiftUI deprecated NavigationView and came up with a new view, NavigationStack.
NavigationStack provides a way to programmatically manipulate the view in a navigation stack, making it easy to push and pop the view.
In this article, we will learn how to pop to the root view with NavigationStack.
You can easily support sarunw.com by checking out this sponsor.

AI Grammar: Correct grammar, spell check, check punctuation, and parphrase.
How to Pop to the Root view with NavigationStack
One of the NavigationStack initializers accepts an array of navigation paths.
You can think of Paths as a data source representing all views in a navigation stack.
- To pop a view, you remove that path from the array.
- To pop to the root view, you remove everything out of that array.
In this example, we use an Int to represent each view.
struct ContentView: View {
    // 1
    @State private var path: [Int] = []

    var body: some View {
        // 2
        NavigationStack(path: $path) {
            Button("Start") {
                // 3
                path.append(1)
            }
            .navigationDestination(for: Int.self) { int in
                // 4
                DetailView(path: $path, count: int)
            }
            .navigationTitle("Home")
        }
    }
}

struct DetailView: View {
    // 5
    @Binding var path: [Int]

    let count: Int

    var body: some View {
        Button("Go deeper") {
            path.append(count + 1)
        }
        .navigationBarTitle(count.description)
        .toolbar {
            ToolbarItem(placement: .bottomBar) {
                Button("Pop to Root") {
                    // 6
                    path = []
                }
            }
        }
    }
}
1 We declare an array of the navigation path. In this case, we use an Int to represent each view.
2 We use the path as a data source for NavigationStack, NavigationStack(path: $path).
3 By adding a new element to the array, the new view will get pushed to the navigation stack.
4 .navigationDestination is a new modifier that turns data into a view. In this case, we turn an integer into a view.
5 Since we want to be able to manage a navigation path within the DetailView, we need to accept a binding of the path.
6 We pop to the root view by remove all element from the path array.
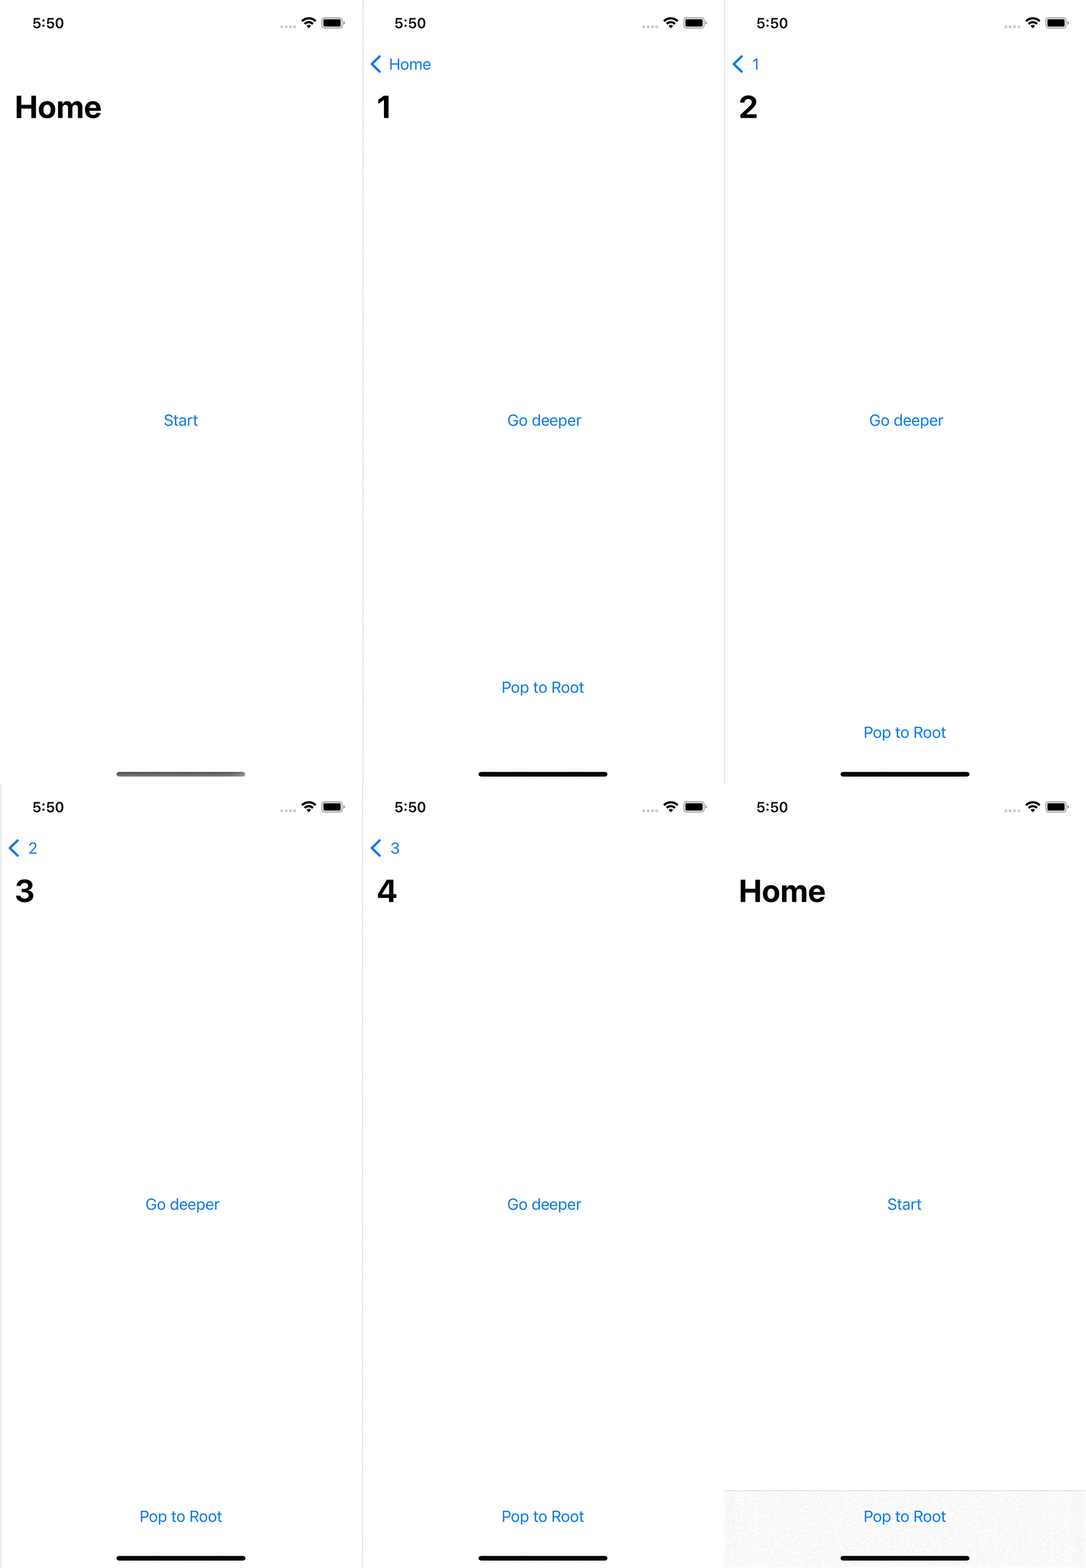
Here is the result.

Read more article about SwiftUI, iOS 16, or see all available topic
Enjoy the read?
If you enjoy this article, you can subscribe to the weekly newsletter.
Every Friday, you'll get a quick recap of all articles and tips posted on this site. No strings attached. Unsubscribe anytime.
Feel free to follow me on Twitter and ask your questions related to this post. Thanks for reading and see you next time.
If you enjoy my writing, please check out my Patreon https://www.patreon.com/sarunw and become my supporter. Sharing the article is also greatly appreciated.
Become a patron Buy me a coffee Tweet ShareHow to remove duplicate items from Array in Swift
Learn how to do that using the Swift Algorithms module and without it.
How to use SwiftUI as UIView in Storyboard
Learn how to use SwiftUI view as a UIView in a UIKit project that uses a Storyboard.