Review Github PR with a web-based editor
Table of Contents
If you prefer to review pull requests with an editor but hate the clone or checkout process, you can enjoy the review process without the hassle with new github.dev web-based editor.
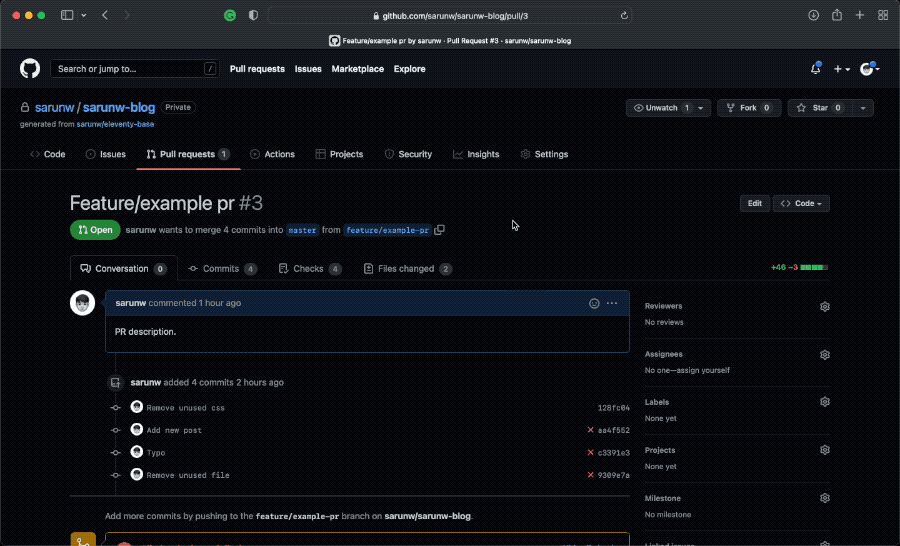
What is Pull requests (PR)
Pull requests[1] is an excellent opportunity for team members to understand the code changes and learn from each other. You can review the code through the web interface, but I find it easier to navigate and review it in IDE or text editor.
In the past, I have to clone the project locally and review it on my machine, which is quite cumbersome. But I don't have to do that anymore with the new Github feature, The github.dev web-based editor.
You can easily support sarunw.com by checking out this sponsor.
Offline Transcription: Fast, privacy-focus way to transcribe audio, video, and podcast files. No data leaves your Mac.
Review PR on the web-based editor
To review Github PR right on the web-based editor, you can do either of the following ways:
- Replace the hostname from
github.com/togithub.dev/. For example, if your PR URL ishttps://github.com/sarunw/sarunw-blog/pull/3, you can open the web-based editor with this URLhttps://github.dev/sarunw/sarunw-blog/pull/3. - Press
.(dot) while you are on any pull request URL. This will automatically replace the hostname fromhttps://github.com/tohttps://github.dev/for you.
Here is an example of using the . key to open a PR in the web-based editor.
You can do many things with this web-based editor. I can't cover everything here, but I will show you some everyday tasks.
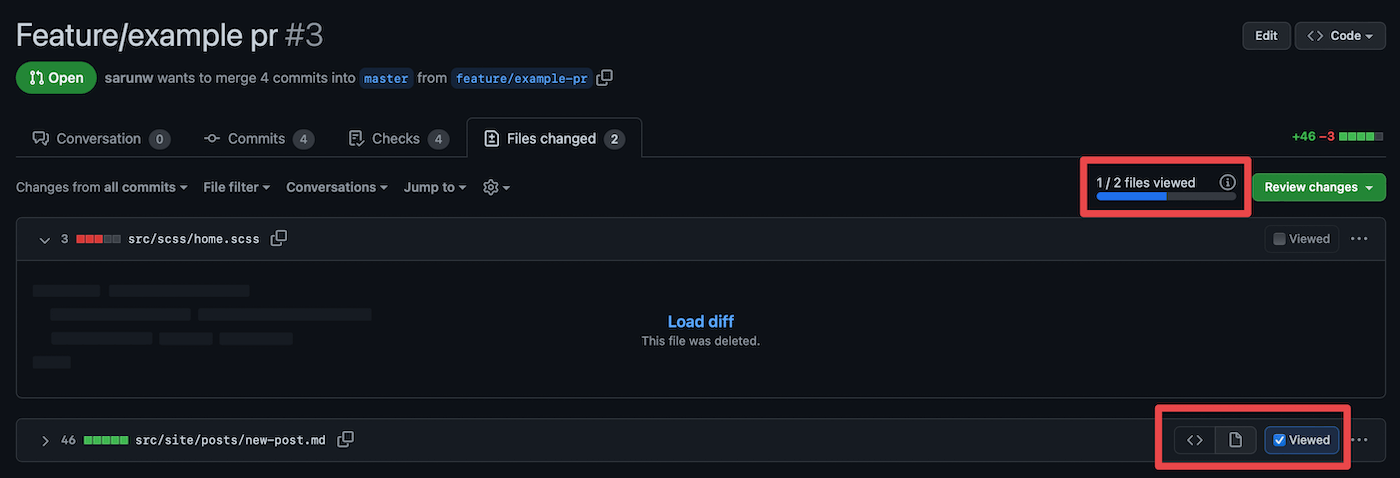
Review all files changed
Under the "Github Pull Request" tab, you can easily see all modified/added/deleted files for that pull request.
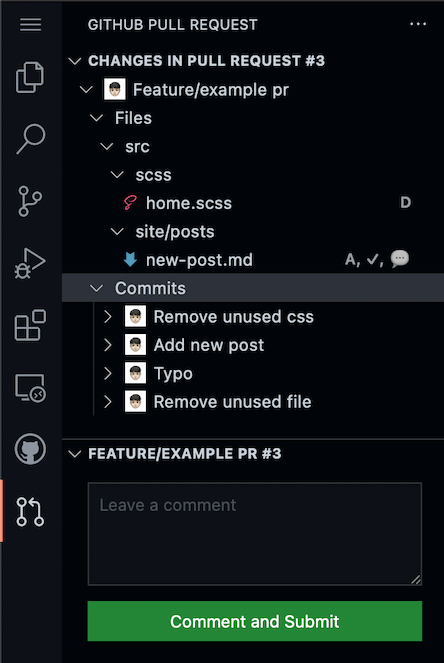
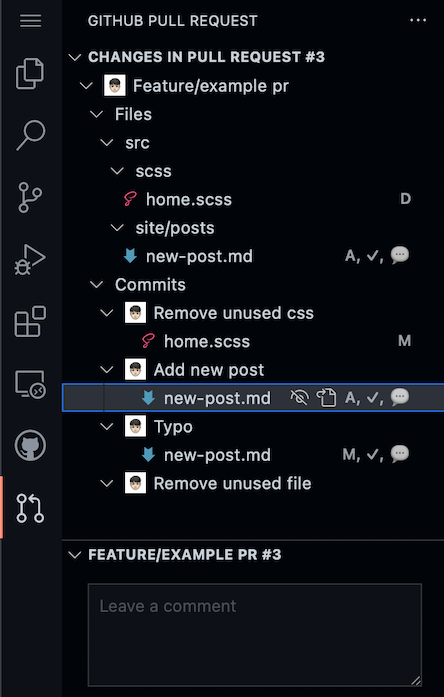
Review changes for each commit
If your team usually group changes into an easy-to-digest commit, you might want to review it by commit.
You can see the changes for each commit by expanding the "Commits" section. You will see commit messages along with related file changes.
Mark view as viewed
Click on the checkmark icon next to the file name to mark a file as viewed.
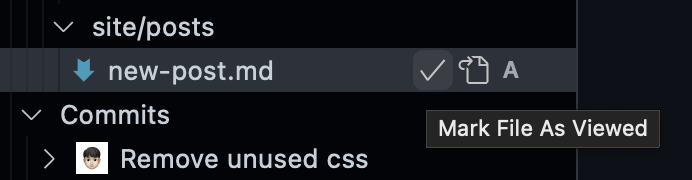
This will reflect on the web interface like this.
Inline comment
You can comment on each line by clicking on any line of code, which will open up a comment form where you can put the comment in.
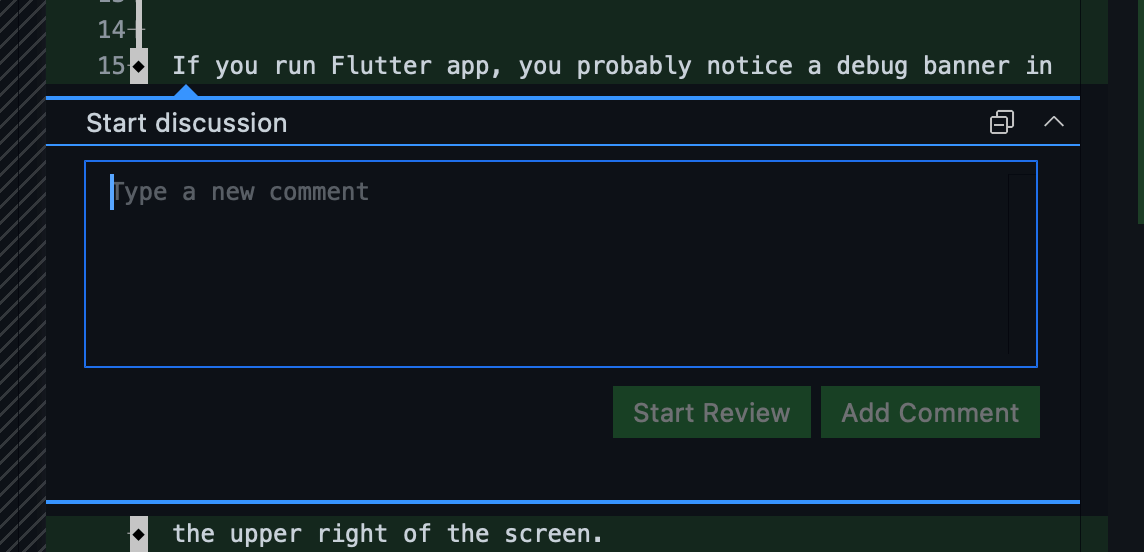
Once commented, the comment will show up on that line.
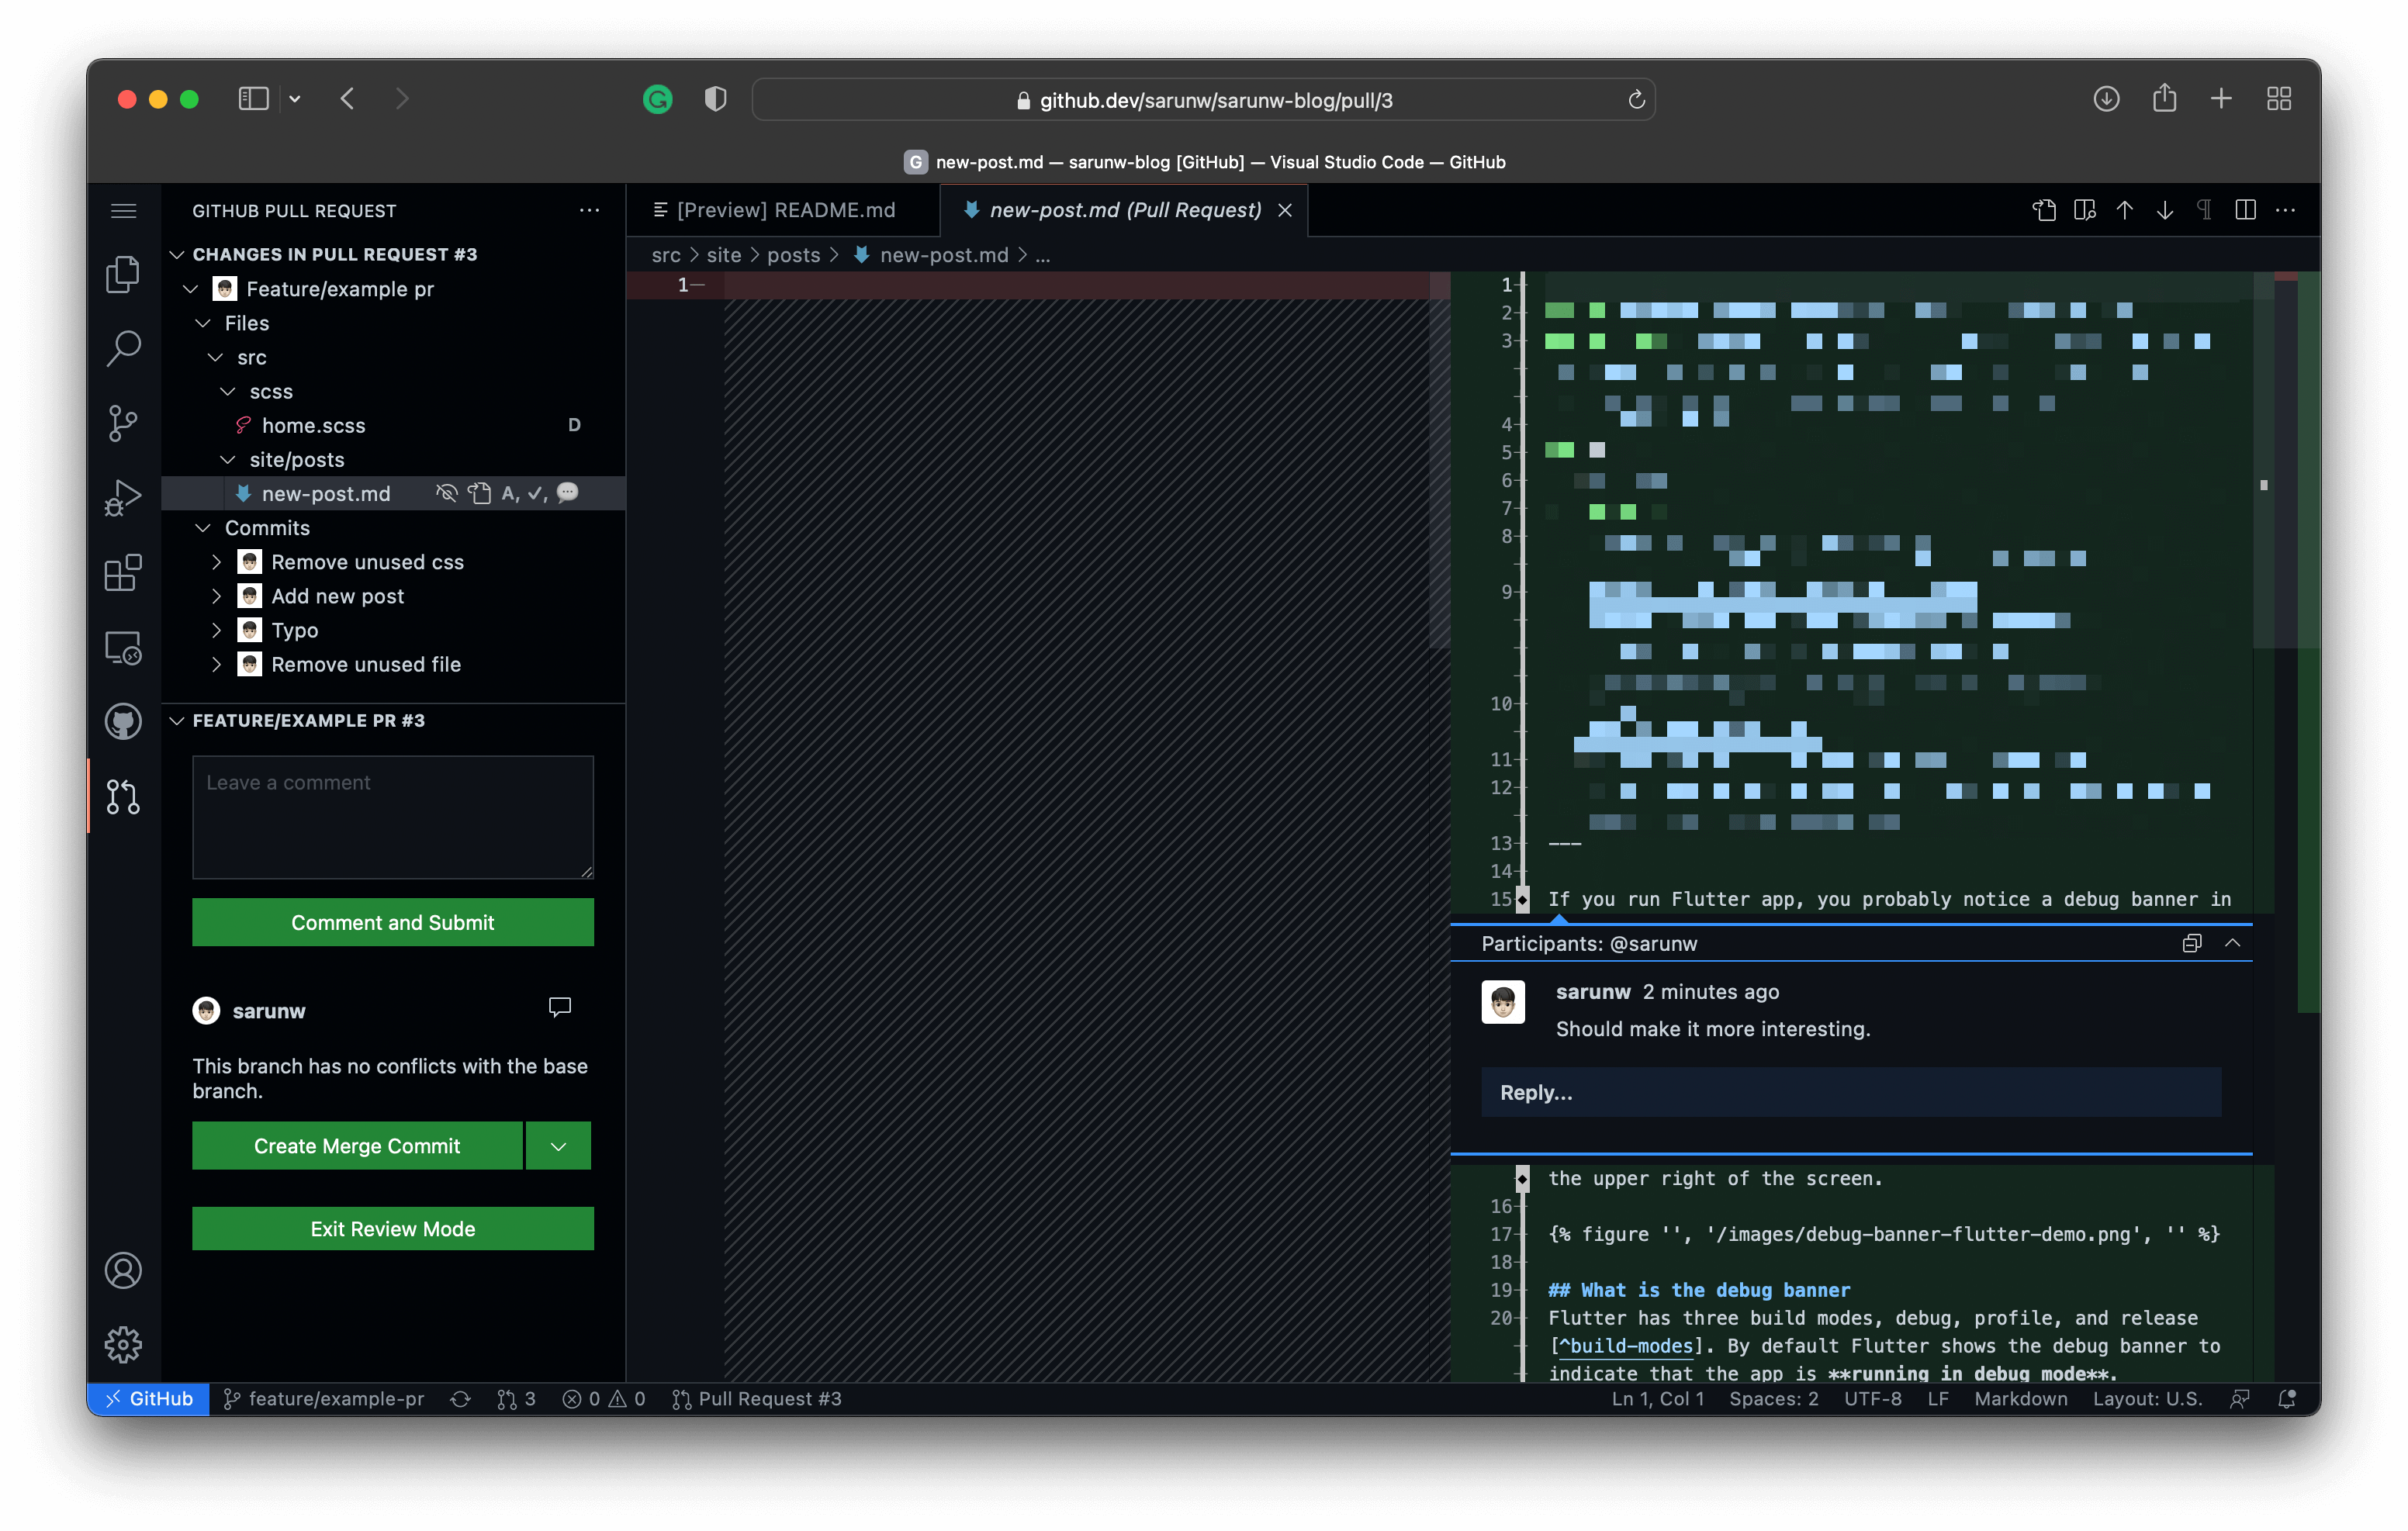
Comment on a PR
You can put the comment on the PR by writing in the text field located at the bottom left of the screen.
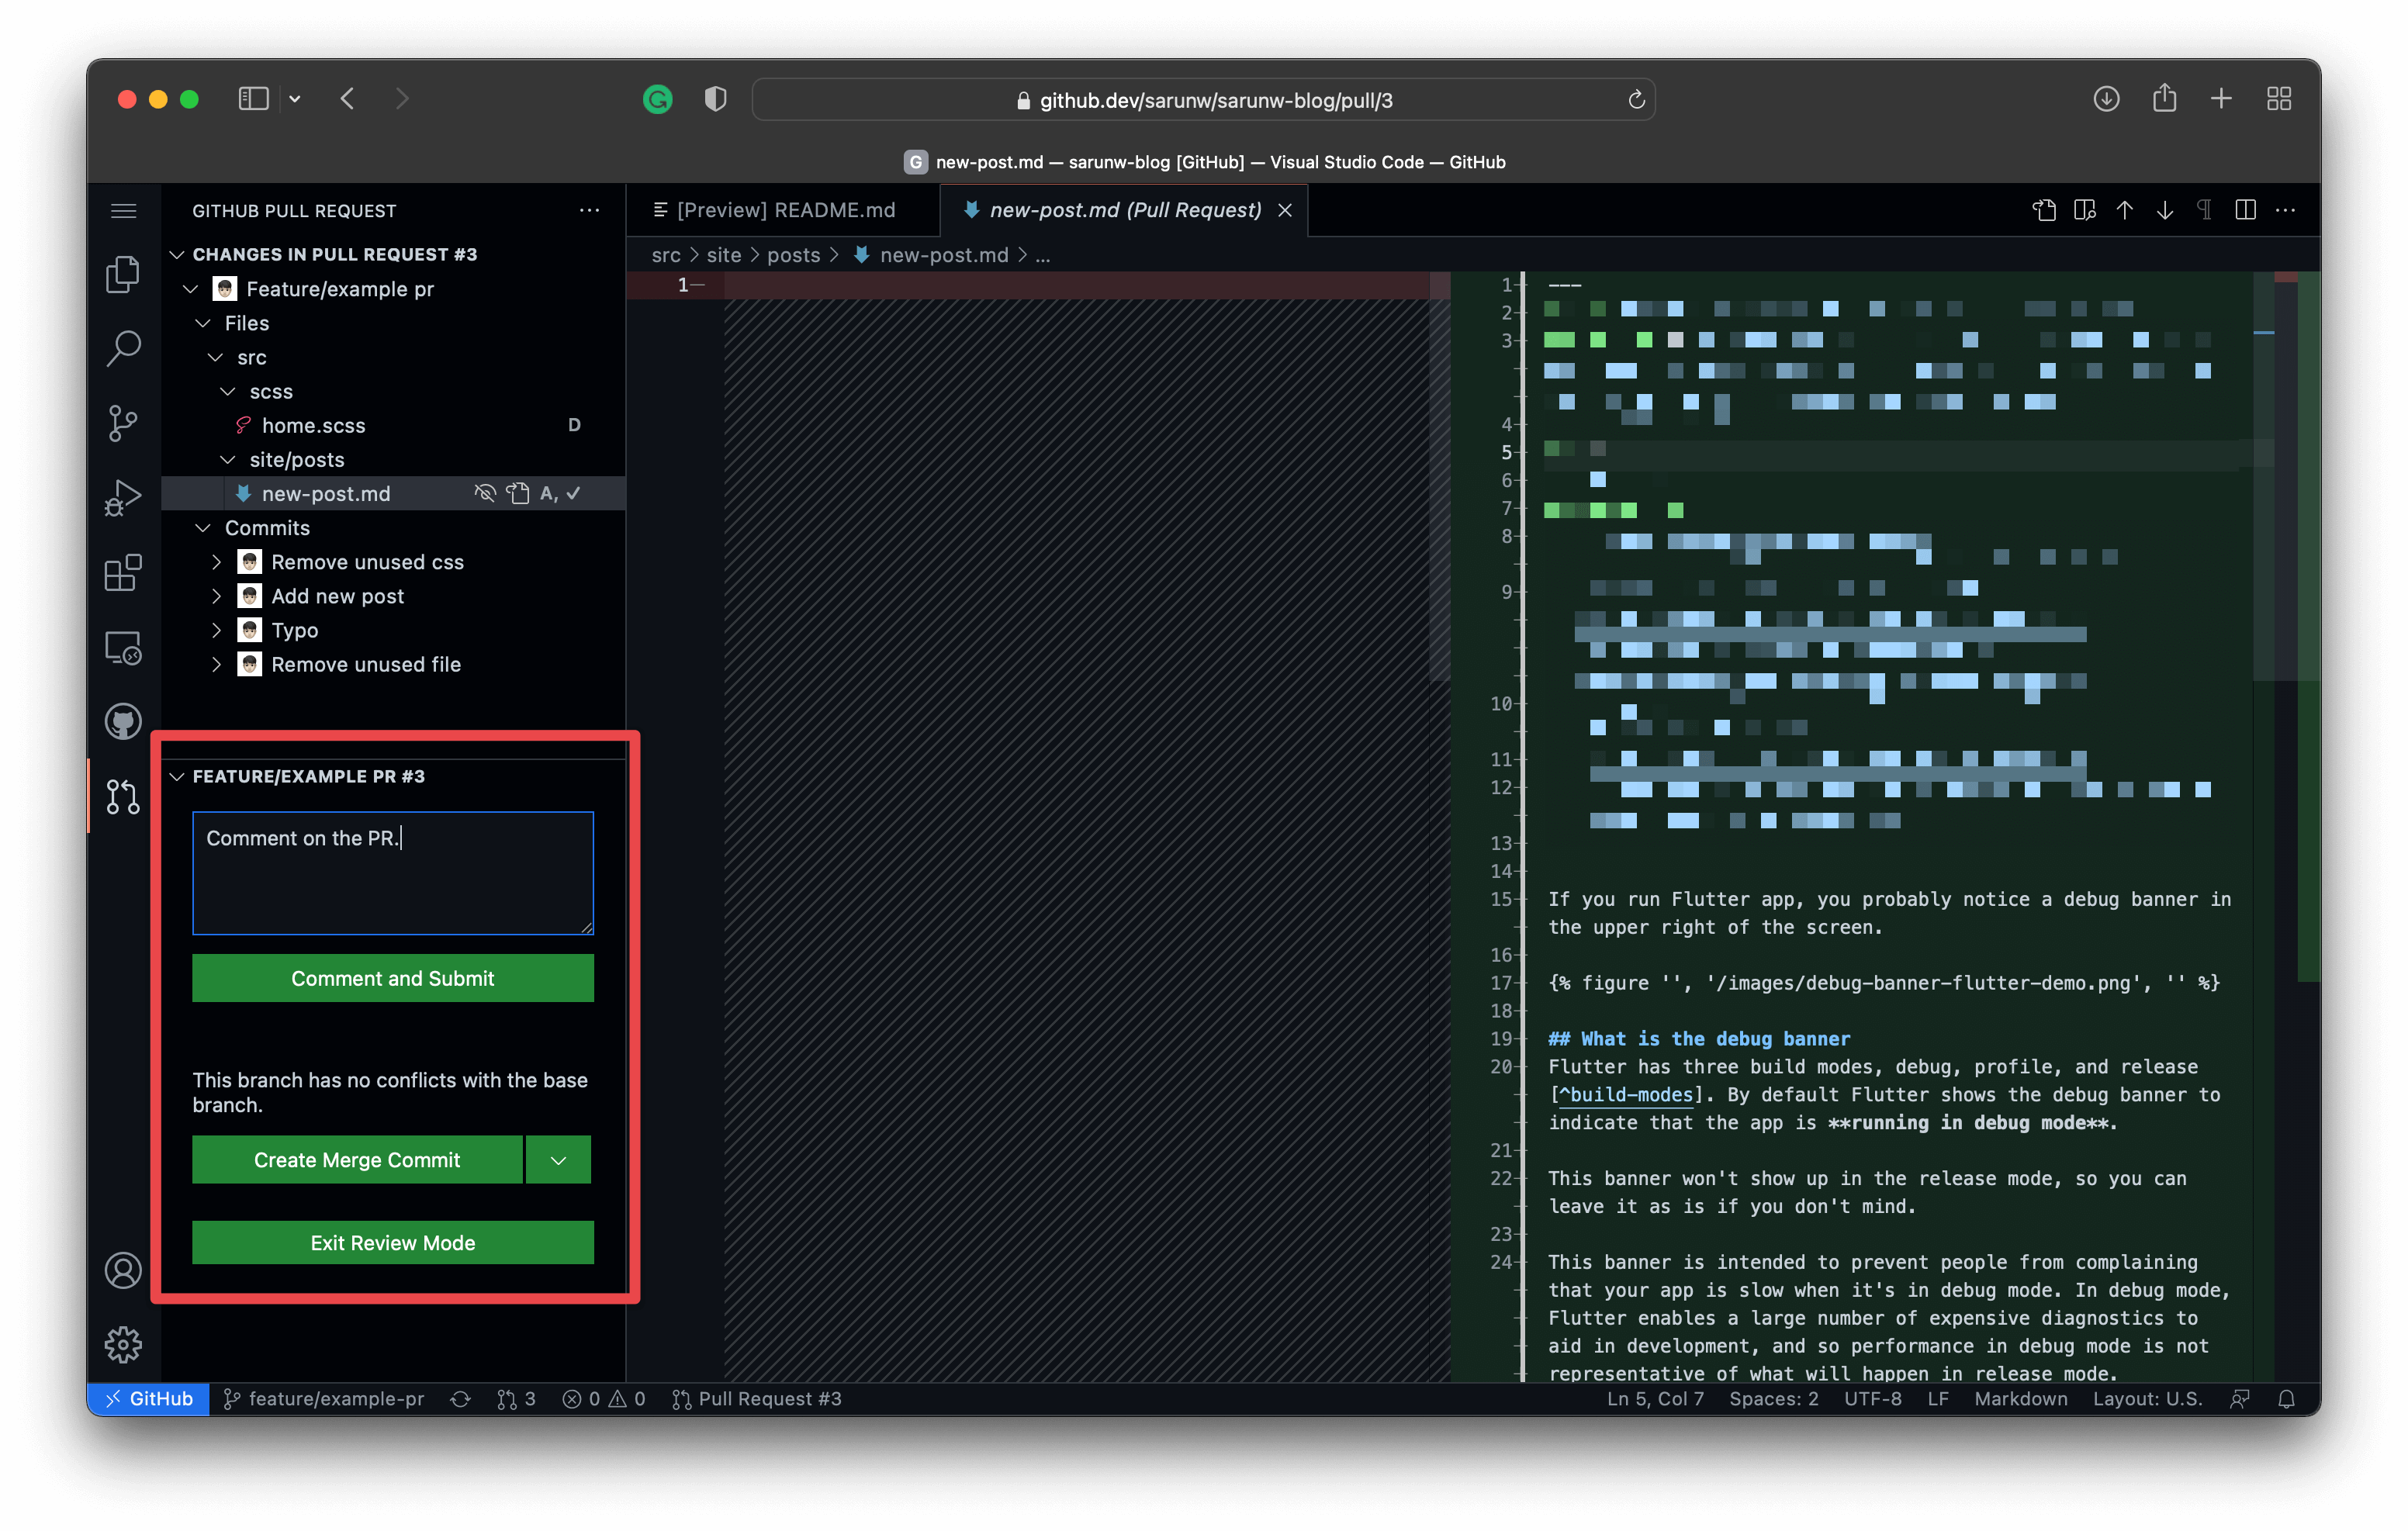
A PR comment and inline comments will show up on the web interface like this.

You can easily support sarunw.com by checking out this sponsor.
Offline Transcription: Fast, privacy-focus way to transcribe audio, video, and podcast files. No data leaves your Mac.
Conclusion
Personally, I prefer to review PR on editor over traditional Github web style. Being able to navigate and jump from file to file makes it easier for me to locate the changes and better understand what might be affected by the changes.
Pull requests can be any size, and some changes might be better to check out and run for yourself, but for those that don't require that, I find this new web-based editor really helps.
Read more article about Github, Development, or see all available topic
Enjoy the read?
If you enjoy this article, you can subscribe to the weekly newsletter.
Every Friday, you'll get a quick recap of all articles and tips posted on this site. No strings attached. Unsubscribe anytime.
Feel free to follow me on Twitter and ask your questions related to this post. Thanks for reading and see you next time.
If you enjoy my writing, please check out my Patreon https://www.patreon.com/sarunw and become my supporter. Sharing the article is also greatly appreciated.
Become a patron Buy me a coffee Tweet ShareHow to render text with a color gradient in SwiftUI
Learn how to apply gradient colors to a SwiftUI text view.
How to remove a DEBUG banner in Flutter App
When you run a Flutter app for the first time, you probably notice a debug banner in the upper right of the screen. Learn what it is and how to remove it.