How to set a screen's background color in SwiftUI
Table of Contents
SwiftUI provides an easy way to add a background view with the background modifier. We have visit that topic in How to add background to your view in SwiftUI. But if you want to add a background view for the entire screen, the background modifier might not be the right choice.
background modifier
Let's see why I said the background modifier is not the right choice for setting screen background. As we learn in the previous post, the background modifier gets the size from the view that is modified.
struct ContentView: View {
    var body: some View {
        VStack {
            Text("Hello, SwiftUI!")
                .font(.largeTitle)
                .bold()
            Button("Getting Started") {

            }
        }
        .accentColor(Color.black)
        .background(Color.pink)
    }
}
The pink background only fills the frame of the VStack.
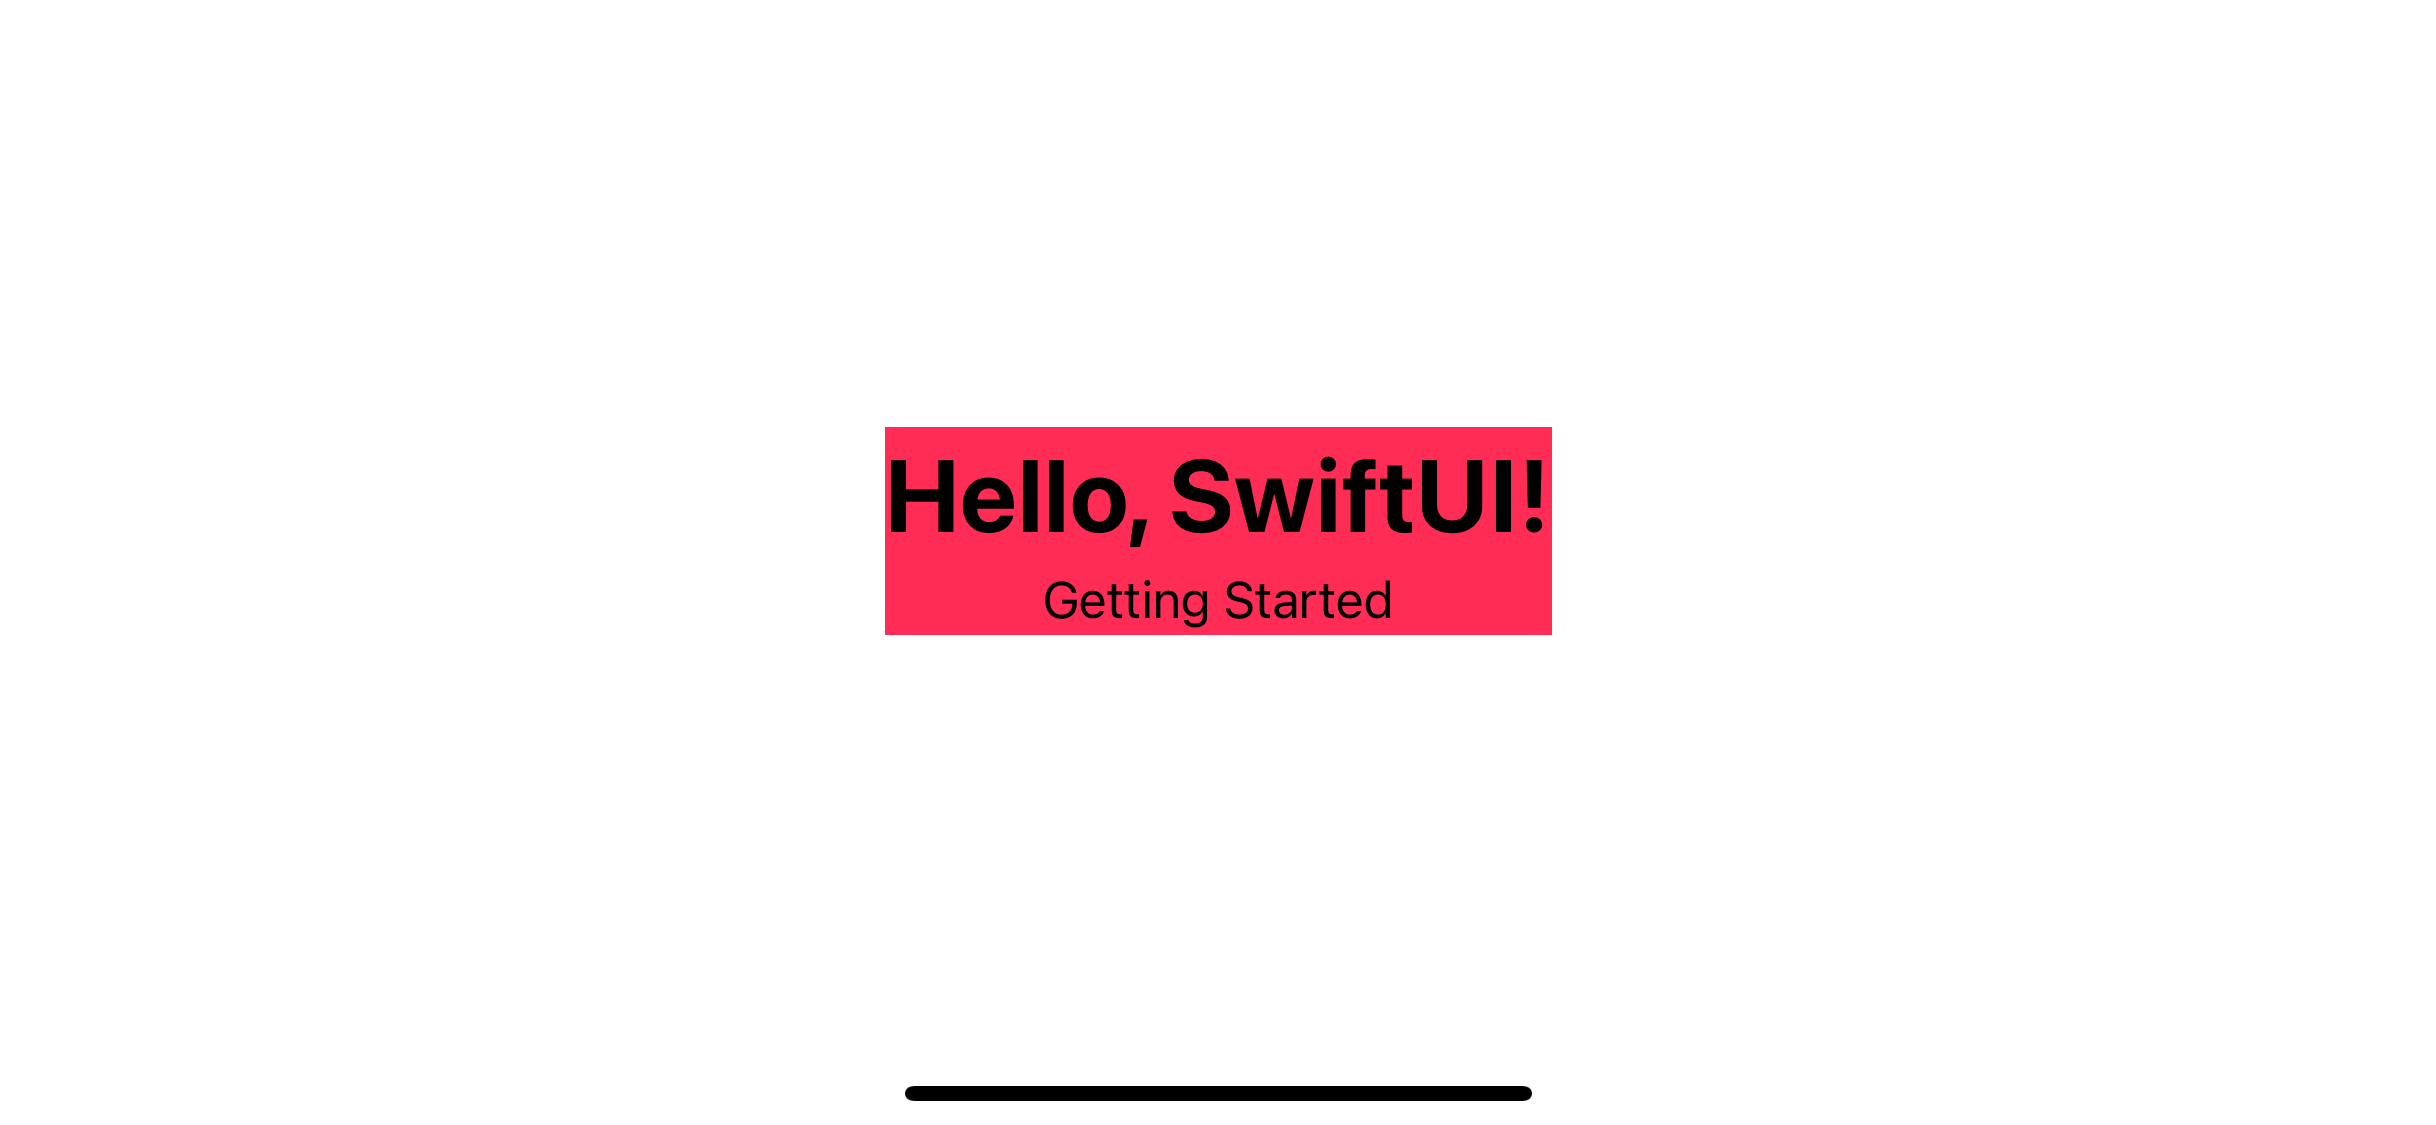
To make the background occupied the whole space, we have no choice but to make the view that gets modified occupied the entire space.
In the following example, we create a flexible frame that occupied the whole space and adds a background to it.
struct ContentView: View {
    var body: some View {
        VStack {
            Text("Hello, SwiftUI!")
                .font(.largeTitle)
                .bold()
            Button("Getting Started") {

            }
        }
        .frame(maxWidth: .infinity, maxHeight: .infinity) // 1
        .accentColor(Color.black)
        .background(Color.pink())
    }
}
<1> Create a flexible frame that occupied the whole space.
<2> Add background color to the frame view.
Result

In the end, we can add a background view to the screen, but at great costs.
- We have to modify our layout to occupy the whole space. It isn't a problem in this case since our example view is very simple, but changing a layout like this might not be possible in a real app.
- Since you use a view's background as a screen background, your view can no longer have a background.
You can see that using a background modifier for setting a screen background not seem like a good choice.
You can easily support sarunw.com by checking out this sponsor.
Offline Transcription: Fast, privacy-focus way to transcribe audio, video, and podcast files. No data leaves your Mac.
Using ZStack
The proper way to set the screen's background in SwiftUI is by creating a dedicated background view and put it behind every other view. This way, you don't have to change your content's layout. We separate our concerns. You can have a simple or complex background as you want.
When talking about aligning one view over another, that is the job for ZStack.
To add a screen background view by putting it at the bottom of the ZStack.
struct ContentView: View {
    var body: some View {
        ZStack { // 1
            Color.pink // 2
            VStack {
                Text("Hello, SwiftUI!")
                    .font(.largeTitle)
                    .bold()
                Button("Getting Started") {

                }
            }
        }
        .accentColor(Color.black)
    }
}
<1> Use ZStack so we can place a background view under the content view.
<2> Use color view as background. We put it in the first position of the ZStack, which means the lowest z-axis value (appear at the bottom).
The result is the same as the background modifier, but you have the freedom to modify the VStack background and layout however you want.

The view from Color.pink expands to fill the available space of the ZStack, but avoids the safe area insets (which is the default behavior), leaving a white area at leading, trailing, and bottom.
Extend the Background into the Safe Areas
By default, SwiftUI sizes and positions views to avoid system-defined safe areas to ensure that system content or the device's edges won’t obstruct your views. This is good for our app's content but usually not a behavior we want for our background.
To make the background extend to the screen edges, use the ignoresSafeArea(_:edges:) modifier to override the default.
struct ContentView: View {
    var body: some View {
        ZStack {
            Color.pink.ignoresSafeArea() // 1
            VStack {
                Text("Hello, SwiftUI!")
                    .font(.largeTitle)
                    .bold()
                Button("Getting Started") {

                }
            }
        }
        .accentColor(Color.black)
    }
}
<1> We apply .ignoresSafeArea to the background view.
With this change, our background view is extended to the screen edges.

Caveat
Please note that we apply .ignoresSafeArea() to the background view, not the ZStack or the content view. Using .ignoresSafeArea() to the ZStack would cause every view in the stack to ignore the safe area, which might or might not be the behavior you want.
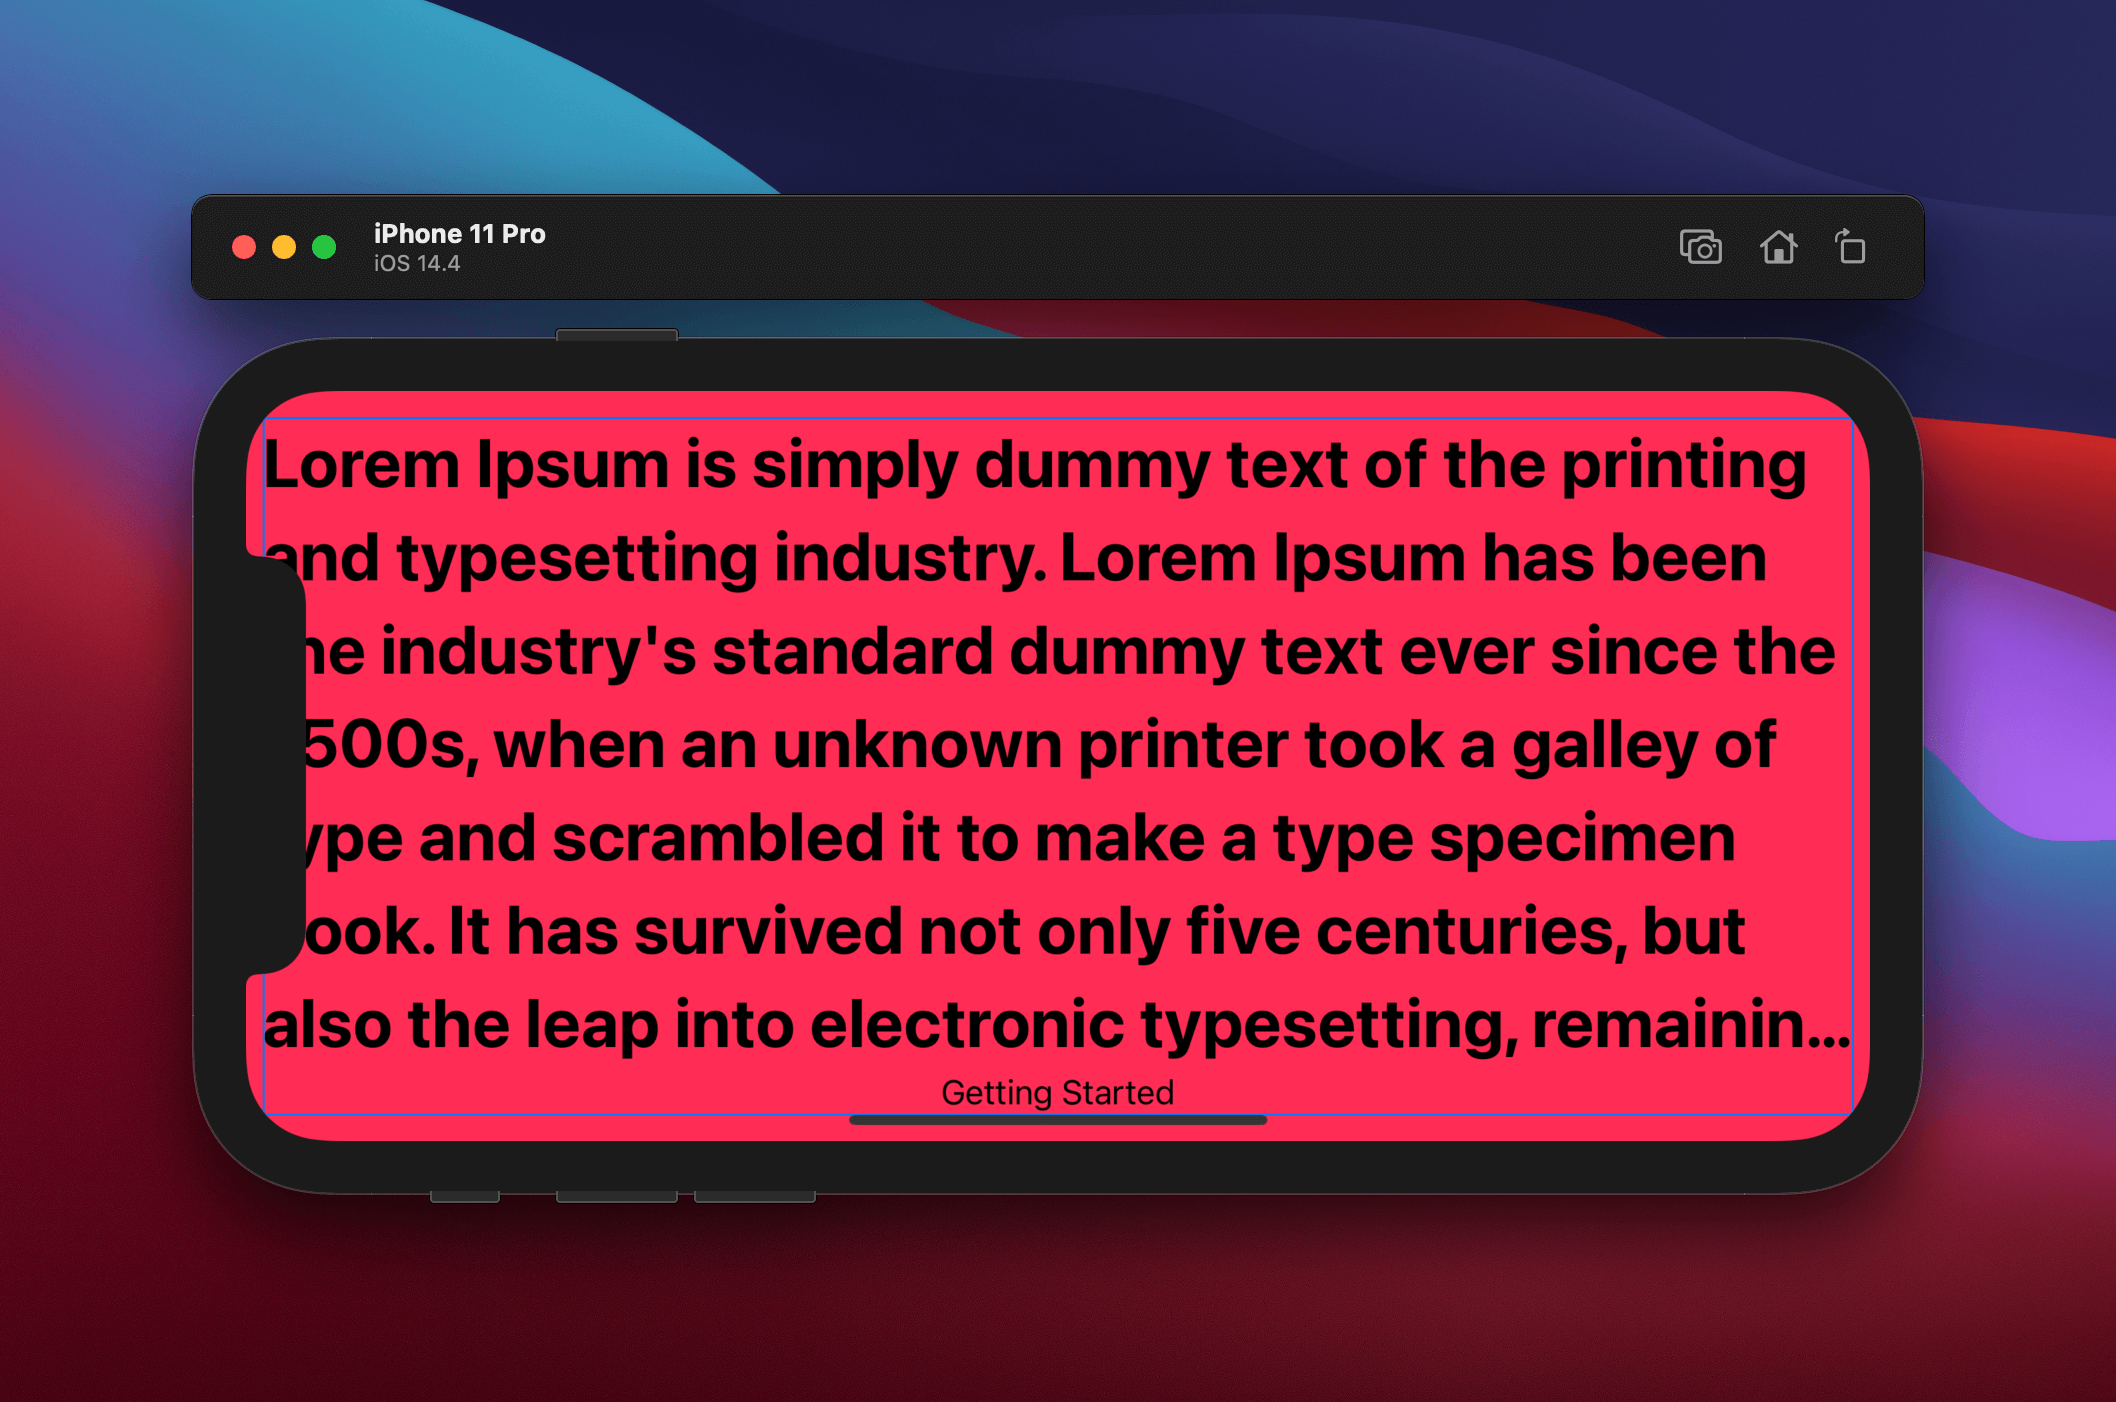
In this example, I apply .ignoresSafeArea() to the ZStack.
struct ContentView: View {
    var body: some View {
        ZStack {
            Color.pink
            Text("Lorem Ipsum is simply dummy text of the printing and typesetting industry. Lorem Ipsum has been the industry's standard dummy text ever since the 1500s, when an unknown printer took a galley of type and scrambled it to make a type specimen book. It has survived not only five centuries, but also the leap into electronic typesetting, remaining essentially unchanged. It was popularised in the 1960s with the release of Letraset sheets containing Lorem Ipsum passages, and more recently with desktop publishing software like Aldus PageMaker including versions of Lorem Ipsum.")
                .font(.largeTitle)
        }
        .ignoresSafeArea() // 1
    }
}
<1> Apply .ignoresSafeArea to ZStack.
As you can see, our text content extends beyond the safe area and gets obstructed by the notch.
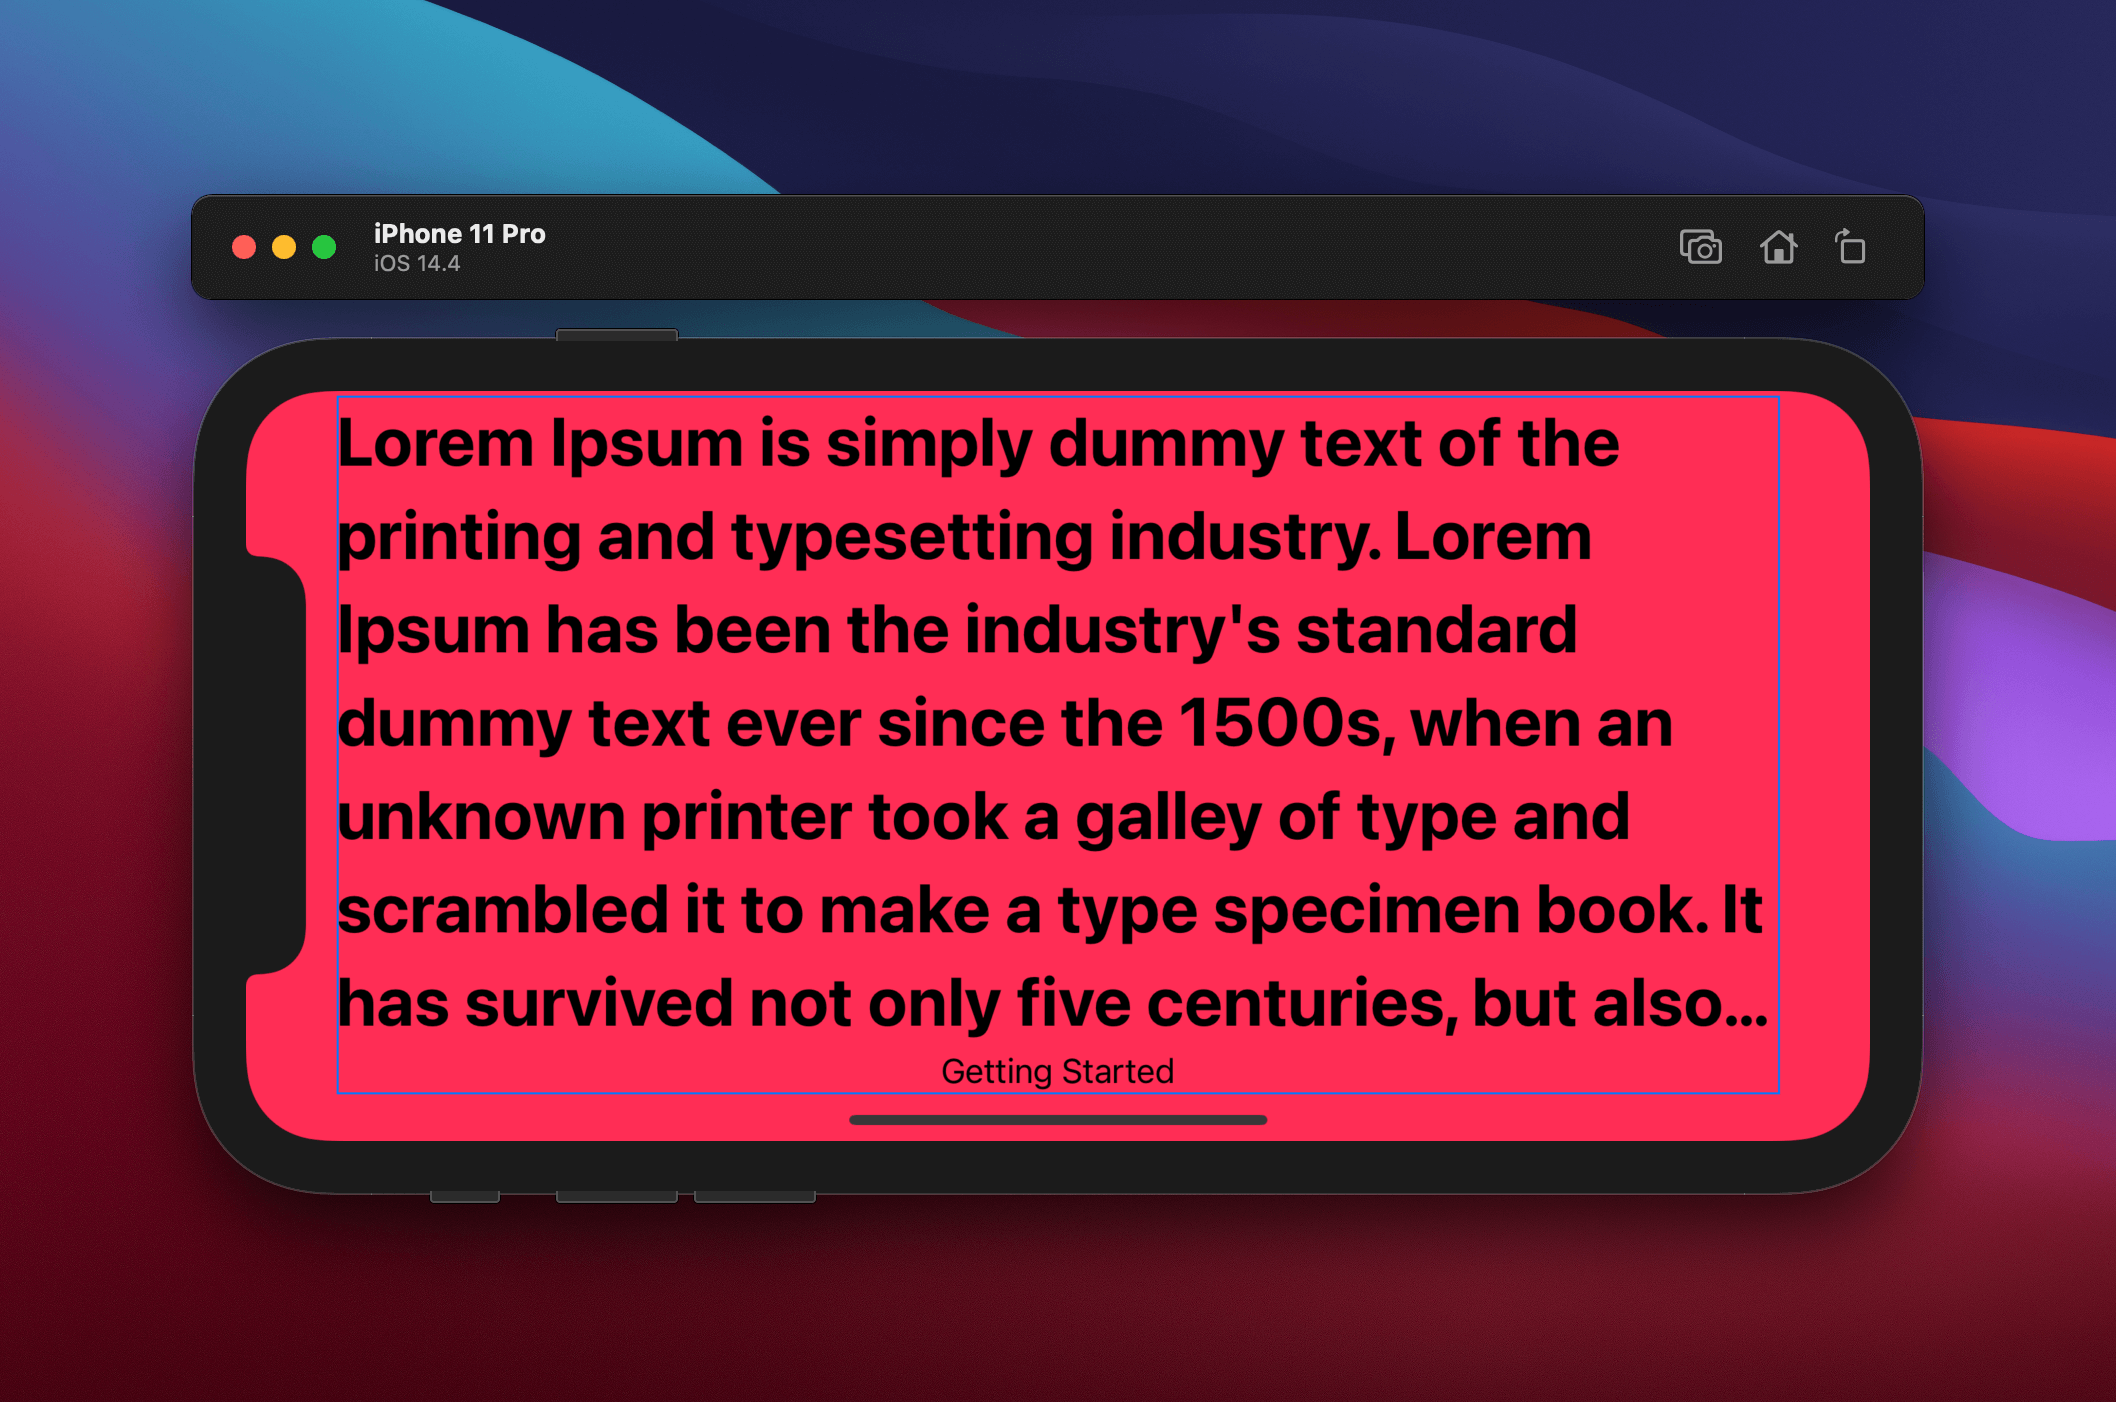
The right way to do it is apply .ignoresSafeArea() to the background view only.
struct ContentView: View {
    var body: some View {
        ZStack {
            Color.pink
                .ignoresSafeArea() // 1
            VStack {
                Text("Lorem Ipsum is simply dummy text of the printing and typesetting industry. Lorem Ipsum has been the industry's standard dummy text ever since the 1500s, when an unknown printer took a galley of type and scrambled it to make a type specimen book. It has survived not only five centuries, but also the leap into electronic typesetting, remaining essentially unchanged. It was popularised in the 1960s with the release of Letraset sheets containing Lorem Ipsum passages, and more recently with desktop publishing software like Aldus PageMaker including versions of Lorem Ipsum.")
                    .font(.largeTitle)
                    .bold()
                Button("Getting Started") {

                }
            }.border(Color.blue)
        }
        .accentColor(Color.black)

    }
}
<1> Apply .ignoresSafeArea to just background view.
Background view extends beyond the safe area while the content stays inside.
Using Overlay
You can achieve the same effect with the .overlay modifier, but I think ZStack is more semantically correct. Use overlay for this does not convey a clear message to the reader of what you are trying to do.
struct ContentView: View {
    var body: some View {
        Color.pink
            .ignoresSafeArea()
            .overlay(
                VStack {
                    Text("Hello, SwiftUI!")
                        .font(.largeTitle)
                        .bold()
                    Button("Getting Started") {

                    }
                }
            )
            .accentColor(Color.black)
    }
}
It is hard to guess the purpose of this code compared to the ZStack.
You can easily support sarunw.com by checking out this sponsor.
Offline Transcription: Fast, privacy-focus way to transcribe audio, video, and podcast files. No data leaves your Mac.
Background view
Even though all the examples in this post using Color as a background, it can be anything. You can use an image view or a more complex view as your background.
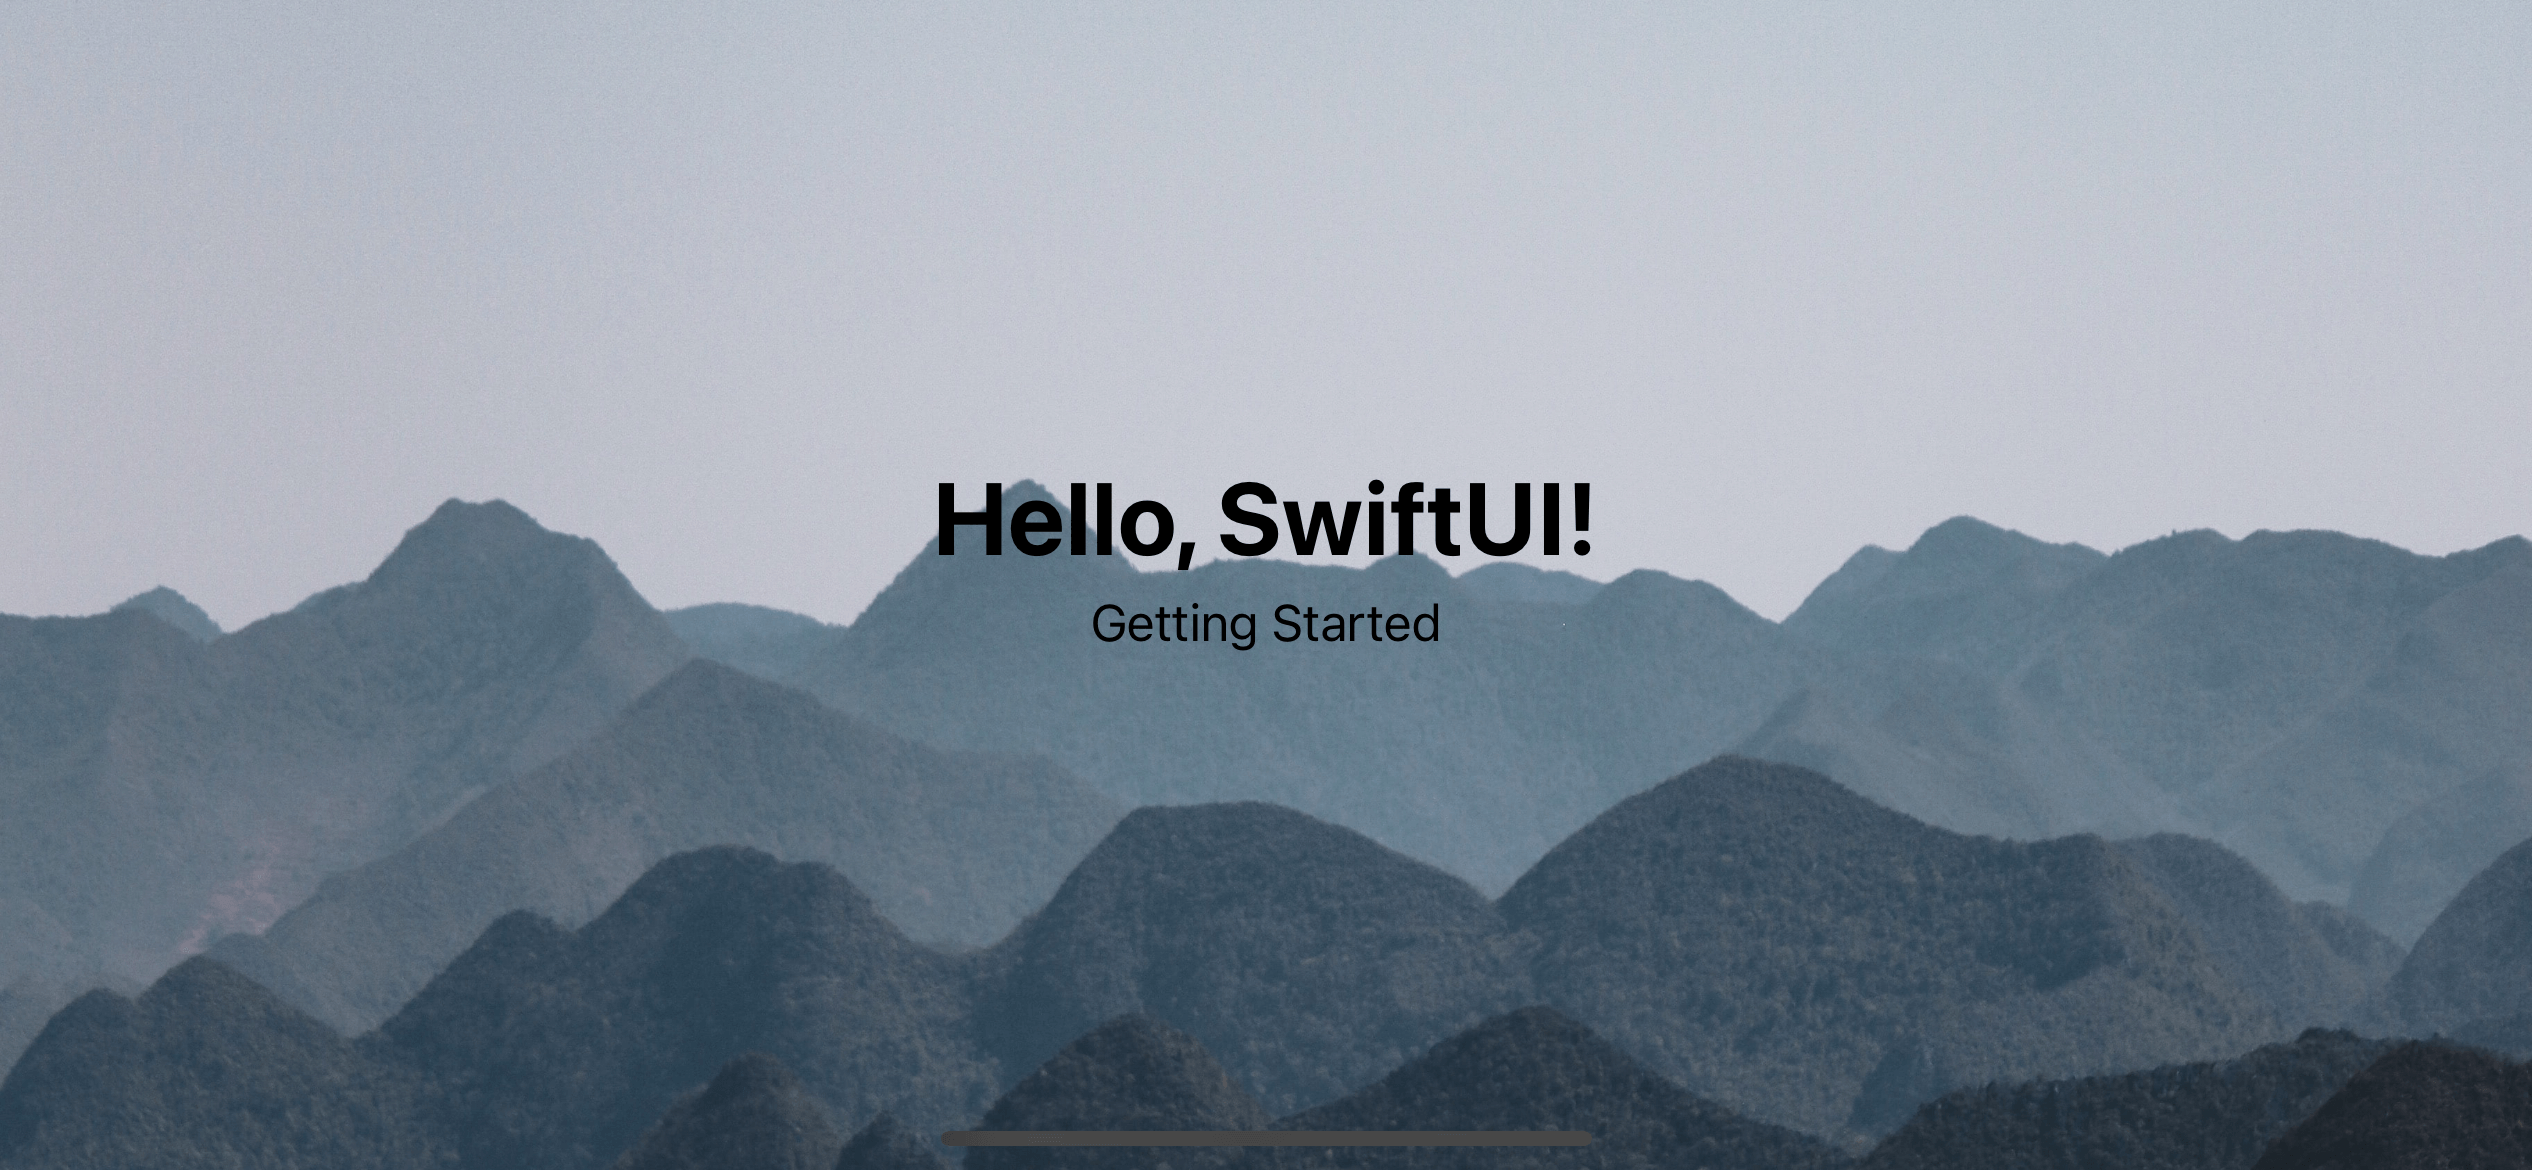
Image
Here we use image view as a background[1]. You can read more on how to resize image here.
struct ContentView: View {
    var body: some View {
        ZStack {
            Image("backgroundImage") // 1
                .resizable()
                .scaledToFill()
                .ignoresSafeArea()
            VStack {
                Text("Hello, SwiftUI!")
                    .font(.largeTitle)
                    .bold()
                Button("Getting Started") {

                }
            }
        }
        .accentColor(Color.black)
    }
}
<1> We swap Color.pink with Image("backgroundImage").
As you can see, we can take out Color.pink and replace it with Image("backgroundImage"). No need to touch the content view.
Gradient
The following example uses a gradient as a background view.
let backgroundGradient = LinearGradient(
    gradient: Gradient(colors: [Color.pink, Color.yellow]),
    startPoint: .top, endPoint: .bottom)

struct ContentView: View {
    var body: some View {
        ZStack {
            backgroundGradient
                .ignoresSafeArea()
            VStack {
                Text("Hello, SwiftUI!")
                    .font(.largeTitle)
                    .bold()
                Button("Getting Started") {

                }
            }
        }
        .accentColor(Color.black)
    }
}
Photo by Ines Álvarez Fdez on Unsplash ↩︎
Read more article about SwiftUI, Background, or see all available topic
Enjoy the read?
If you enjoy this article, you can subscribe to the weekly newsletter.
Every Friday, you'll get a quick recap of all articles and tips posted on this site. No strings attached. Unsubscribe anytime.
Feel free to follow me on Twitter and ask your questions related to this post. Thanks for reading and see you next time.
If you enjoy my writing, please check out my Patreon https://www.patreon.com/sarunw and become my supporter. Sharing the article is also greatly appreciated.
Become a patron Buy me a coffee Tweet ShareHow to resize an image view to fit a container view in SwiftUI
Learn how to fit an image view to any container.
4 Xcode shortcuts to boost your productivity for SwiftUI
Leaning tips and tricks about the tool will help you down the road. Today, I will show you 4 Xcode shortcuts that I find helpful when dealing with SwiftUI.