How to organize Flutter import directives in VSCode
Table of Contents
After I code a Flutter app for a while, my import directive becomes messy.
It contains unused import that VS code automatically adds for you mixed with the rest of your unordered import directives.
Let's see how we can make it more organized.
Organized imports
We can use the Organized imports command to organize import directives which will remove unused import and sort import packages by their name.
You can use this command by
- Opening Command Palette.
- Searching for Organized imports.
- Hit return to select and use it.
You can also use ⌥ – option + ⇧ - shift + o to directly access to Organized imports command.
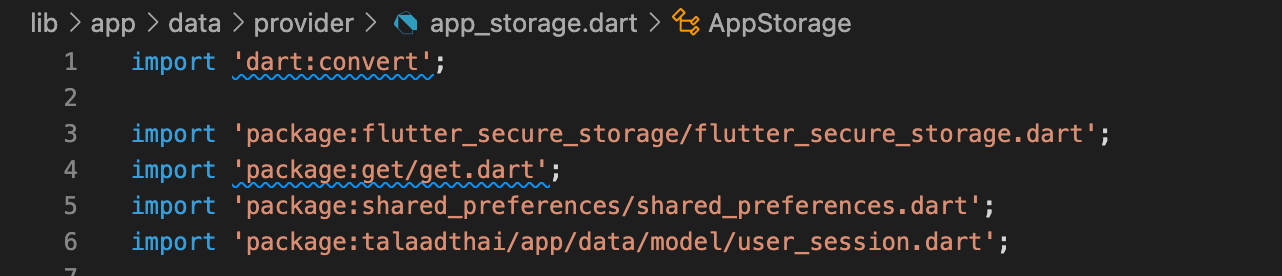
Here is an example of what "Organized imports" can do for you.
- Remove unused imports.
- Sort import packages by their name.
You can easily support sarunw.com by checking out this sponsor.
Offline Transcription: Fast, privacy-focus way to transcribe audio, video, and podcast files. No data leaves your Mac.
Organize imports on Save
The organize imports command only affects the file you are currently editing.
Running this command all the time for every file is not fun, so it would be better to run it every time you edit and save a file.
To do that, open settings.json, which keeps VS code editor settings.
You do that from the Command Palette, then search for the "Preferences: Open User Settings (JSON)" command.
Then add this to your setting.
{
  // Other settings.
  "[dart]": {
      "editor.codeActionsOnSave": {
          "source.fixAll": true,
          "source.organizeImports": true,
      }
  }
}
This will run the organized imports command when you save your files.
Read more article about Flutter, VS Code, or see all available topic
Enjoy the read?
If you enjoy this article, you can subscribe to the weekly newsletter.
Every Friday, you'll get a quick recap of all articles and tips posted on this site. No strings attached. Unsubscribe anytime.
Feel free to follow me on Twitter and ask your questions related to this post. Thanks for reading and see you next time.
If you enjoy my writing, please check out my Patreon https://www.patreon.com/sarunw and become my supporter. Sharing the article is also greatly appreciated.
Become a patron Buy me a coffee Tweet ShareHow to remove the Last row separator in SwiftUI List
Learn how to remove the bottom separator in any List view.
How to check if an Element is in an Array in Swift
Learn two ways to check if an array contains a given element.