How to use SFSafariViewController in SwiftUI
Table of Contents
Currently (iOS 16), there is no native way to present SFSafariViewController in SwiftUI.
In this article, I will teach you what I think is the proper way to present SFSafariViewController in a SwiftUI app.
When we want to use a UIViewController in a SwiftUI app, we have two options.
- Create a
UIViewControllerRepresentablefor thatUIViewController. - Use
UIViewControllerby reaching to underlying UIKit.
For SFSafariViewController, I prefer the second method. Let's see why I preferred that.
What is SFSafariViewController
SFSafariViewController is a standalone view controller. That means it can, and should operate without our intervention.
It comes pre-equipped with a navigation bar and controls that are necessary for browsing.
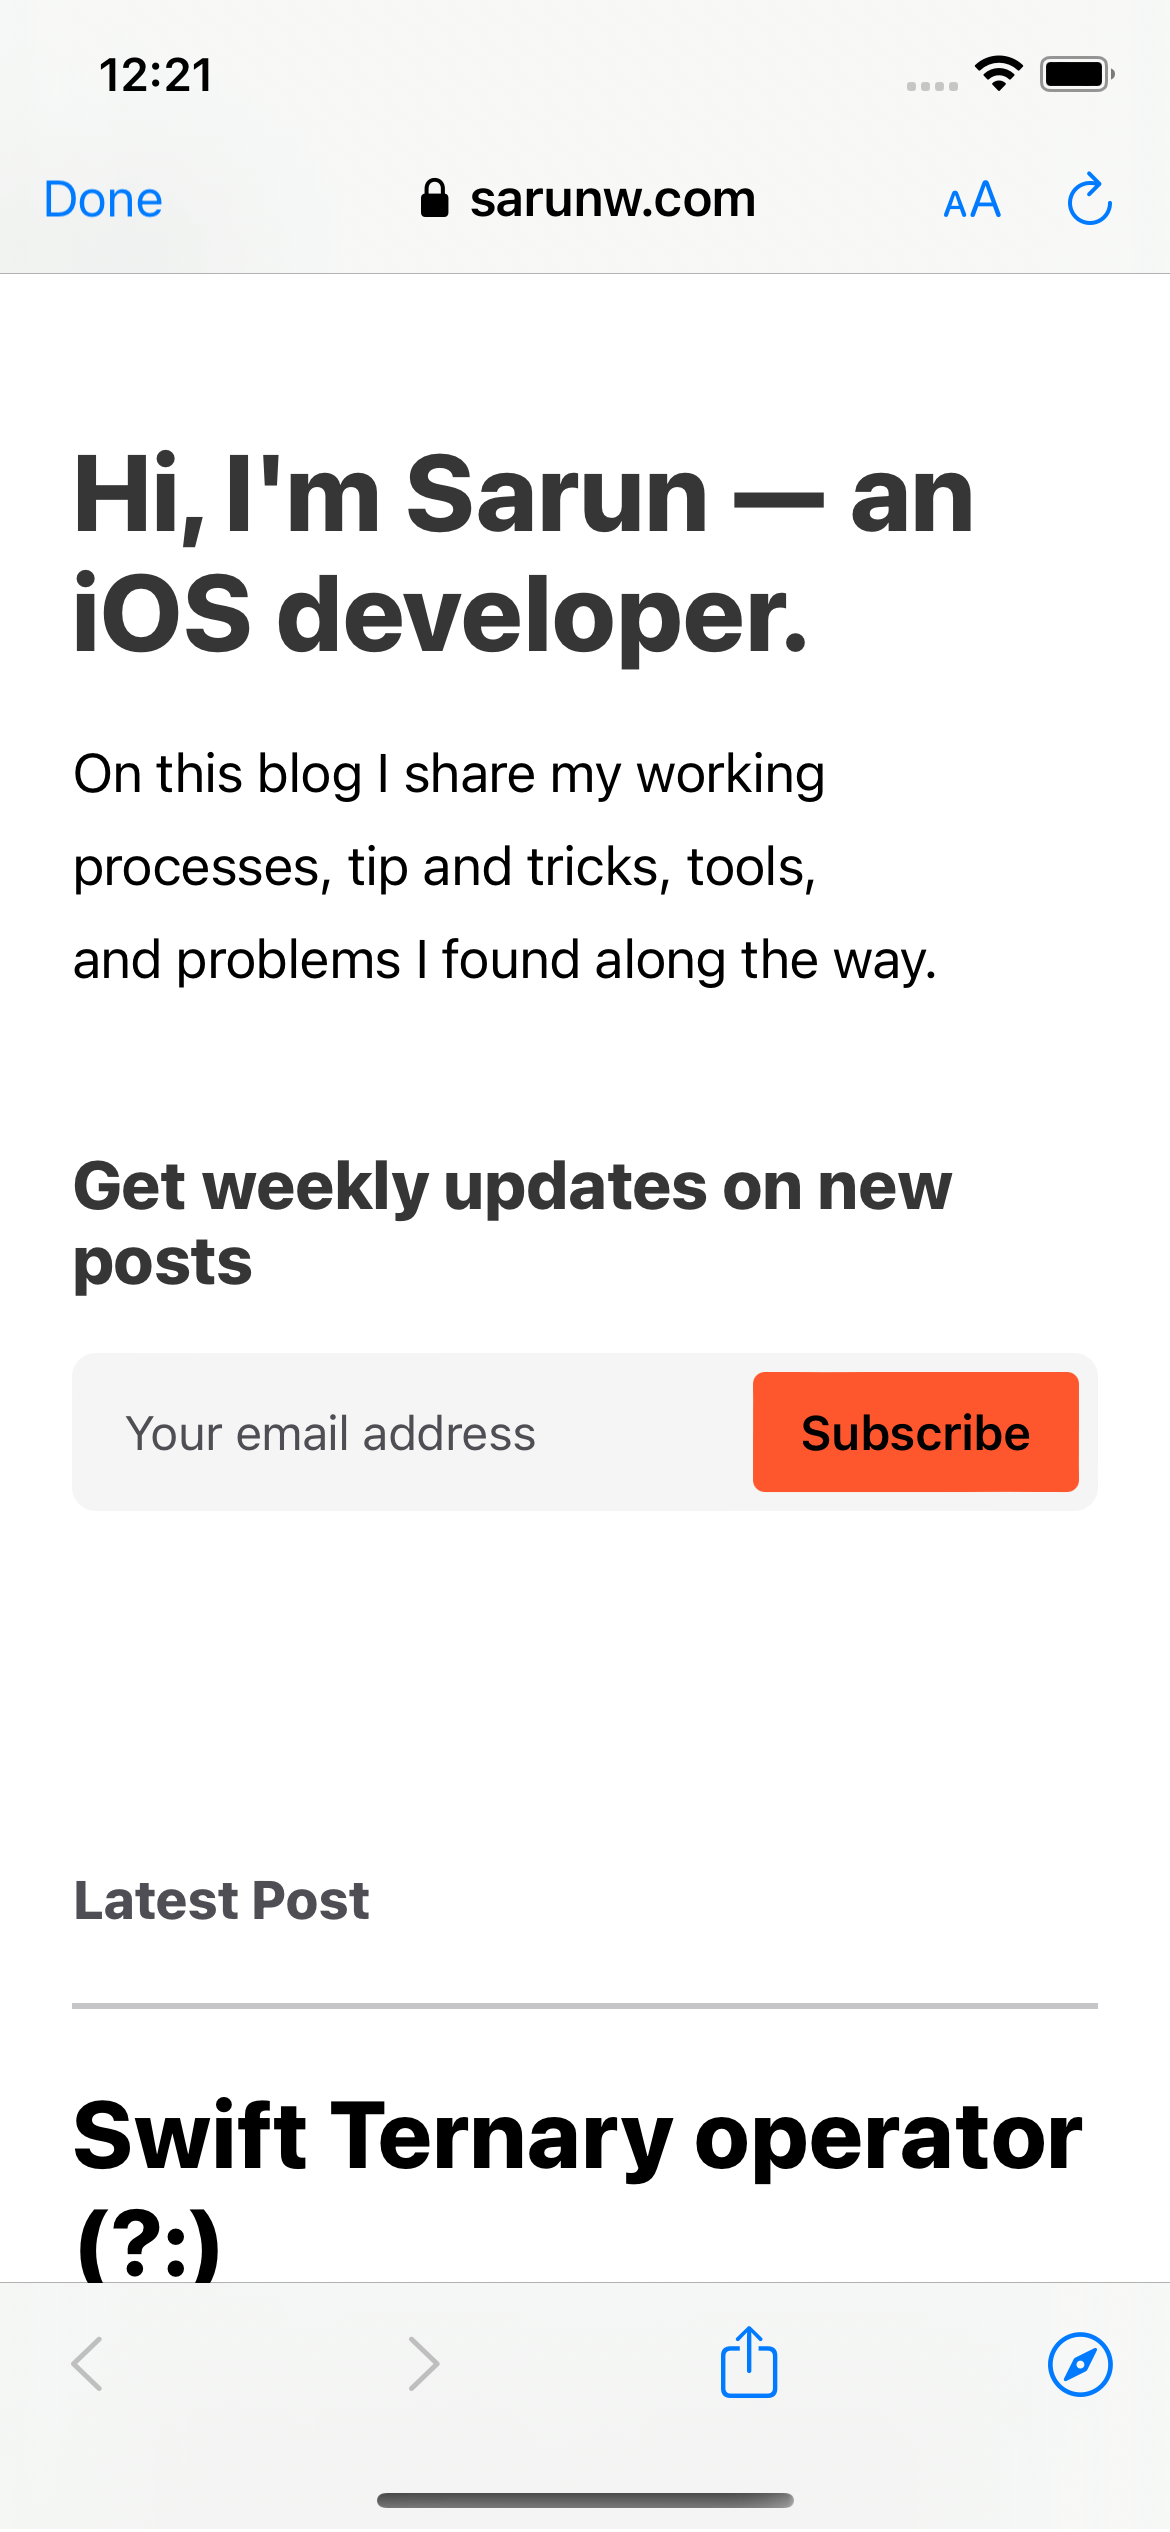
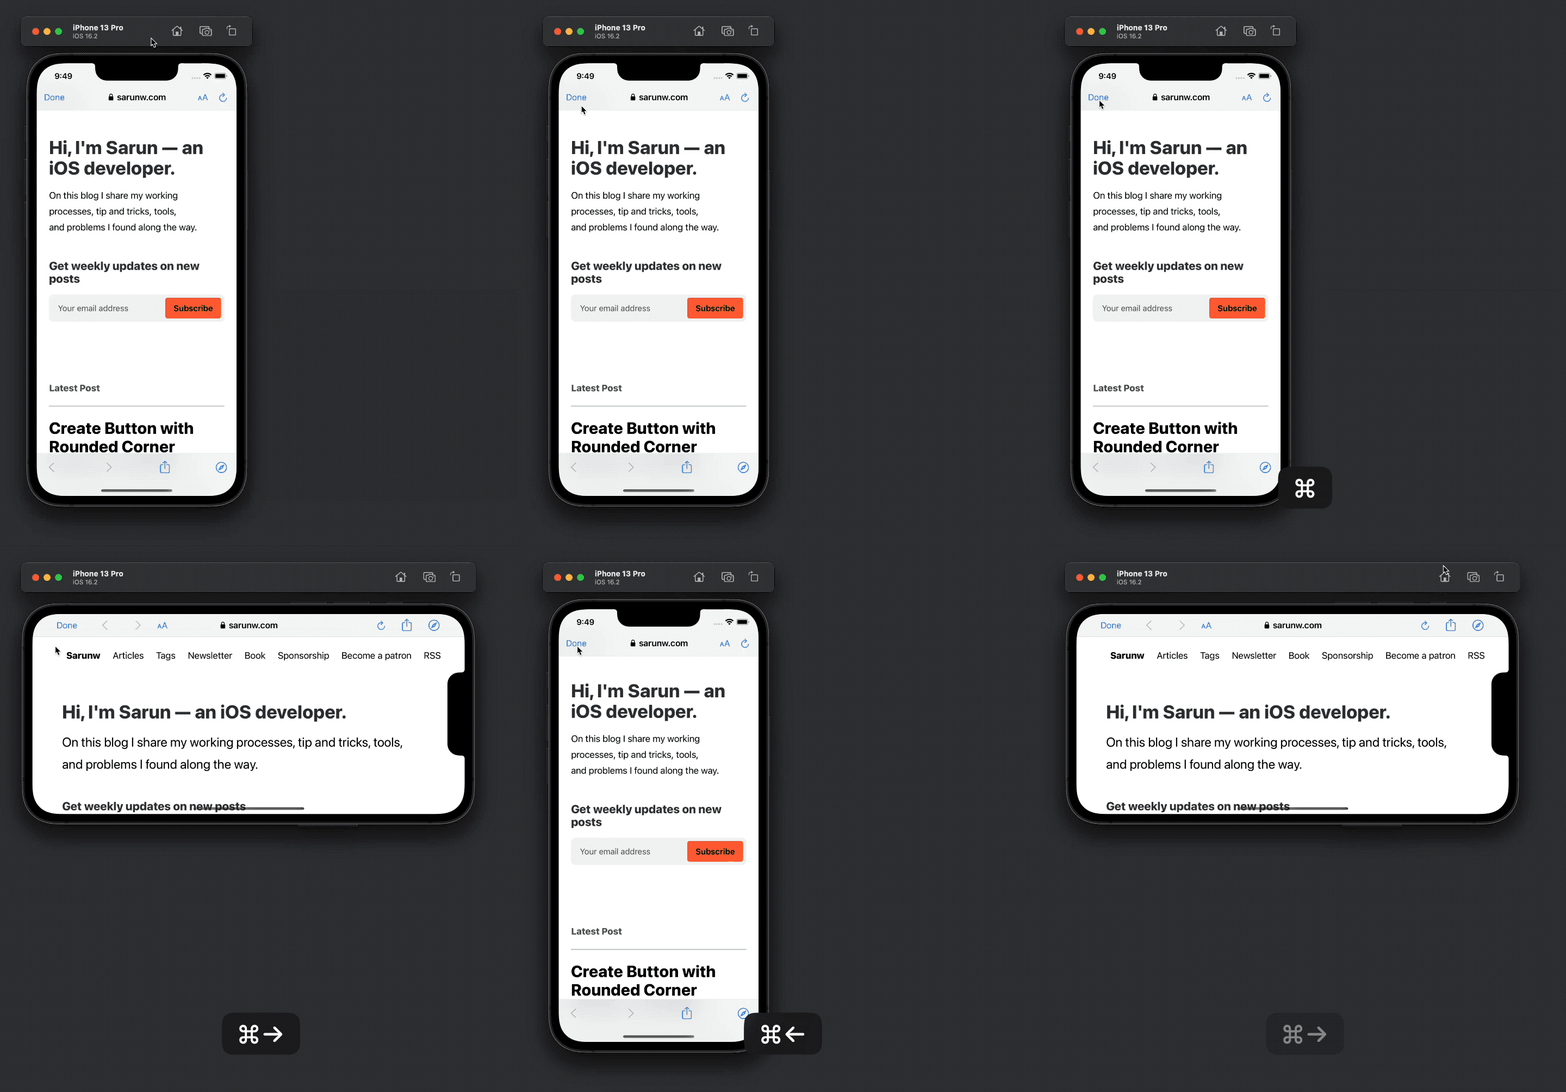
Here is an example where we present SFSafariViewController in UIKit. It presents as a pushed animation even though the parent view controller doesn't have one.

Let's see what happens when we try to wrap this in a UIViewControllerRepresentable.
You can easily support sarunw.com by checking out this sponsor.

Offline Transcription: Fast, privacy-focus way to transcribe audio, video, and podcast files. No data leaves your Mac.
Create UIViewControllerRepresentable of SFSafariViewController
We can easily create UIViewControllerRepresentable of SFSafariViewController like this.
import SwiftUI
import SafariServices

struct SafariWebView: UIViewControllerRepresentable {
    let url: URL

    func makeUIViewController(context: Context) -> SFSafariViewController {
        return SFSafariViewController(url: url)
    }

    func updateUIViewController(_ uiViewController: SFSafariViewController, context: Context) {

    }
}
Let's see why I don't recommend this approach.
SFSafariViewController with NavigationLink
In this example, I use a NavigationLink to push a SafariWebView into a navigation stack.
struct ContentView: View {
    var body: some View {
        NavigationStack {
            NavigationLink("Push") {
                SafariWebView(url: URL(string: "https://sarunw.com")!)
                    .ignoresSafeArea()
            }
        }
    }
}
The result is a disaster.
Since SFSafariViewController come pre-equipped with a navigation bar, using NavigationLink create a double navigation bar.
So, this isn't a way to go.

SFSafariViewController with fullScreenCover
We can choose to present SFSafariViewController using a full-screen cover presentation instead.
Presenting it this way won't cause a double navigation bar.
struct ContentView: View {
    @State private var isPresentWebView = false

    var body: some View {
        Button("Present as full screen cover") {
            isPresentWebView = true
        }
        .fullScreenCover(isPresented: $isPresentWebView) {
            SafariWebView(url: URL(string: "https://sarunw.com")!)
                .ignoresSafeArea()
        }
    }
}
If you want to use UIViewControllerRepresentable, I think presenting it using .fullScreenCover is a way to go.

Caveat
Present SFSafariViewController as a full-screen cover might look OK, but if you try to rotate your app, it still has some UI glitches.
You will see a black screen when rotating SFSafariViewController.

You can easily support sarunw.com by checking out this sponsor.

Offline Transcription: Fast, privacy-focus way to transcribe audio, video, and podcast files. No data leaves your Mac.
Use SFSafariViewController without wrapping
I think the easiest way to use SFSafariViewController is to use it in a UIKit context.
In this case, I grab the root view controller and present SFSafariViewController from that root view controller.
struct ContentView: View {
    var body: some View {
        Button("Present SFSafariViewController") {
            // 1
            let vc = SFSafariViewController(url: URL(string: "https://sarunw.com")!)

            // 2
            UIApplication.shared.firstKeyWindow?.rootViewController?.present(vc, animated: true)
        }
    }
}

extension UIApplication {
    // 3
    var firstKeyWindow: UIWindow? {
        return UIApplication.shared.connectedScenes
            .compactMap { $0 as? UIWindowScene }
            .filter { $0.activationState == .foregroundActive }
            .first?.keyWindow
    }
}
1 We create SFSafariViewController directly without wrapping.
2 Then, present it from the root view controller.
3 There are many ways to grab a root view controller in a SwiftUI app. I choose a quick and dirty one for this example.
You will get the same behavior as you use in UIKit.

Read more article about SwiftUI, WebView, or see all available topic
Enjoy the read?
If you enjoy this article, you can subscribe to the weekly newsletter.
Every Friday, you'll get a quick recap of all articles and tips posted on this site. No strings attached. Unsubscribe anytime.
Feel free to follow me on Twitter and ask your questions related to this post. Thanks for reading and see you next time.
If you enjoy my writing, please check out my Patreon https://www.patreon.com/sarunw and become my supporter. Sharing the article is also greatly appreciated.
Become a patron Buy me a coffee Tweet ShareConfigure Launch screen in UIKit without Storyboard
In Xcode 12 and iOS 14, we got a new way to configure an app launch screen without a Storyboard. Let's learn how to do it.
How to make Large size ProgressView in SwiftUI
In iOS 16, we can also set the size of a ProgressView, but it isn't straightforward as we do in UIKit. Let's learn how to do it.