SwiftUI Button Style Examples
Table of Contents
SwiftUI makes it very easy for us to customize button appearance. In this article, I'm not going to teach you how to do that, but I will show you what SwiftUI already provided.
SwiftUI provides many built-in button styles which you can use. After you finish reading this article, you might not even need to develop a custom style.
In this article, I will show you all 5 button styles that you can use with SwiftUI Button in iOS.
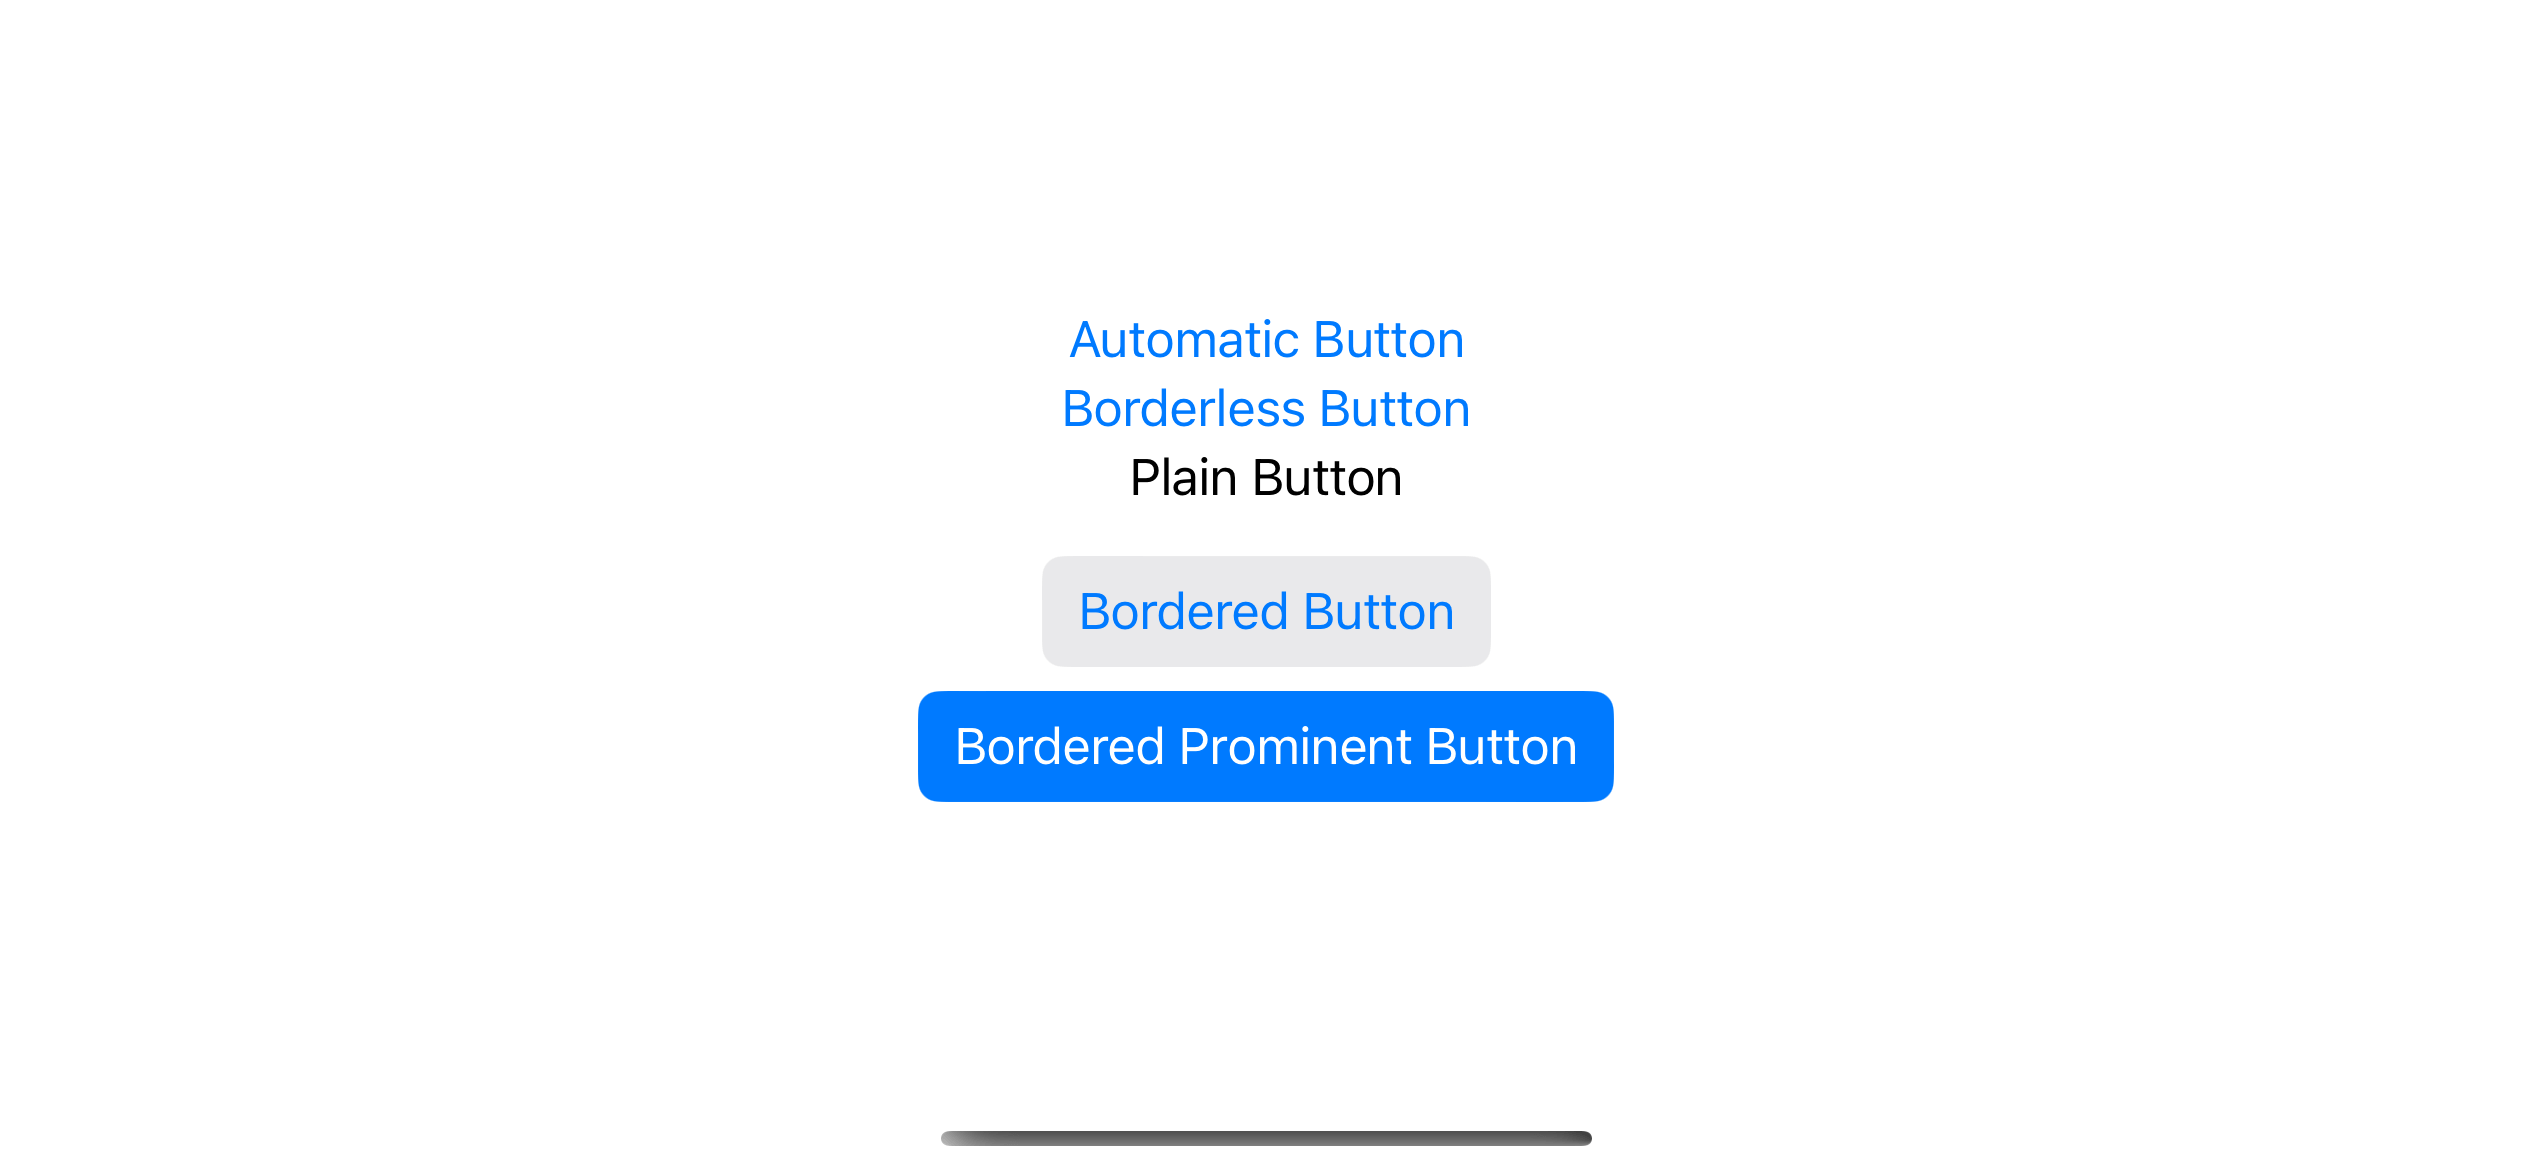
Default Button Style
By default, if we don't specify any button style, SwiftUI will use .automatic button style.
The .automatic button style means we left the style choice in SwiftUI's hand. SwiftUI will choose the one that is appropriate for the context.
The .automatic button style resolves to the borderless button style in iOS, whereas macOS, tvOS, and watchOS use the bordered button style.
The same code would result in different styles based on the context.
Button("Button Title") {

}
Here is how it looks on iOS and macOS.

You can easily support sarunw.com by checking out this sponsor.

Offline Transcription: Fast, privacy-focus way to transcribe audio, video, and podcast files. No data leaves your Mac.
How to change SwiftUI Button style
You can control a button style by using buttonStyle(_:) modifier.
In this example, I set the button style to borderedProminent.
Button("Bordered Prominent Button") {

}.buttonStyle(.borderedProminent)
If you apply a button style to a container view, all the buttons in the container will use that style.
HStack {
    Button("Sign In") {}
    Button("Register") {}
}
.buttonStyle(.borderedProminent)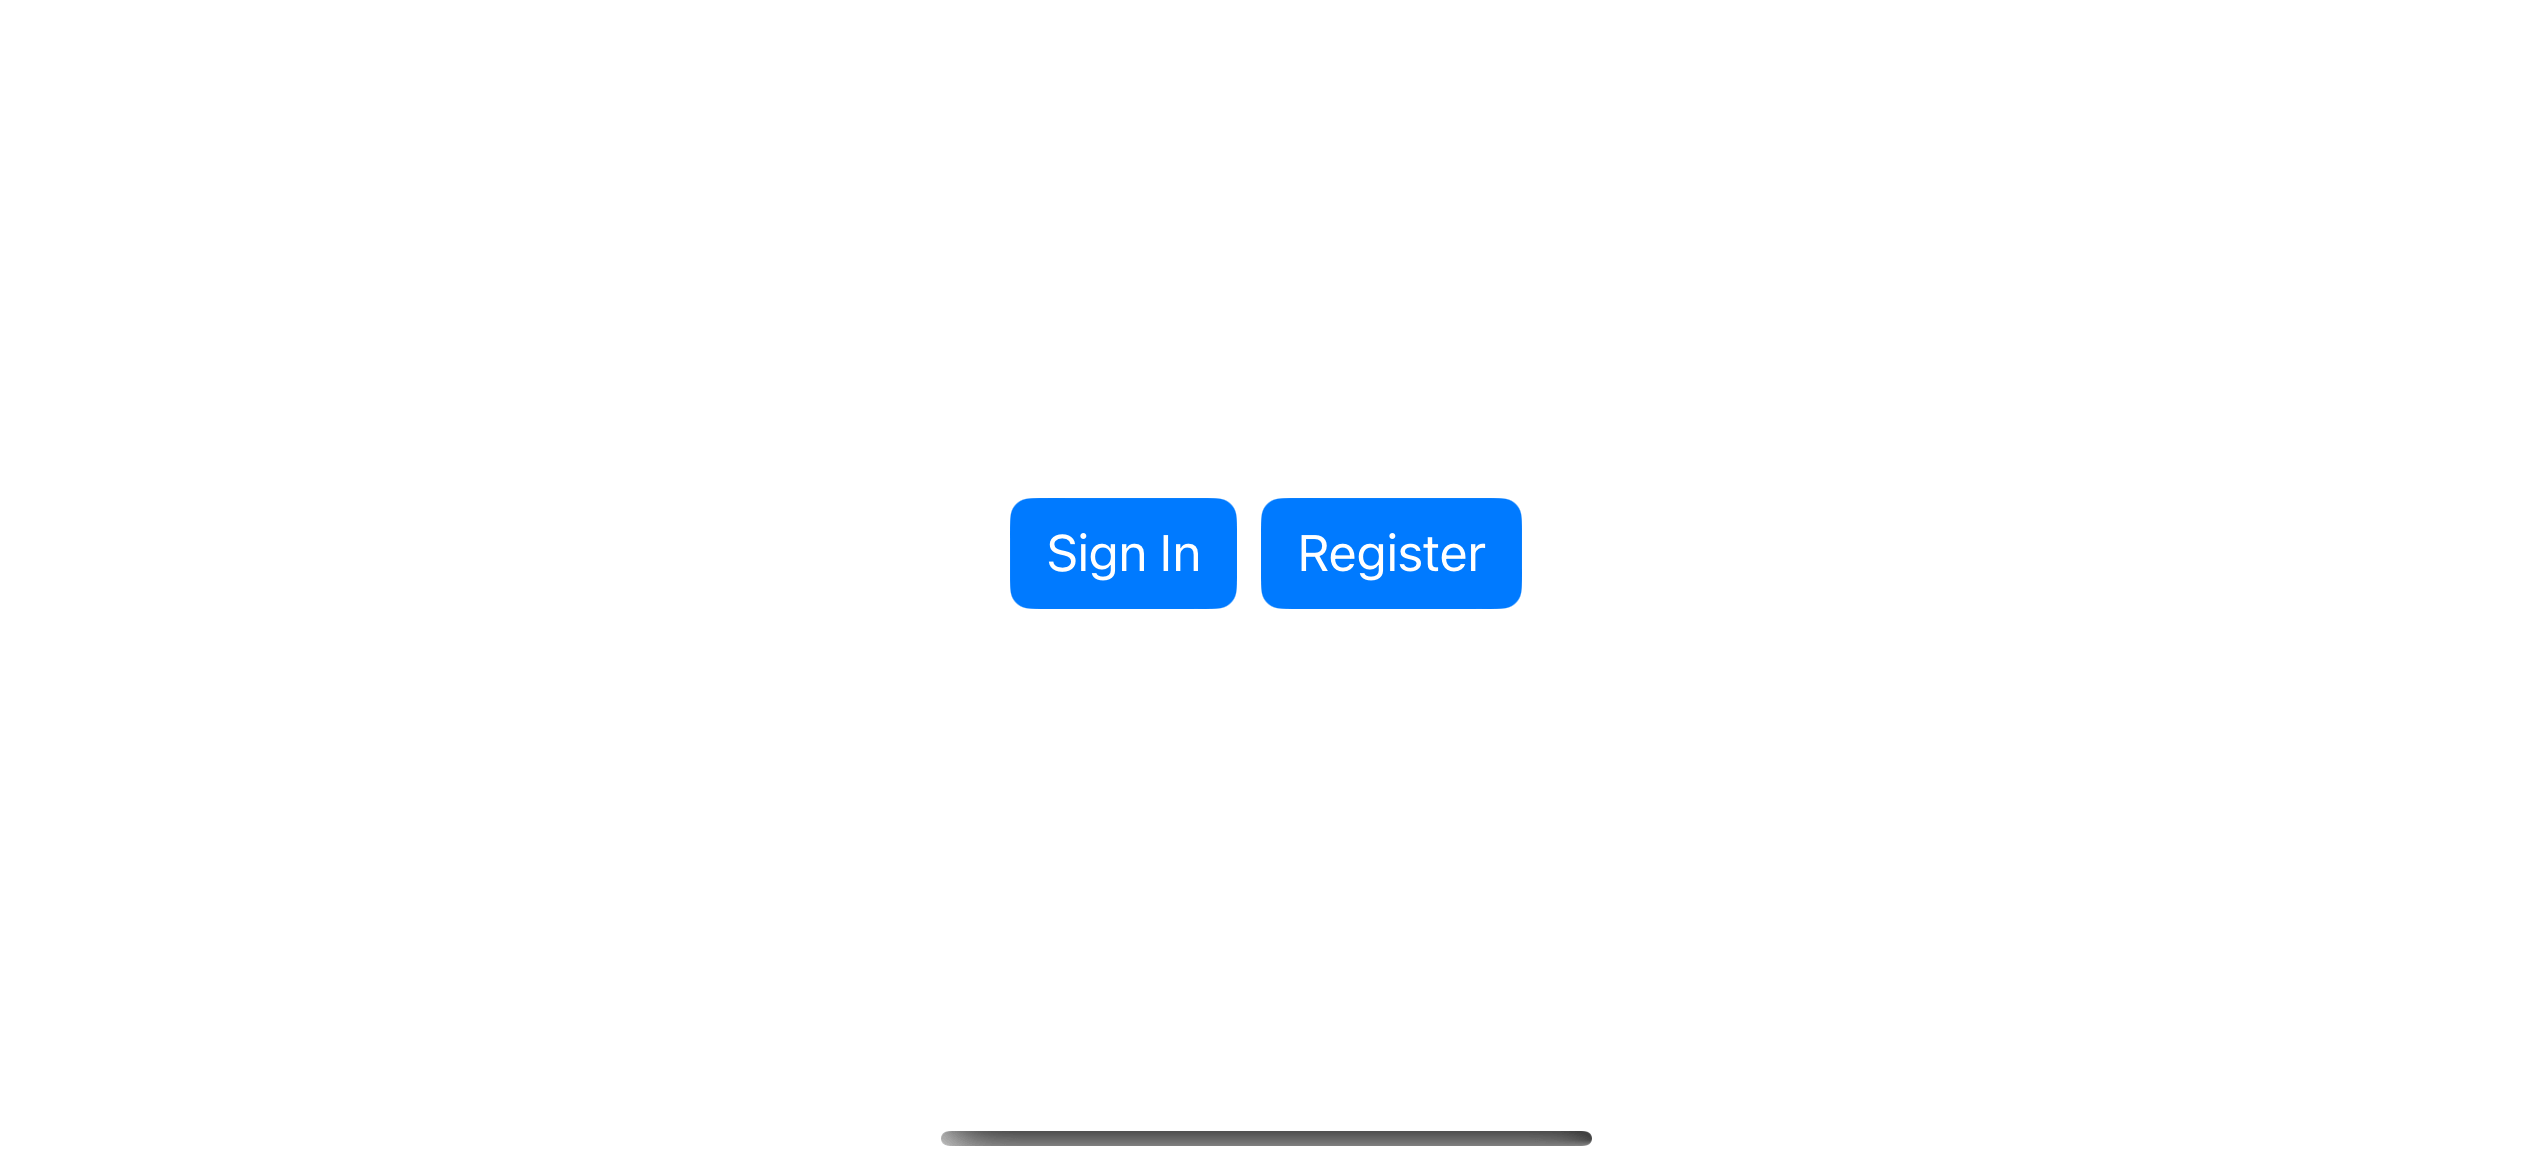
5 iOS ButtonStyles
SwiftUI got five button styles as follows.
Automatic
If we don't specify any button style. SwiftUI will use the .automatic button style.
As we learn in the Default Button Style section, SwiftUI use .borderless style for iOS.
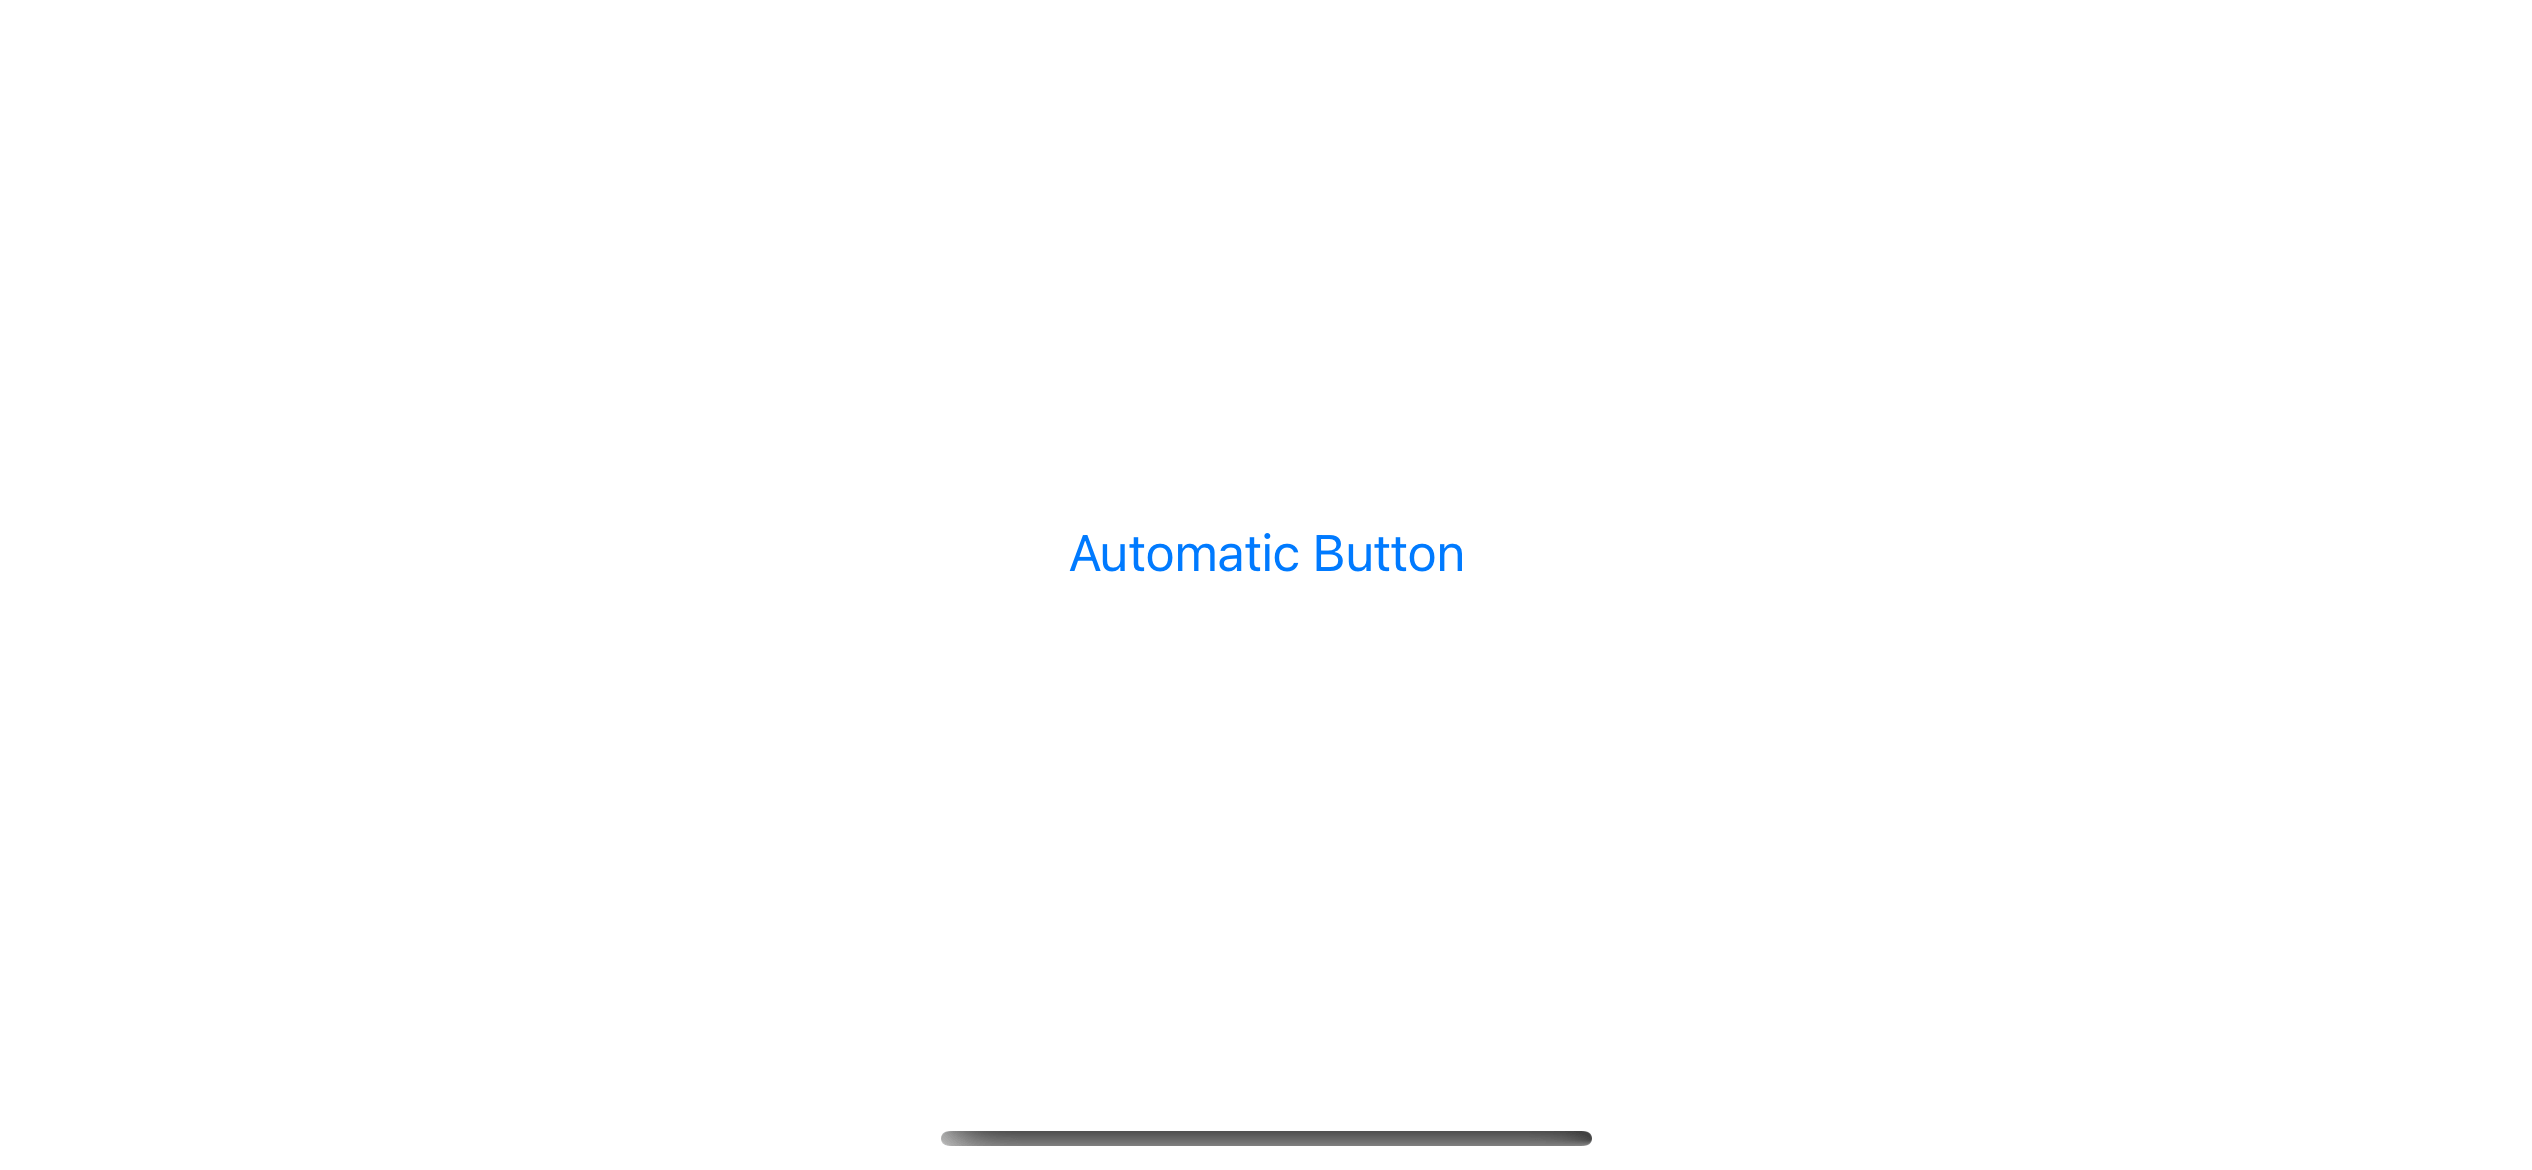
Here is an example of automatic button style, automatic or DefaultButtonStyle.
Button("Automatic Button") {

}
.buttonStyle(.automatic)
// Or
Button("Automatic Button") {

}
Borderless
This is the style that .automatic uses in iOS.
Example of borderless button style, borderless or BorderlessButtonStyle
Button("Borderless Button") {

}.buttonStyle(.borderless)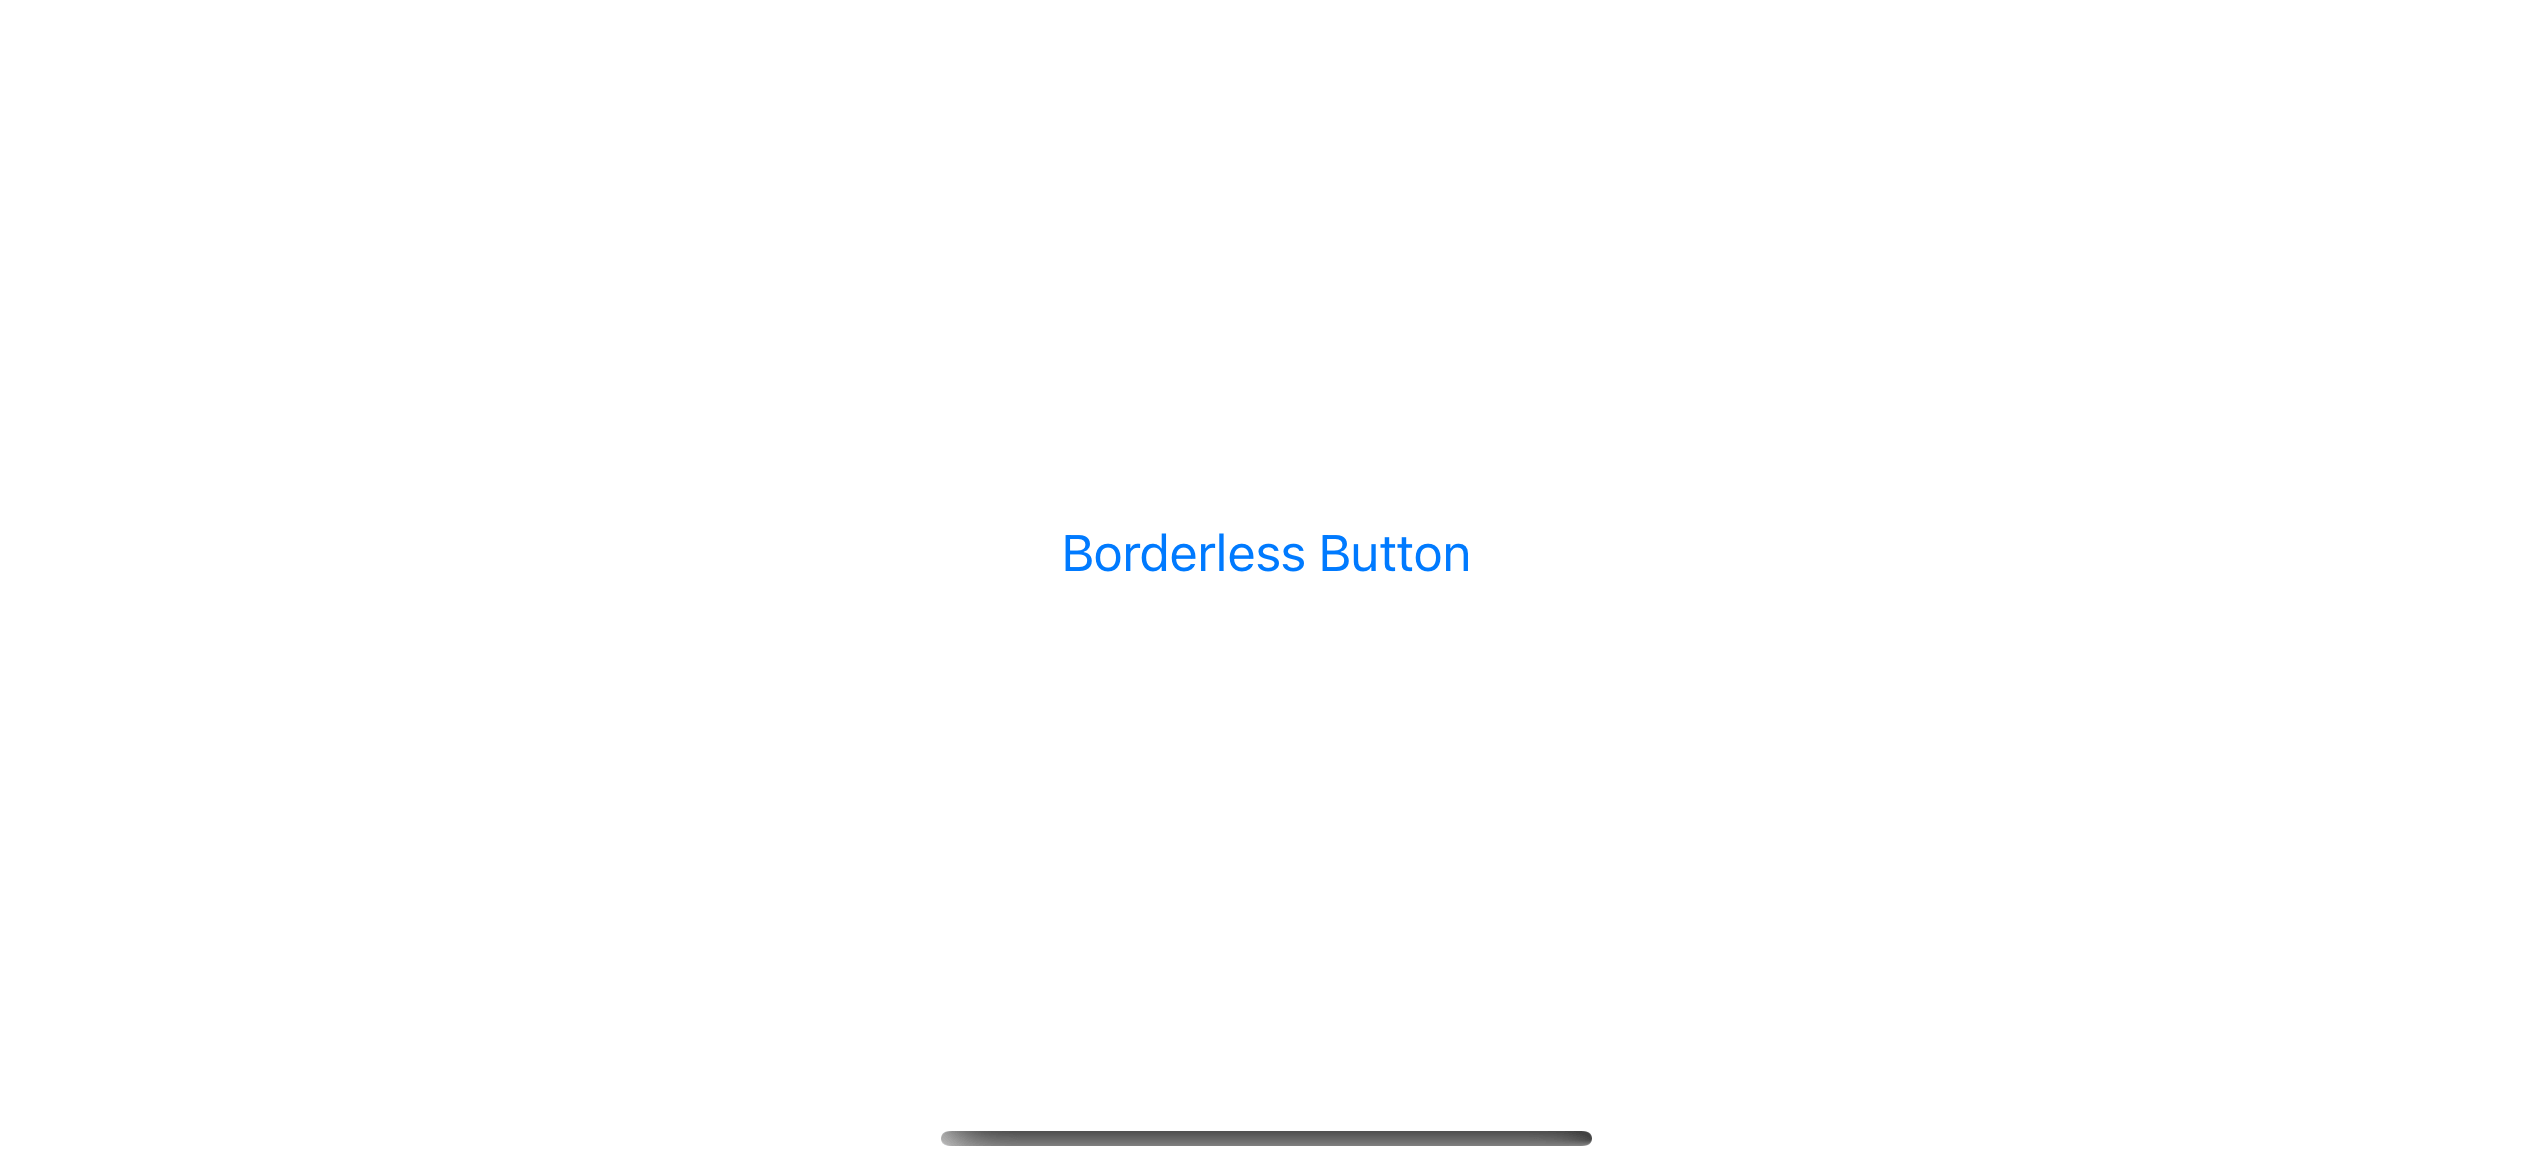
Plain
Example of plain button style, plain or PlainButtonStyle
Button("Plain Button") {

}.buttonStyle(.plain)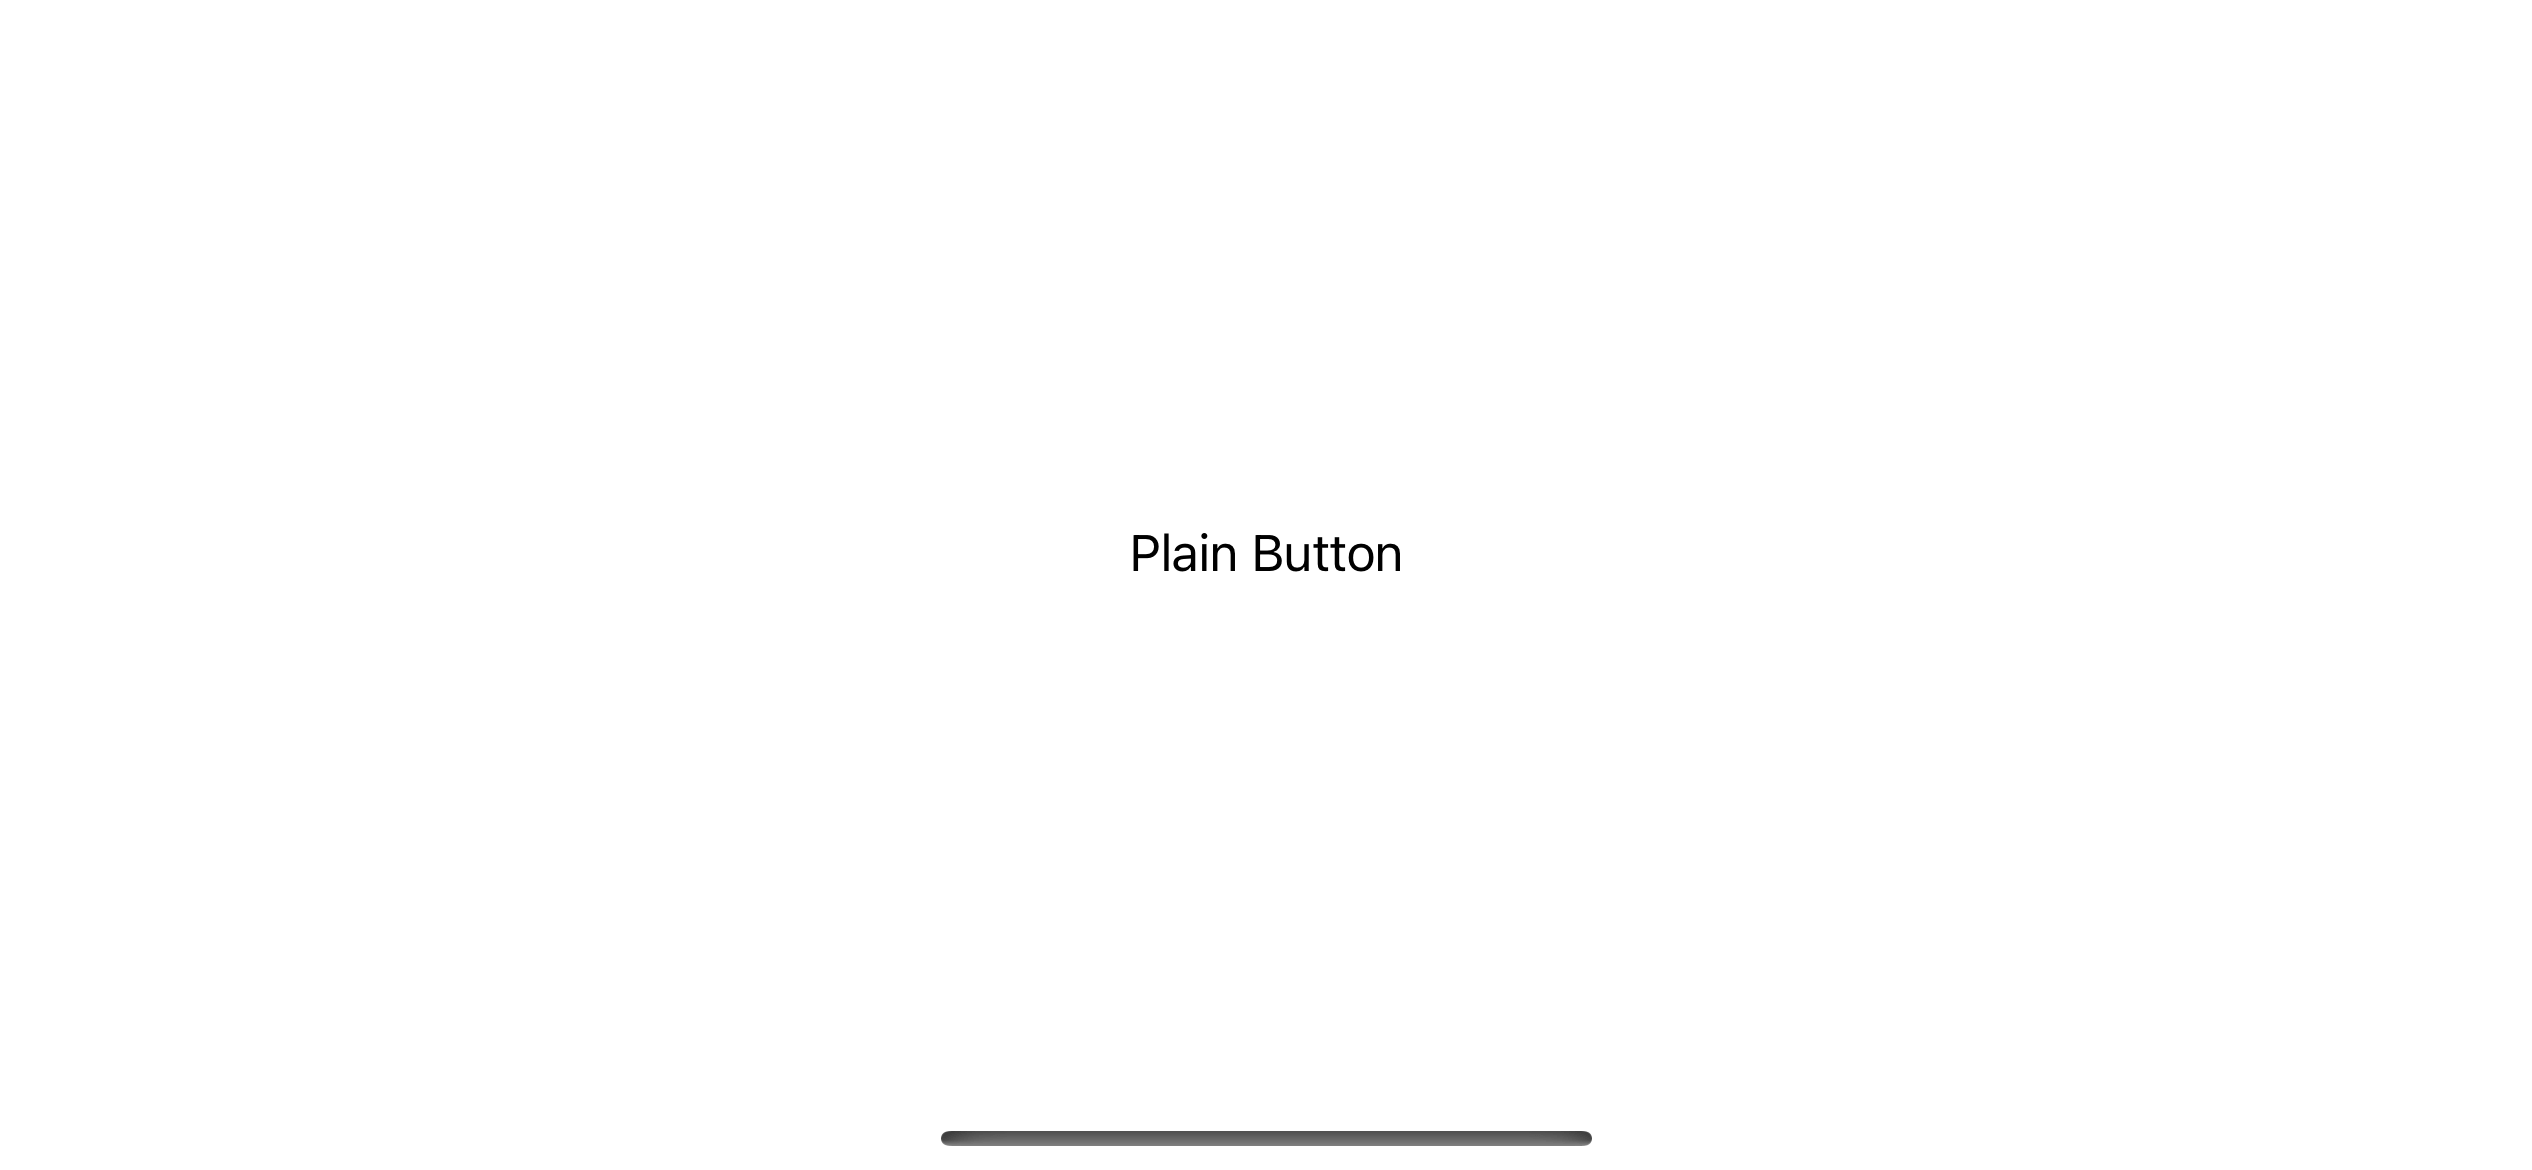
Bordered
Example of bordered button style, bordered or BorderedButtonStyle.
Button("Bordered Button") {

}.buttonStyle(.bordered)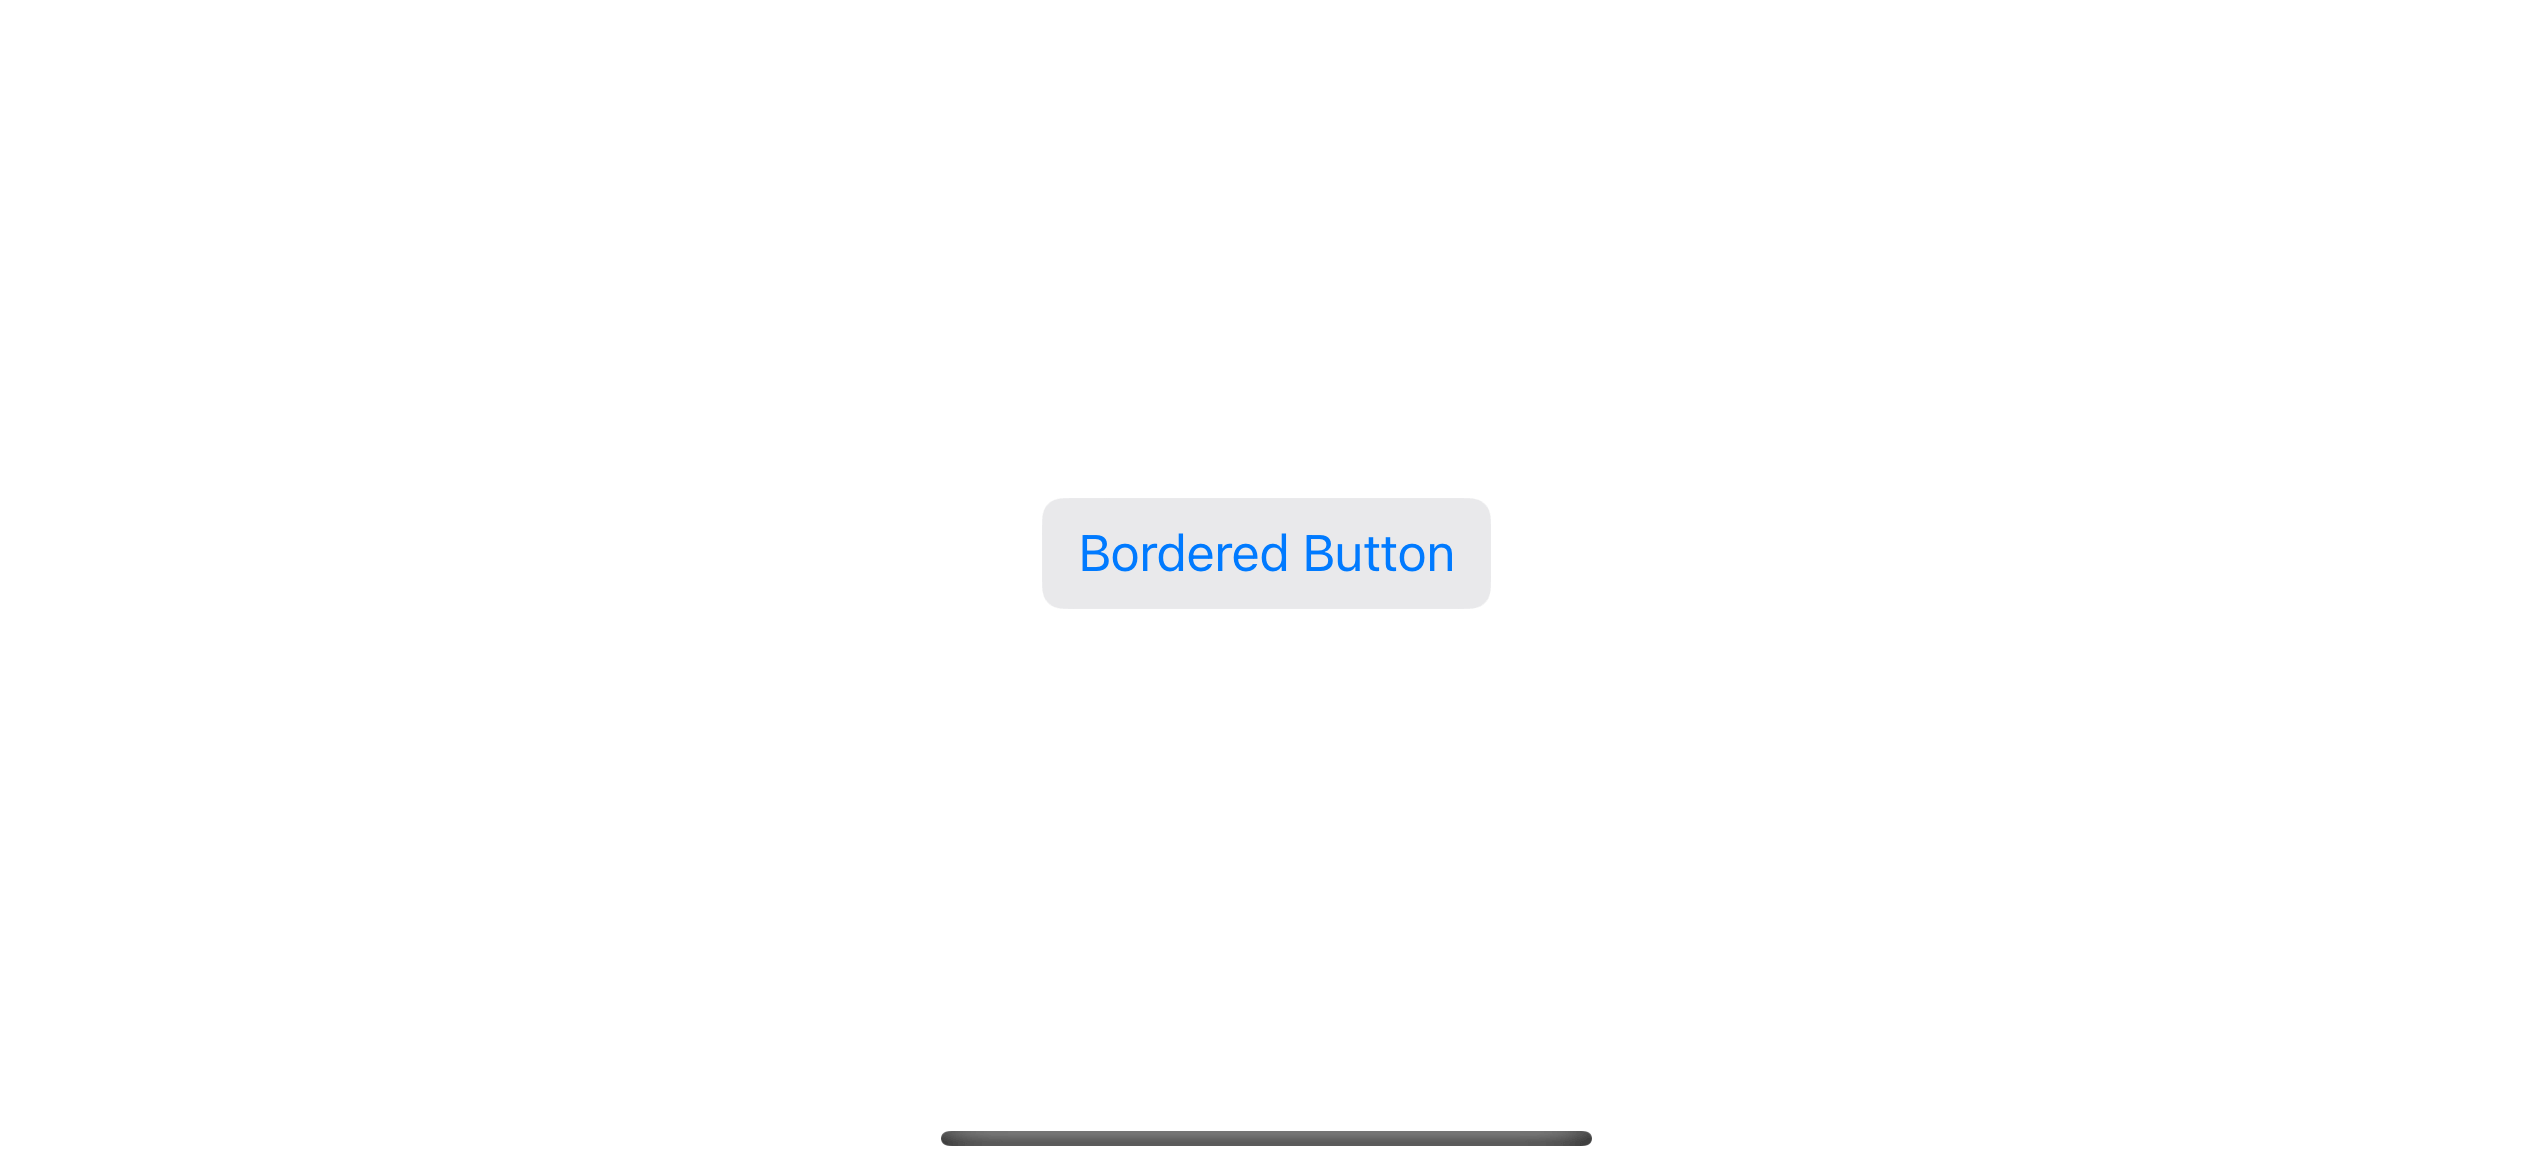
Bordered Prominent
Example of bordered prominent button style, borderedProminent or BorderedProminentButtonStyle.
Button("Bordered Prominent Button") {

}.buttonStyle(.borderedProminent)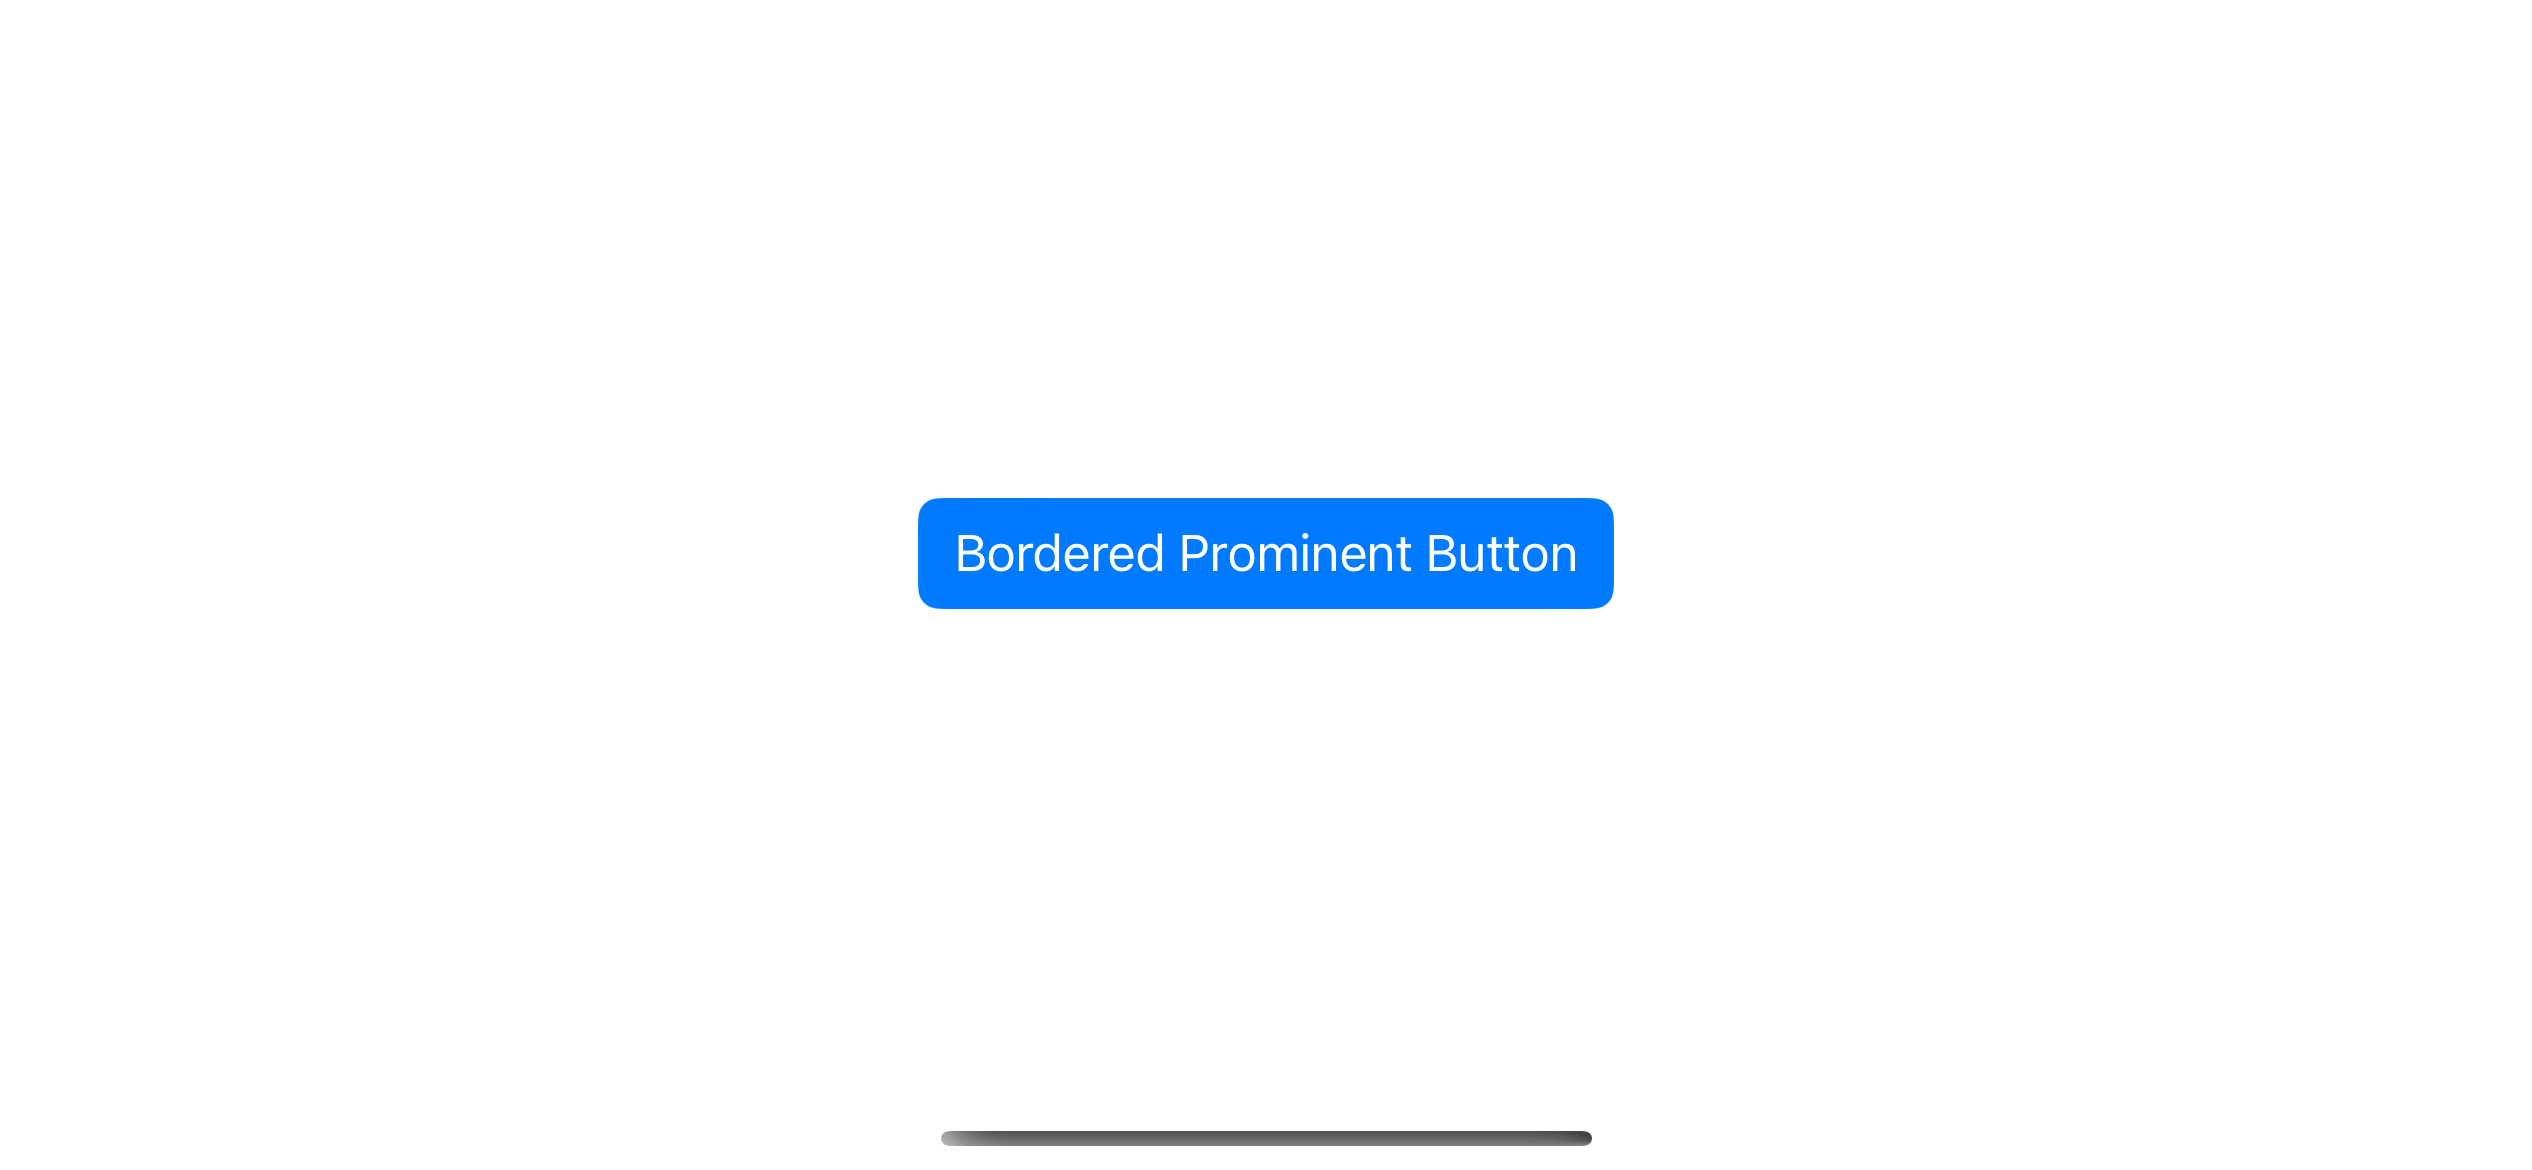
You can easily support sarunw.com by checking out this sponsor.

Offline Transcription: Fast, privacy-focus way to transcribe audio, video, and podcast files. No data leaves your Mac.
Summary
Here are the five button styles for your comparison.

Read more article about SwiftUI, Button, or see all available topic
Enjoy the read?
If you enjoy this article, you can subscribe to the weekly newsletter.
Every Friday, you'll get a quick recap of all articles and tips posted on this site. No strings attached. Unsubscribe anytime.
Feel free to follow me on Twitter and ask your questions related to this post. Thanks for reading and see you next time.
If you enjoy my writing, please check out my Patreon https://www.patreon.com/sarunw and become my supporter. Sharing the article is also greatly appreciated.
Become a patron Buy me a coffee Tweet ShareHow to fix "The compiler is unable to type-check this expression in reasonable time" error
There might be several reasons that cause this error. I will share the solution that works for me.