How to change Background color of Rounded Corner Border Button in SwiftUI
Table of Contents
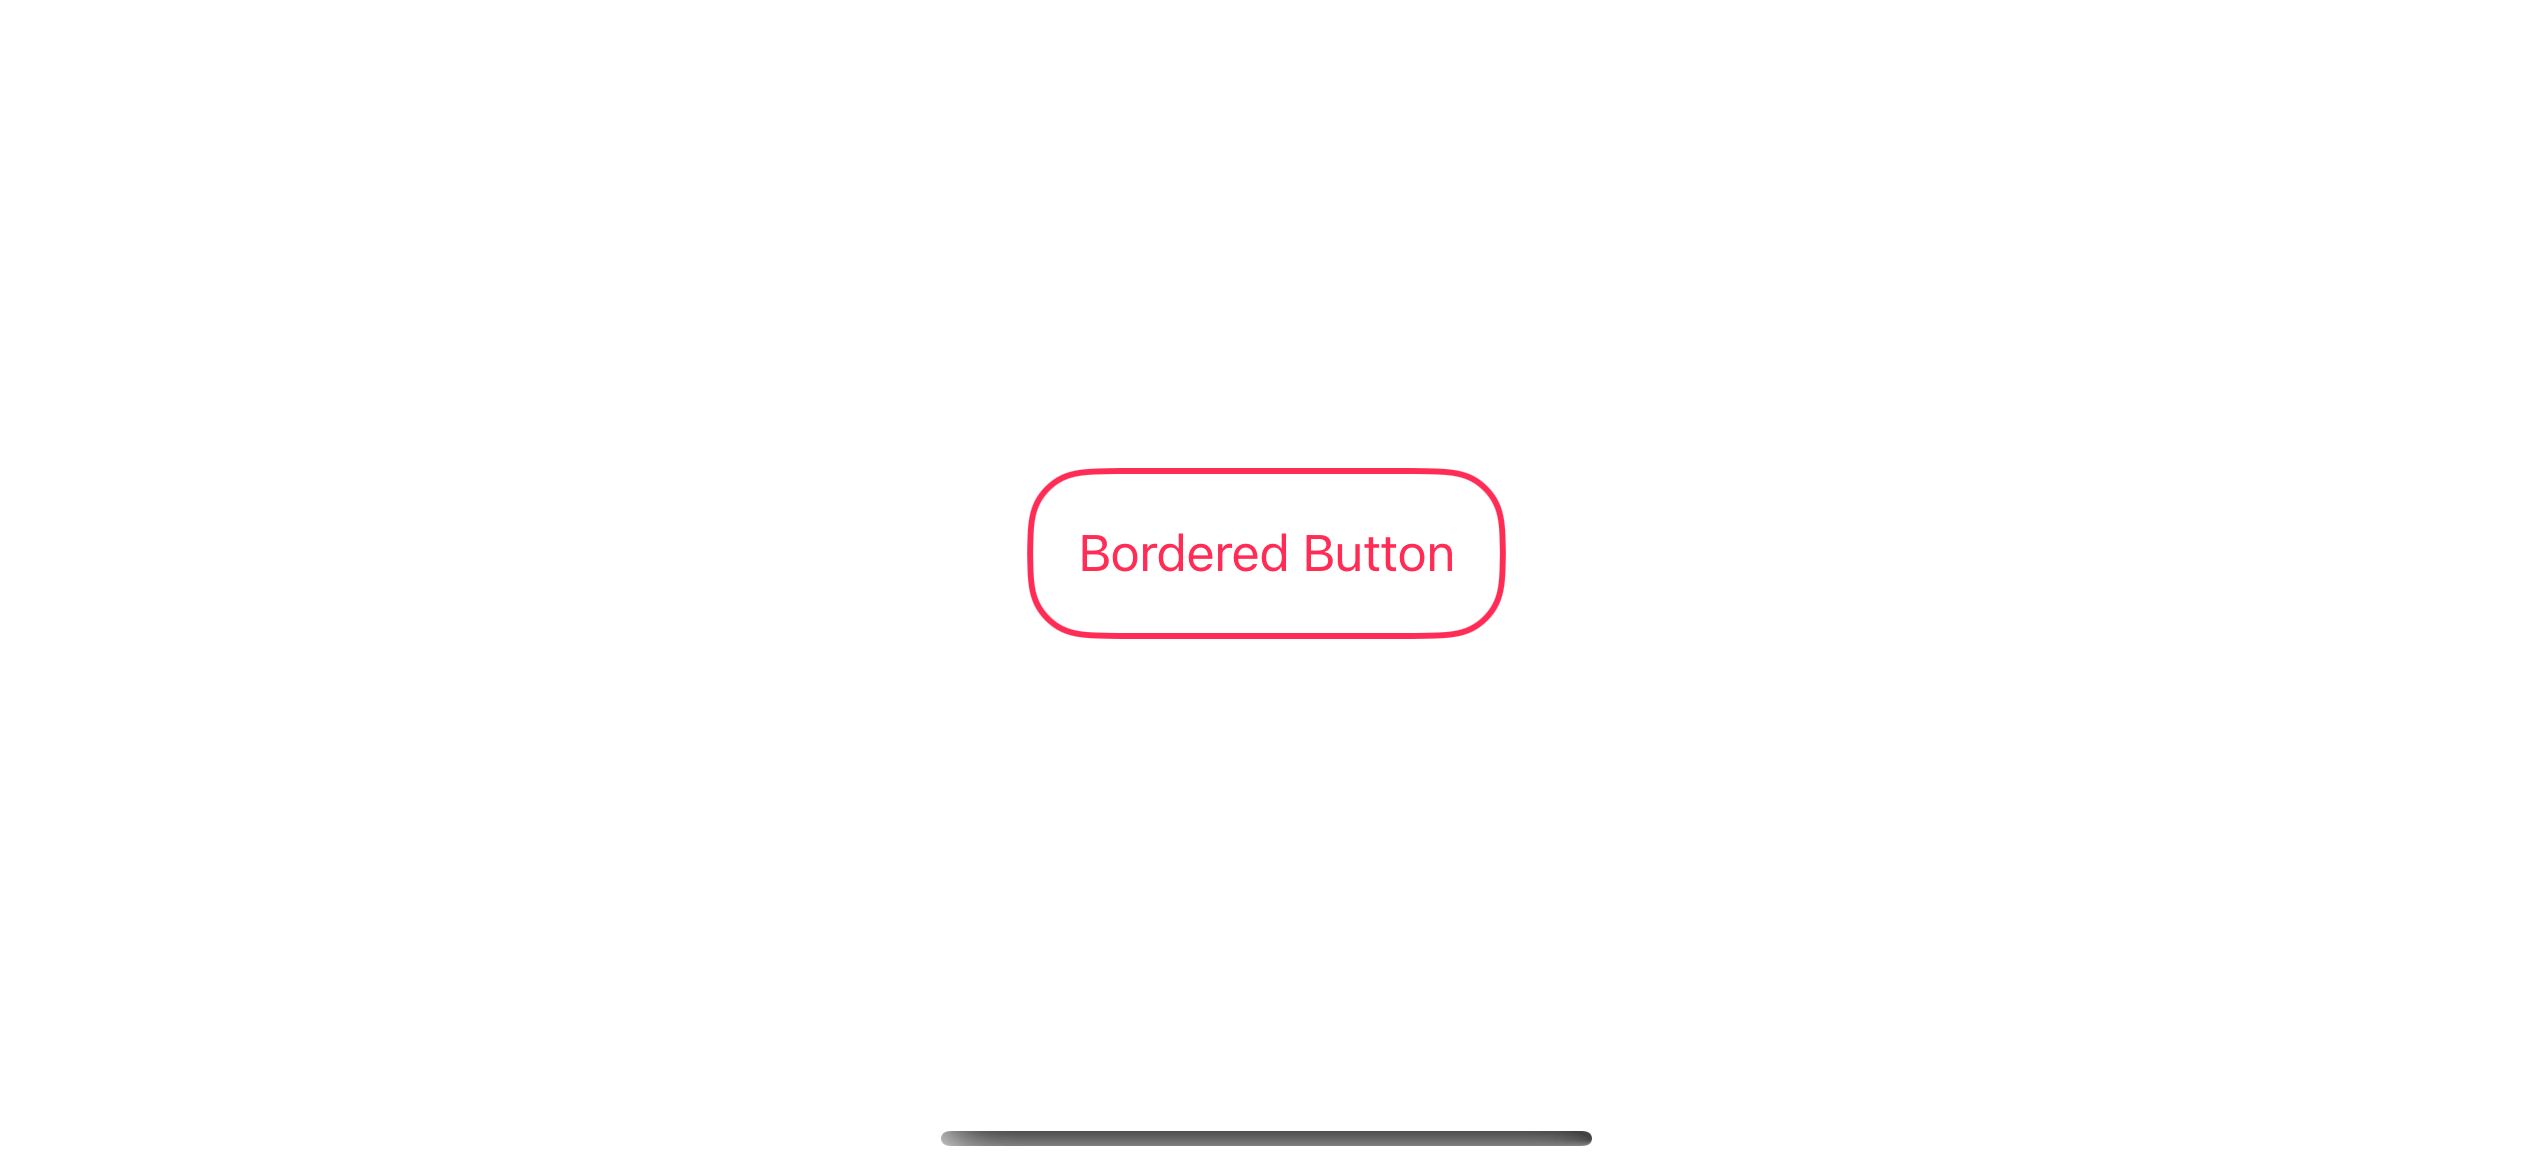
SwiftUI Button is very flexible. You can create a rounded border button using a combination of modifiers.
In this example, we use .background, RoundedRectangle, and .stroke to produce a rounded bordered button.
Button {

} label: {
    Text("Bordered Button")
        .padding()
        .foregroundColor(.pink)
        .background(
            RoundedRectangle(
                cornerRadius: 20,
                style: .continuous
            )
            .stroke(.pink, lineWidth: 2)
        )
}
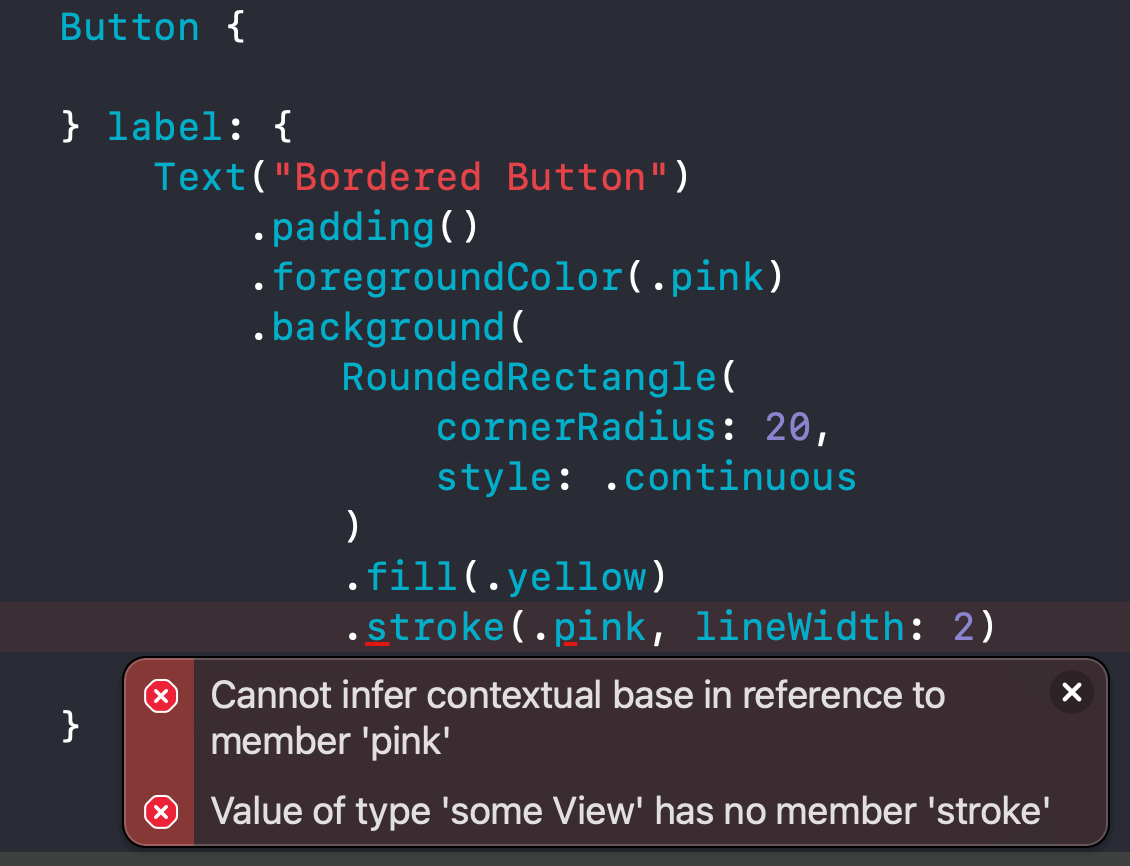
But if you want to apply a background color for this button, the process isn't straightforward.
You can't apply both the .fill and the .stroke modifier together on the same RoundedRectangle.
Button {

} label: {
    Text("Bordered Button")
        .padding()
        .foregroundColor(.pink)
        .background(
            RoundedRectangle(
                cornerRadius: 20,
                style: .continuous
            )
            .fill(.yellow)
            .stroke(.pink, lineWidth: 2) // Cannot infer contextual base in reference to member 'pink'
        )
}
You will get the "Cannot infer contextual base in reference to member 'pink'" error.
You can easily support sarunw.com by checking out this sponsor.
Offline Transcription: Fast, privacy-focus way to transcribe audio, video, and podcast files. No data leaves your Mac.
How to change Background color of Rounded Corner Border Button in SwiftUI
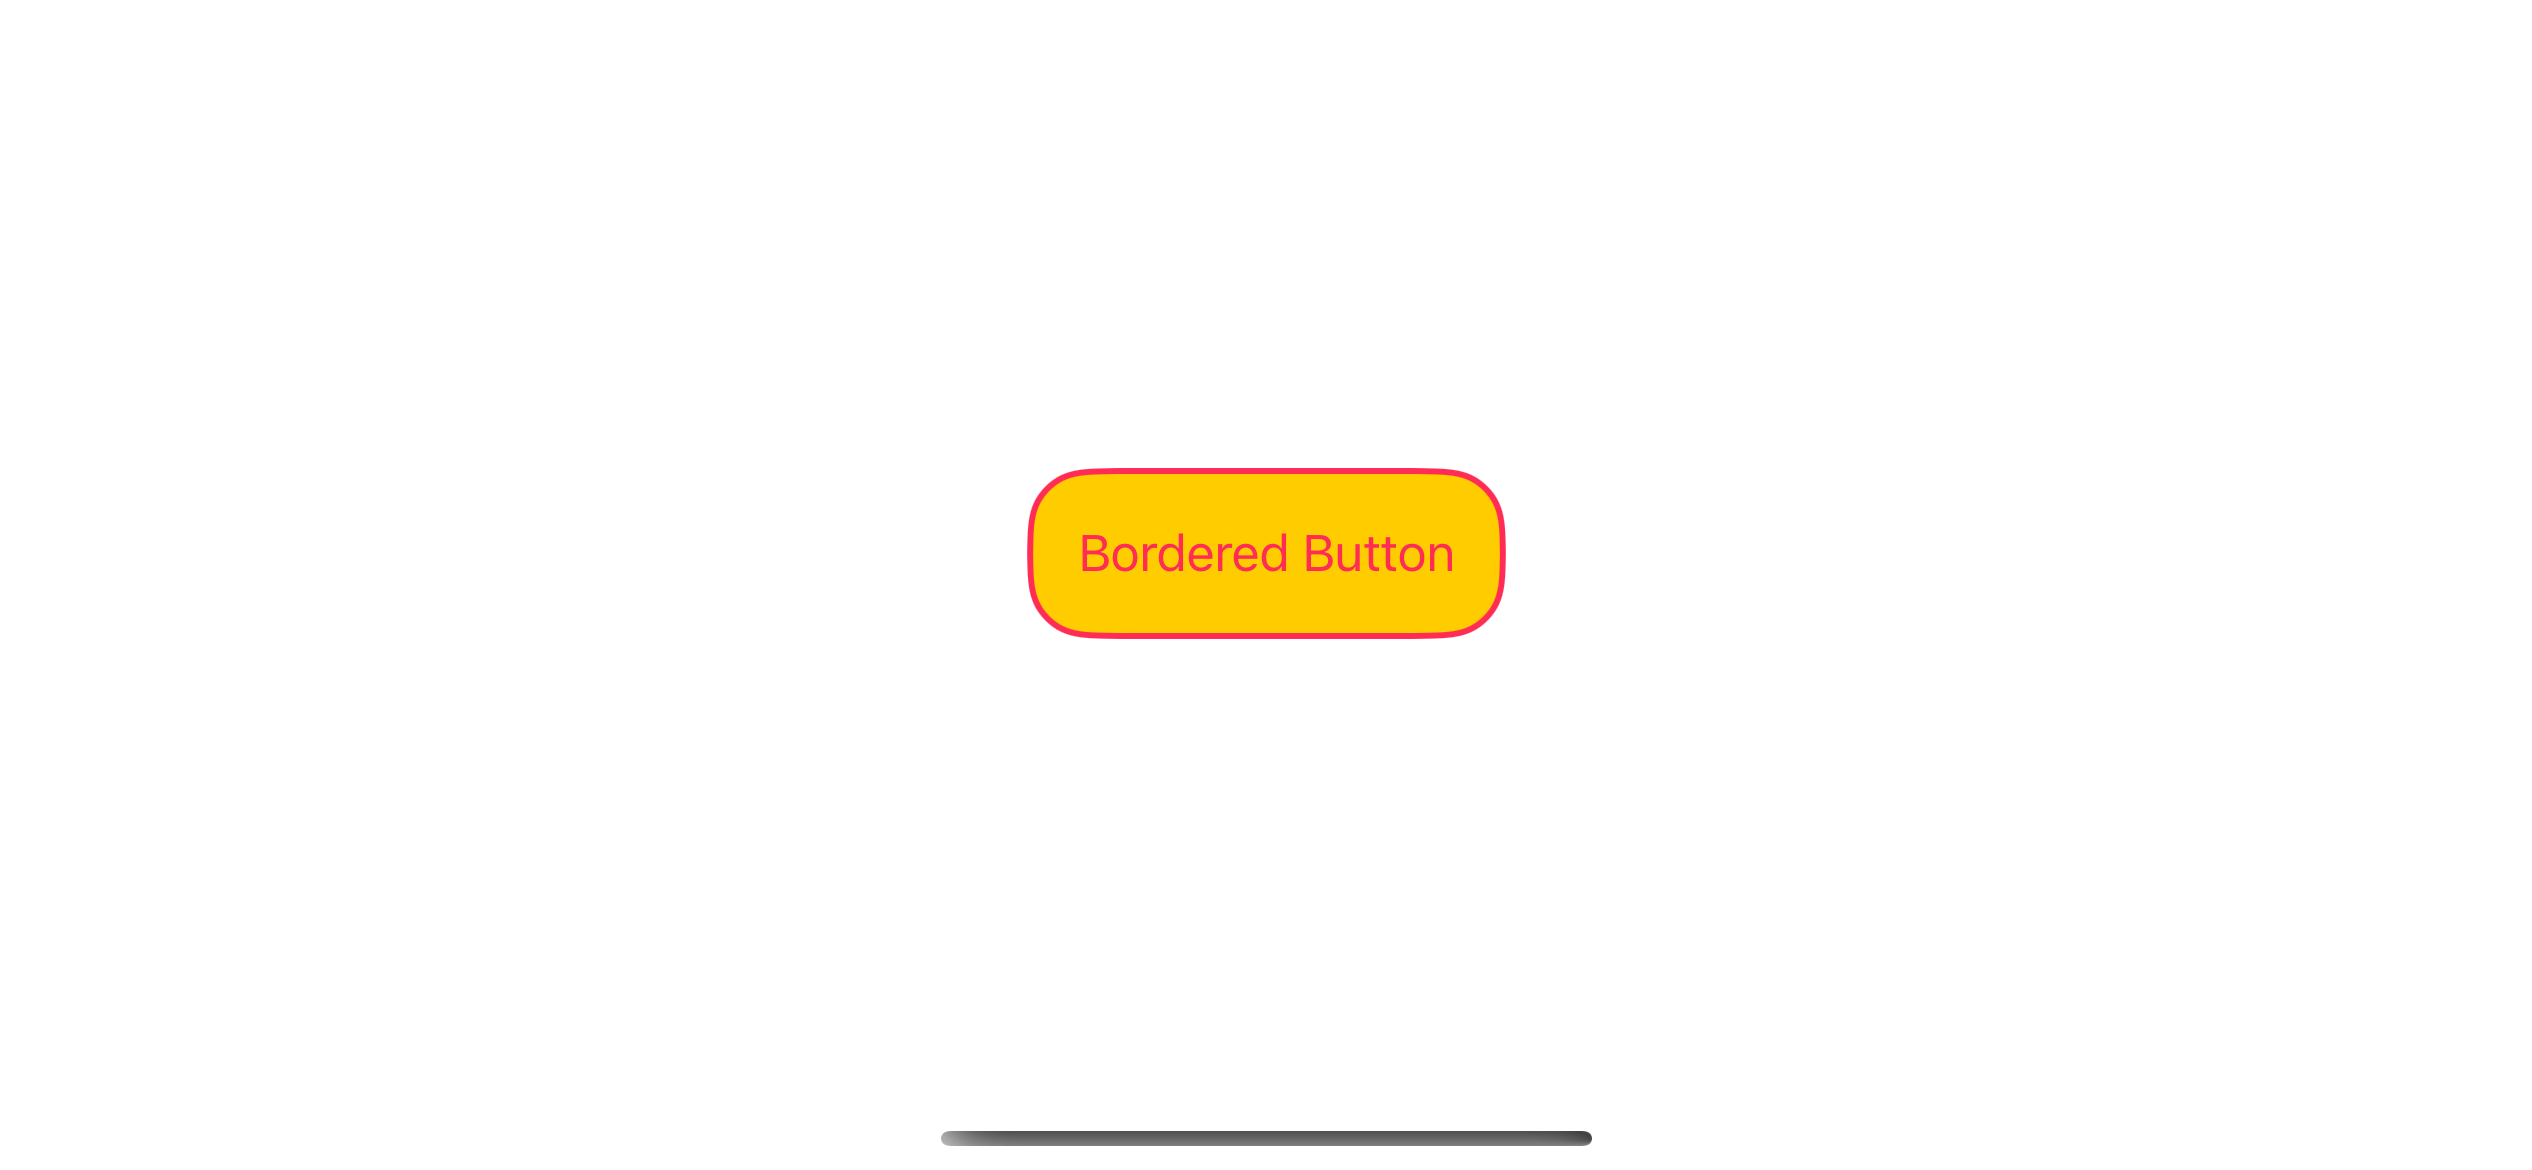
There might be several ways to do this, but I can give you two ways to do it.
Using overlay modifier
The first method is using .overlay modifier.
The overlay modifier will put the specified view in front of the view. We use this to draw a border on top of our background.
Button {

} label: {
    Text("Bordered Button")
        .padding()
        .foregroundColor(.pink)
        .background(
            RoundedRectangle(
                cornerRadius: 20,
                style: .continuous
            )
            .fill(.yellow)
        )
        .overlay {
            RoundedRectangle(
                cornerRadius: 20,
                style: .continuous
            )
            .stroke(.pink, lineWidth: 2)
        }
}
We use the same RoundedRectangle on both the background and the overlay modifiers to get the same curve.
But instead of applying .fill, we apply .stroke on the one in the .overlay modifier.
Using ZStack
The second method uses the same concept as the first one. We want to draw a border over the background view.
But instead of using overlay, we use ZStack this time.
Button {

} label: {
    Text("Bordered Button")
        .padding()
        .foregroundColor(.pink)
        .background(
            ZStack {
                RoundedRectangle(
                    cornerRadius: 20,
                    style: .continuous
                )
                .fill(.yellow)
                RoundedRectangle(
                    cornerRadius: 20,
                    style: .continuous
                )
                .stroke(.pink, lineWidth: 2)
            }

        )
}
The code is quite the same, we still need to duplicate the RoundedRectangle, but the advantage of this method is the overlay modifier is still free for other usages.
Read more article about SwiftUI, Button, or see all available topic
Enjoy the read?
If you enjoy this article, you can subscribe to the weekly newsletter.
Every Friday, you'll get a quick recap of all articles and tips posted on this site. No strings attached. Unsubscribe anytime.
Feel free to follow me on Twitter and ask your questions related to this post. Thanks for reading and see you next time.
If you enjoy my writing, please check out my Patreon https://www.patreon.com/sarunw and become my supporter. Sharing the article is also greatly appreciated.
Become a patron Buy me a coffee Tweet ShareWhere is Info.plist in Xcode 13
If you create a new SwiftUI project, you will no longer see Info.plist file. Let's learn about this change.
How to use SwiftUI as UIViewController in Storyboard
Learn how to use SwiftUI view as a UIViewController in a UIKit project that uses a Storyboard.