How to use SwiftUI in UIKit
Using SwiftUI as UIView and UIViewController
Table of Contents
In the previous post (How to use UIKit in SwiftUI) we explored the possibility to use UIKit in SwiftUI. Today I want to cover the other way round, using SwiftUI in UIKit project. I interest in this approach more, since all iOS projects right now are UIKit and rewrite everything from the ground up with SwiftUI for a sake of change wouldn't be possible, especially if you work for a client. So you would end up continue with UIKit or gradually adopt SwiftUI in your new component.
I want to know the complexity of adopting it in UIKit codebase, so when the time comes I can make sure the transition would go as smooth as possible.
Initialization
Apple provides a very basic UIViewController subclass for hosting SwiftUI, UIHostingController for UIKit / NSHostingController for AppKit / WKHostingController for WatchKit.
Nothing much you can do with this class, you just initialize it with SwiftUI's view. You have two choices here, via code with init(rootView: Content) and via interface builder with init?(coder: NSCoder, rootView: Content).
Init programmatically
You simply init UIHostingController with SwiftUI's view.
let vc = UIHostingController(rootView: Text("Hello World"))Then use it just like normal UIViewController.
Init in interface builder
Xcode 11 introduced a new component in Interface Builder, Hosting View Controller. A Hosting View Controller is a UIViewController that hosts a SwiftUI view hierarchy.
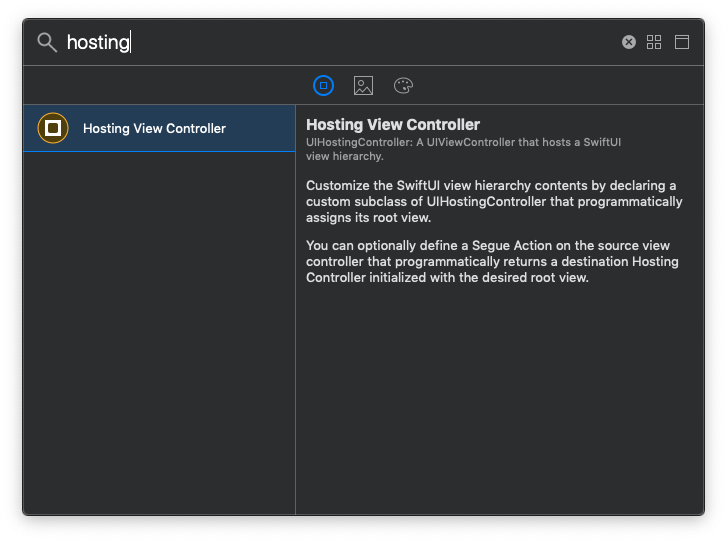
You have 2 ways to set SwiftUI view to this Hosting View Controller.
IBSegueAction
You add a Hosting View Controller to your storyboard and create a segue to it. Then Control-drag from the segue into the presenting view controller (view controller that initiate push/present) to create an IBSegueAction, where you return a UIHostingController with your rootView.
UIHostingController(rootView: ContentView())More detail can be found in Better dependency injection for Storyboards in iOS13.
Using custom subclass of UIHostingController
From the Apple document, we can customize the SwiftUI view hierarchy contents by declaring a custom subclass of UIHostingController that programmatically assigns its root view.
I can't make it work with this approach, maybe its a bug. I will update this in the next beta.
Updated I figured out how to do it now, check Custom UIHostingController post for full detail.
You can easily support sarunw.com by checking out this sponsor.
Translate your app In 1 click: Simplifies app localization and helps you reach more users.
Using as UIViewController
SwiftUI has no concept of UIViewController, everything is just a View. For SwiftUI to work as UIViewController you just set it as a rootView of UIHostingController like the example above.
Using as UIView
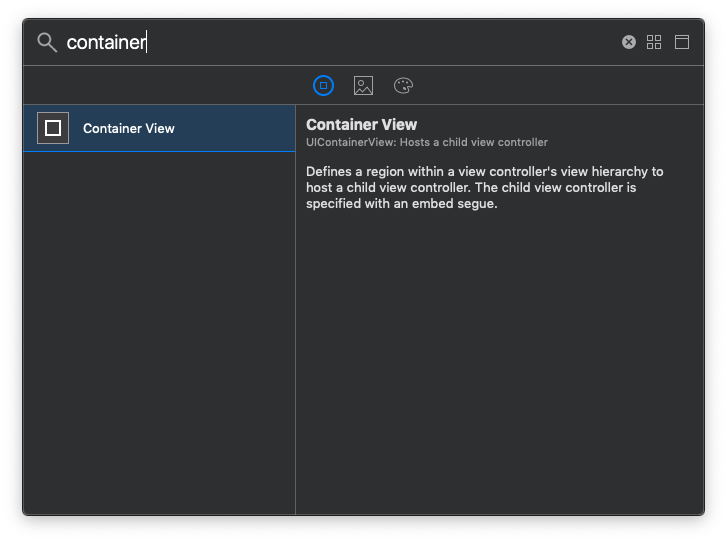
Since we use UIHostingController as a bridging mechanism, all SwiftUI view is treated as a UIViewController, so if we want to use it as UIView (embed in other views) we can use Container View in Interface Builder.
Use addChildViewController: if we want to add it programmatically.
let childView = UIHostingController(rootView: SwiftUIView())
addChild(childView)
childView.view.frame = frame
view.addSubview(childView.view)
childView.didMove(toParent: self)
Communication
In SwiftUI, views communicate in the form of binding, but in UIKit we normally use a delegate. How do we communicate between these two worlds? Here is an example we can work around this. Please note that this might not be the right approach, just my quick solution for a problem aiming to be a proof of concept.
ObjectBinding and sink
Let's say you want to create a new contact picker view controller and you decided to use SwiftUI for this view.
You end up with something like this, a simple view with 3 contacts.
struct ContactPickerView : View {

    var body: some View {
        List {
            Button("Alice") {
                // Delegate back to caller
            }
            Button("Bob") {
                // Delegate back to caller
            }
            Button("Trudy") {
                // Delegate back to caller
            }
        }
    }
}
I use BindableObject as a delegate in this case.
Note that BindableObject protocol only need willChange, but I also add didChange for delegation purpose.
class ContactPickerDelegate: BindableObject {

    var willChange = PassthroughSubject<ContactPickerDelegate, Never>()
    var didChange = PassthroughSubject<ContactPickerDelegate, Never>()

    var contact: String? {
        willSet {
            willChange.send(self)
        }

        didSet {
            didChange.send(self)
        }
    }
}
ContactPickerView then accept ObjectBinding of type ContactPickerDelegate
struct ContactPickerView : View {
    @ObjectBinding var delegate: ContactPickerDelegate

    var body: some View {
        List {
            Button("Alice") {
                self.delegate.contact = "Alice"
            }
            Button("Bob") {
                self.delegate.contact = "Bob"
            }
            Button("Trudy") {
                self.delegate.contact = "Trudy"
            }
        }
    }
}
Present SwiftUI and inject delegate object.
let delegate = ContactPickerDelegate()

let vc = UIHostingController(rootView: ContactPickerView(delegate: delegate))
present(vc, animated: true)
The last step is the presenting listen for didChange.
delegate.didChange.sink { (delegate) in
    // reading selected contact with `delegate.contact`
    self.dismiss(animated: true, completion: nil)
}
Conclusion
It's good to know we can adopt SwiftUI partially. You can judge for yourself which part should be SwiftUI and use it only where you see necessary. The integration I show in this post might not be elegant, but it works as a proof of concept which you can build upon.
References
You can easily support sarunw.com by checking out this sponsor.
Translate your app In 1 click: Simplifies app localization and helps you reach more users.
Related Post
Read more article about Swift, iOS, SwiftUI, UIKit, or see all available topic
Enjoy the read?
If you enjoy this article, you can subscribe to the weekly newsletter.
Every Friday, you'll get a quick recap of all articles and tips posted on this site. No strings attached. Unsubscribe anytime.
Feel free to follow me on Twitter and ask your questions related to this post. Thanks for reading and see you next time.
If you enjoy my writing, please check out my Patreon https://www.patreon.com/sarunw and become my supporter. Sharing the article is also greatly appreciated.
Become a patron Buy me a coffee Tweet Share