How to change a Tab Bar item color in SwiftUI
Table of Contents
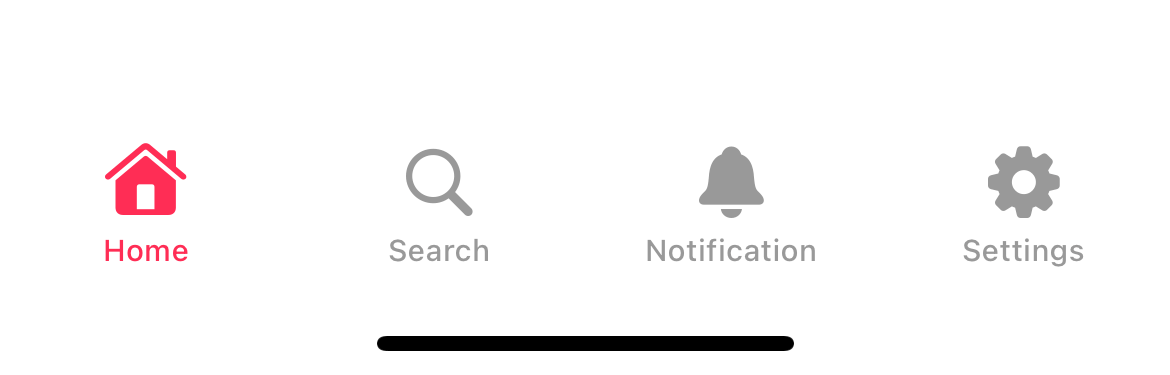
By default, the selected tab bar item will use the iOS default blue color.
Here is an example of a tab bar.

There are two ways to change a tab bar selected color in SwiftUI.
Each method means to be used in different circumstances. Let's learn what the difference is.
Change tab bar item using accentColor
SwiftUI app uses accent color as a color for active tab bar item. If we don't specify one, iOS will use the default blue color you usually see.
To change the selected tab bar item color, you need to change the app's accent color. Here is how you do it.
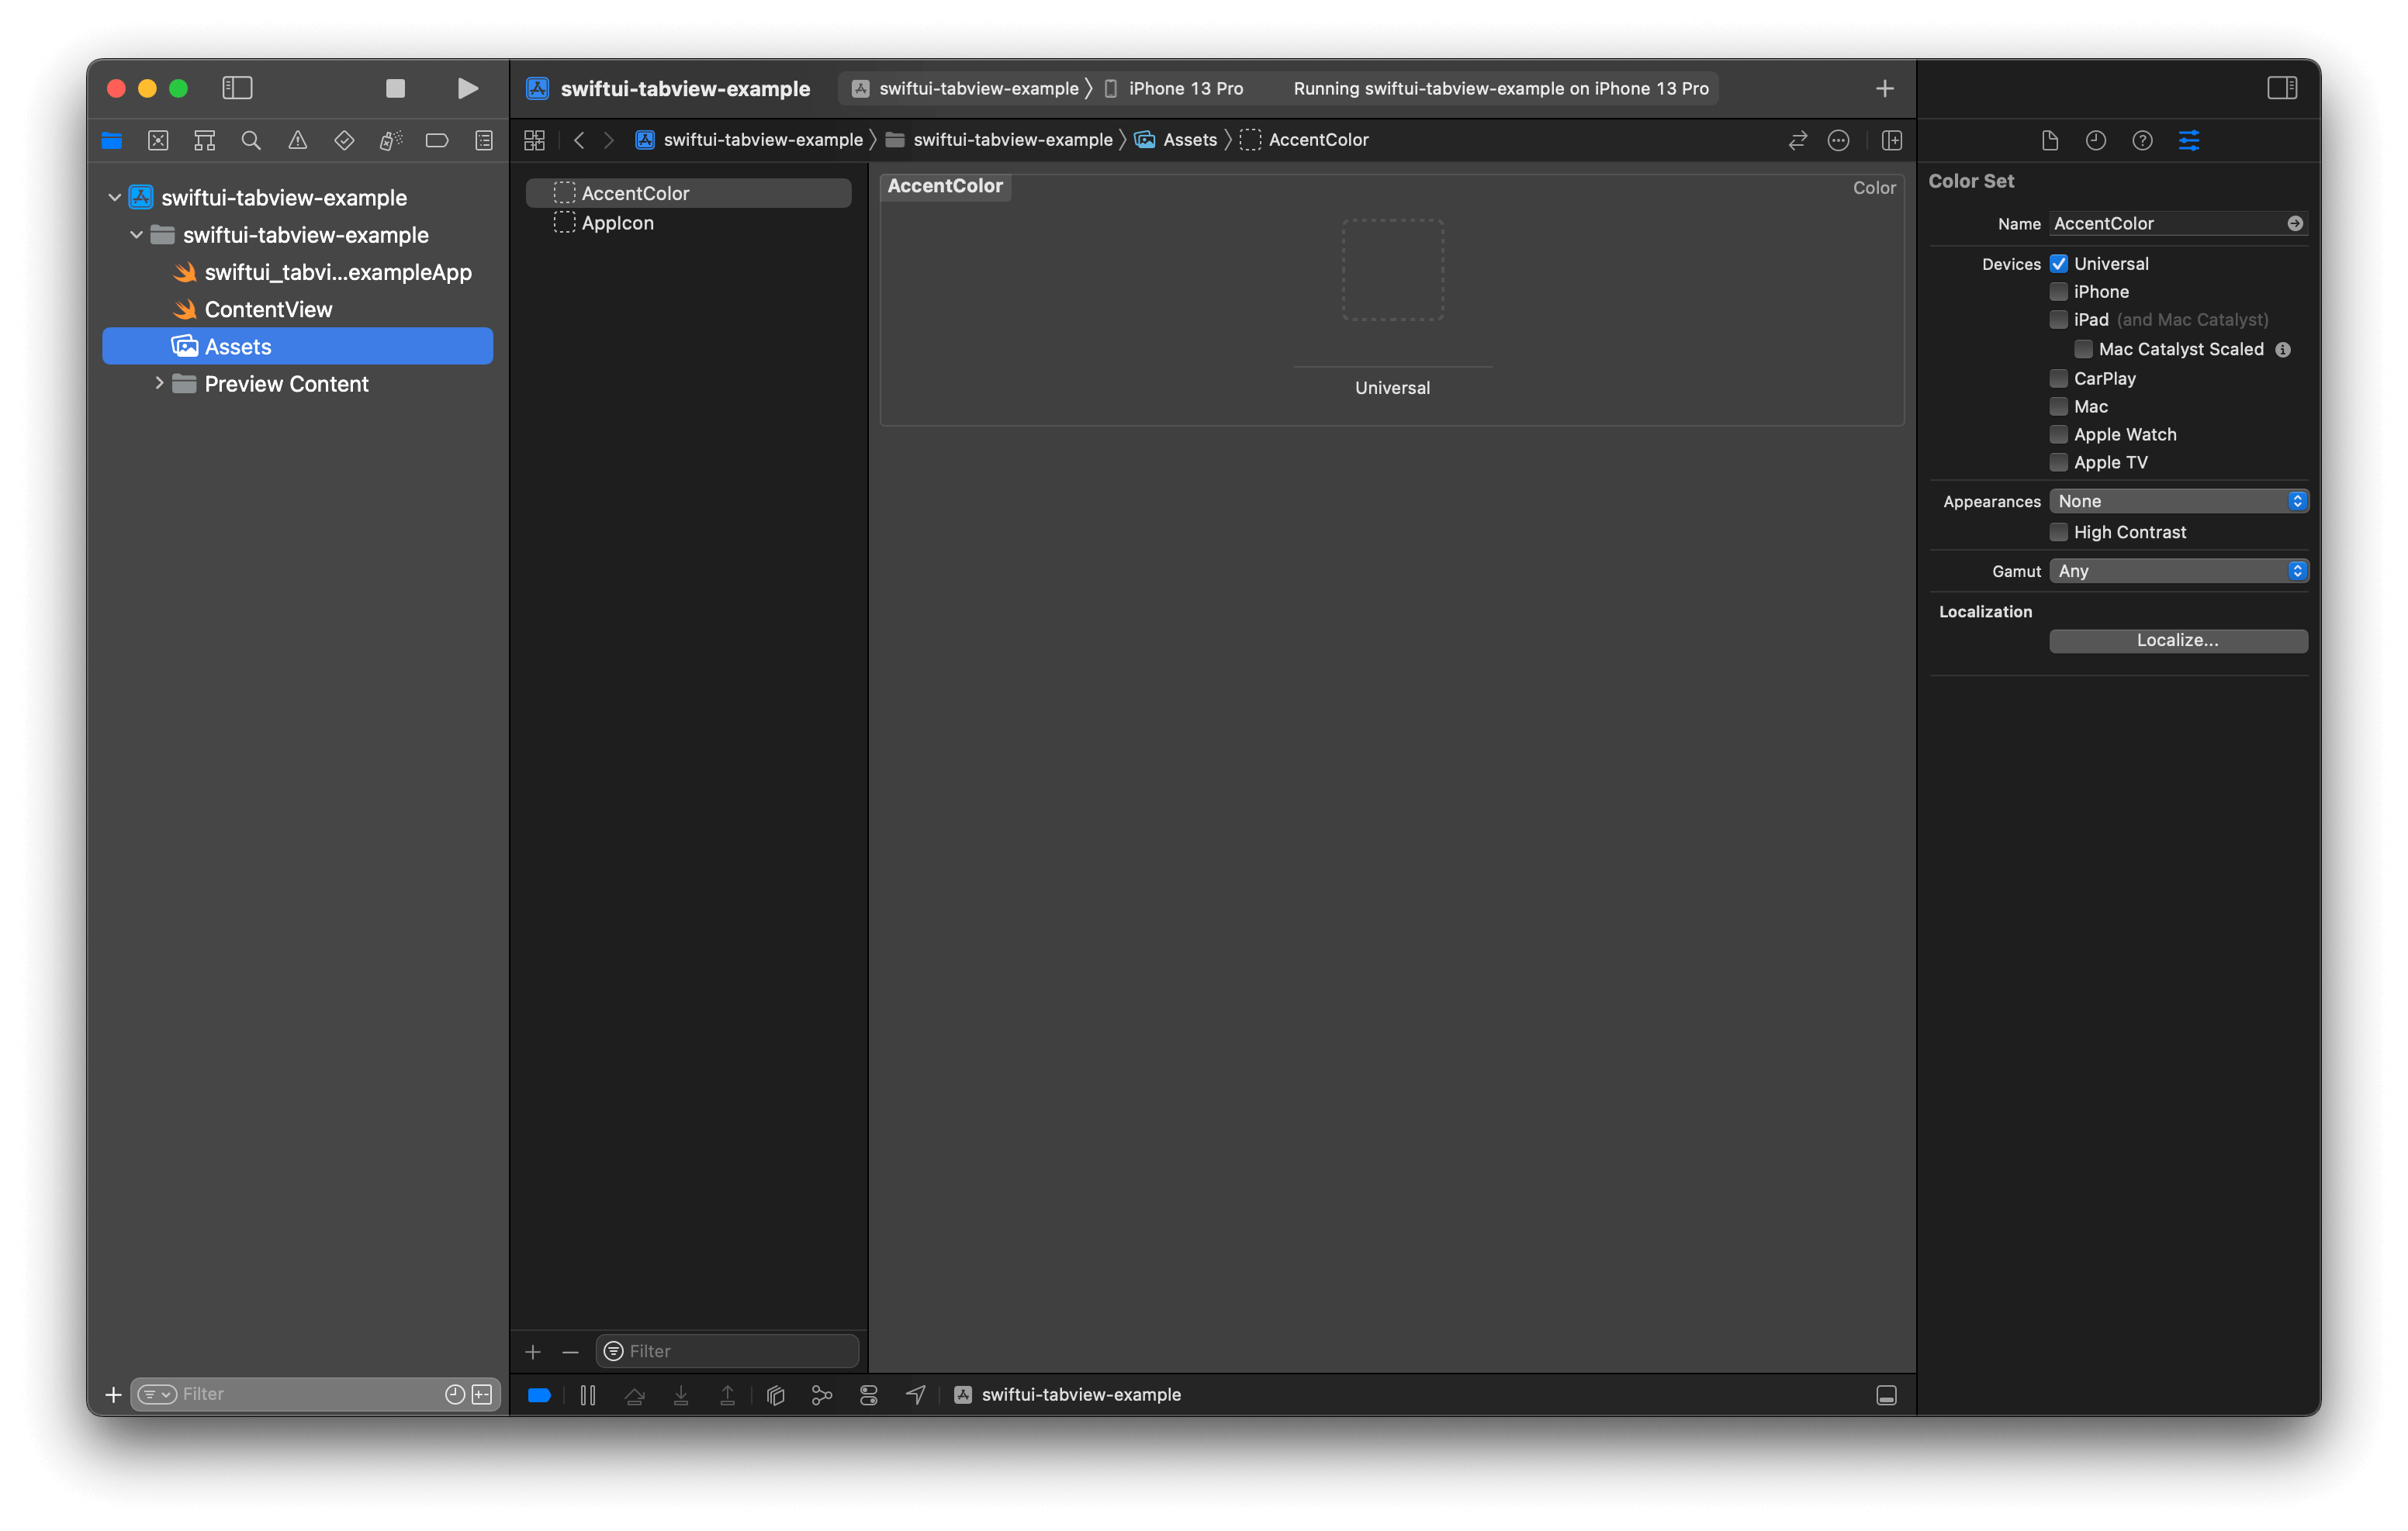
- Click on the project Asset Catalog (The default one named
Assets.xcassets). - Click on the
AccentColorcolor set. This is the color that will be used as the app accent color.
- Then, you can change this to the color of your choice. As an example, I change this value to
.systemPink
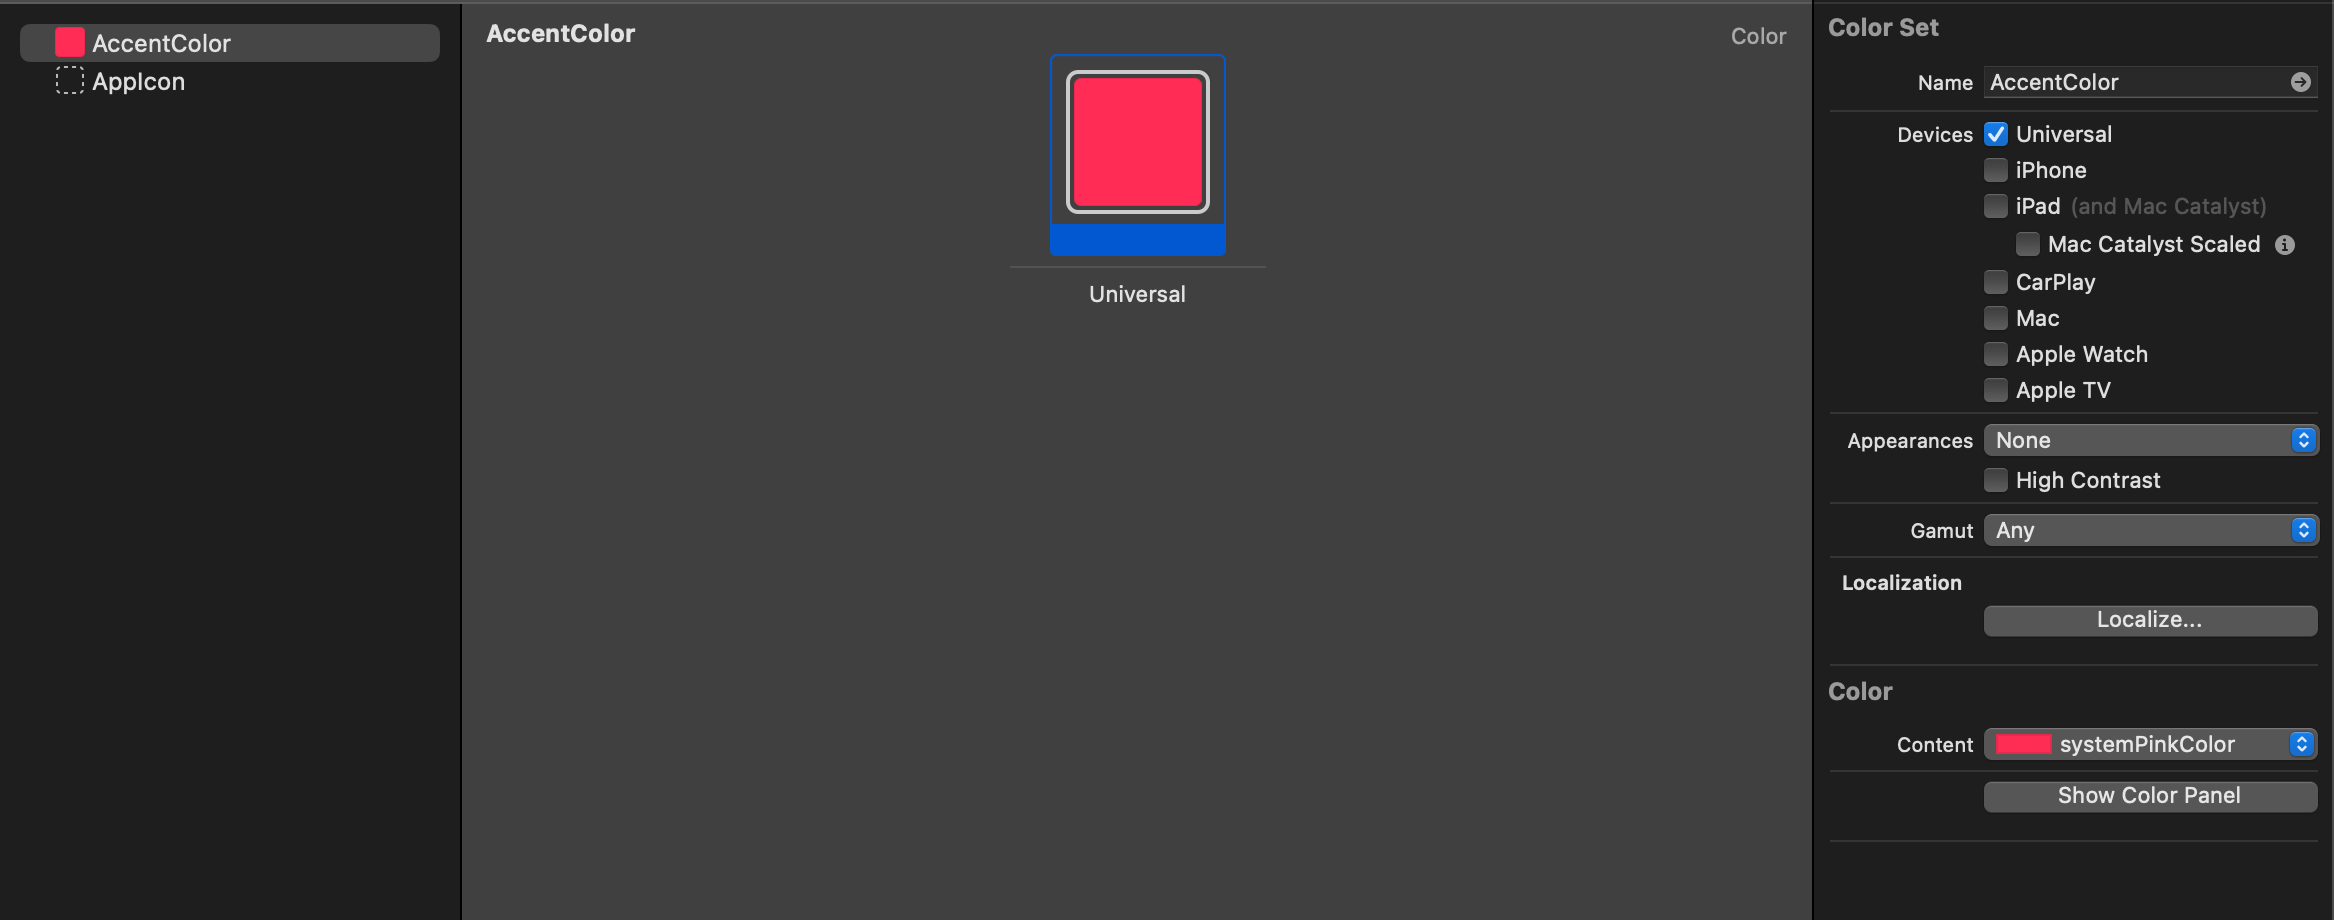
After you change the accent color, the tab bar item in your app will use this color as the selected color.
TabView {
    Text("Home")
        .tabItem {
            Label("Home", systemImage: "house")
        }
    Text("Search")
        .tabItem {
            Label("Search", systemImage: "magnifyingglass")
        }
    Text("Notification")
        .tabItem {
            Label("Notification", systemImage: "bell")
        }
    Text("Settings")
        .tabItem {
            Label("Settings", systemImage: "gearshape")
        }
}
Caveat
Before iOS 16, you can use .accentColor color modifier on TabView.
TabView {
    ...
}
.accentColor(Color.pink)
But in iOS 16, .accentColor has been deprecated and no longer work with TabView.
You can easily support sarunw.com by checking out this sponsor.
Offline Transcription: Fast, privacy-focus way to transcribe audio, video, and podcast files. No data leaves your Mac.
Change tab bar item using Color Scheme
Since iOS 15, a navigation bar and a tab bar will show/hide its background only when there is content behind it.
In iOS 16, we got a new way to modify the tab bar item color when the background is presented.
To modify a tab bar item color when background is presented, we use toolbarColorScheme(_:for:) modifier.
toolbarColorScheme accept two parameters.
ColorScheme: The preferred color scheme of the background of the bar.ToolbarPlacement: The bars to update the color scheme. Since we want to change the color for a tab bar, we will set this to.tabBar.
In this example, I apply the light color scheme to each tab bar item with .toolbarColorScheme(.light, for: .tabBar).
TabView {
    Group {
        NavigationStack {
            List {
                Text("Home")
                    .frame(height: 500)
                    .navigationTitle("Home")
            }
        }
        .tabItem {
            Label("Home", systemImage: "house")
        }
        Text("Search")
            .tabItem {
                Label("Search", systemImage: "magnifyingglass")
            }
        Text("Notification")
            .tabItem {
                Label("Notification", systemImage: "bell")
            }
        Text("Settings")
            .tabItem {
                Label("Settings", systemImage: "gearshape")
            }

    }
    .toolbarColorScheme(.light, for: .tabBar)
}
As you can see, in the initial launch, the active tab bar uses the pink color from the accentColor we set in Asset Catalog.
Then after we scroll the content behind the tab bar, the background shows up, and the tab bar item changes its color to match the color scheme that we set in .toolbarColorScheme(.light, for: .tabBar).
This is very helpful when you have a custom tab bar background color that doesn't work well with your accent color.
Read more article about SwiftUI, TabView, or see all available topic
Enjoy the read?
If you enjoy this article, you can subscribe to the weekly newsletter.
Every Friday, you'll get a quick recap of all articles and tips posted on this site. No strings attached. Unsubscribe anytime.
Feel free to follow me on Twitter and ask your questions related to this post. Thanks for reading and see you next time.
If you enjoy my writing, please check out my Patreon https://www.patreon.com/sarunw and become my supporter. Sharing the article is also greatly appreciated.
Become a patron Buy me a coffee Tweet ShareHow to Upload dSYM to Firebase using upload_symbols_to_crashlytics and SPM
Learn how to upload a dSYM file to Firebase with Fastlane.