7 Xcode shortcuts for a large iOS project
Table of Contents
As your project grows, so does your codebase. You will have hundreds of files to work with before you know it.
In this article, I will share seven Xcode shortcuts that will help you on a large iOS project. The tricks you are about to learn will help you find and navigate to a file/class/symbol in your large and small project.
Xcode shortcuts for large iOS project
- Open Quickly(⇧ + ⌘ + O): This shortcut lets you jump to any class, enum, struct, function, or other entities[1] in your project.
- Reveal in Project Navigator (⇧ + ⌘ + J): This will scroll to the file you are working in the project navigator.
- Filter file in Project Navigator: You can filter files in Project Navigator to show only the one you interested.
- Going Back and Forward (⌃ + ⌘ + ← and ⌃ + ⌘ + →): This will navigate back and forth between a file in Xcode navigation stack.
- Jump to Line (⌘ + L): This command will jump to specific line in the current file.
- Show Document Items (⌃ + 6): This will show a drop down menu with all the symbols in the current file.
- Minimap: You can use minimap to discover symbols within a file and jump right to it.
You can easily support sarunw.com by checking out this sponsor.
Screenshot Studio: Create App Store screenshots in seconds not minutes.
Open Quickly: ⇧ + ⌘ + O (Shift + Command + O)
I put this command up here because it is the one I can't live without.
Open Quickly lets you jump to any class, enum, struct, function, or other entities[1:1] in your project using a fuzzy search query.
How to use Open Quickly
To use Open Quickly, we use this shortcut.
⇧ - shift + ⌘ - command + O or
File menu > Open Quickly...
After using Open Quickly, you will see a search field popping up.
- Type in the name of an entity that you want to open. It will perform a fuzzy search[2], so you can skip some words out.
- You will see a list of symbols that match the search term.
- You can use an up/down arrow key to highlight the one you want.
- Then hit a return key to open the file containing that symbol.
- Press ⏎ Return key to open the file in the Main Editor (the one on the left).
- Press ⌥ - option + ⏎ Return key to open the file in the Secondary Editor.
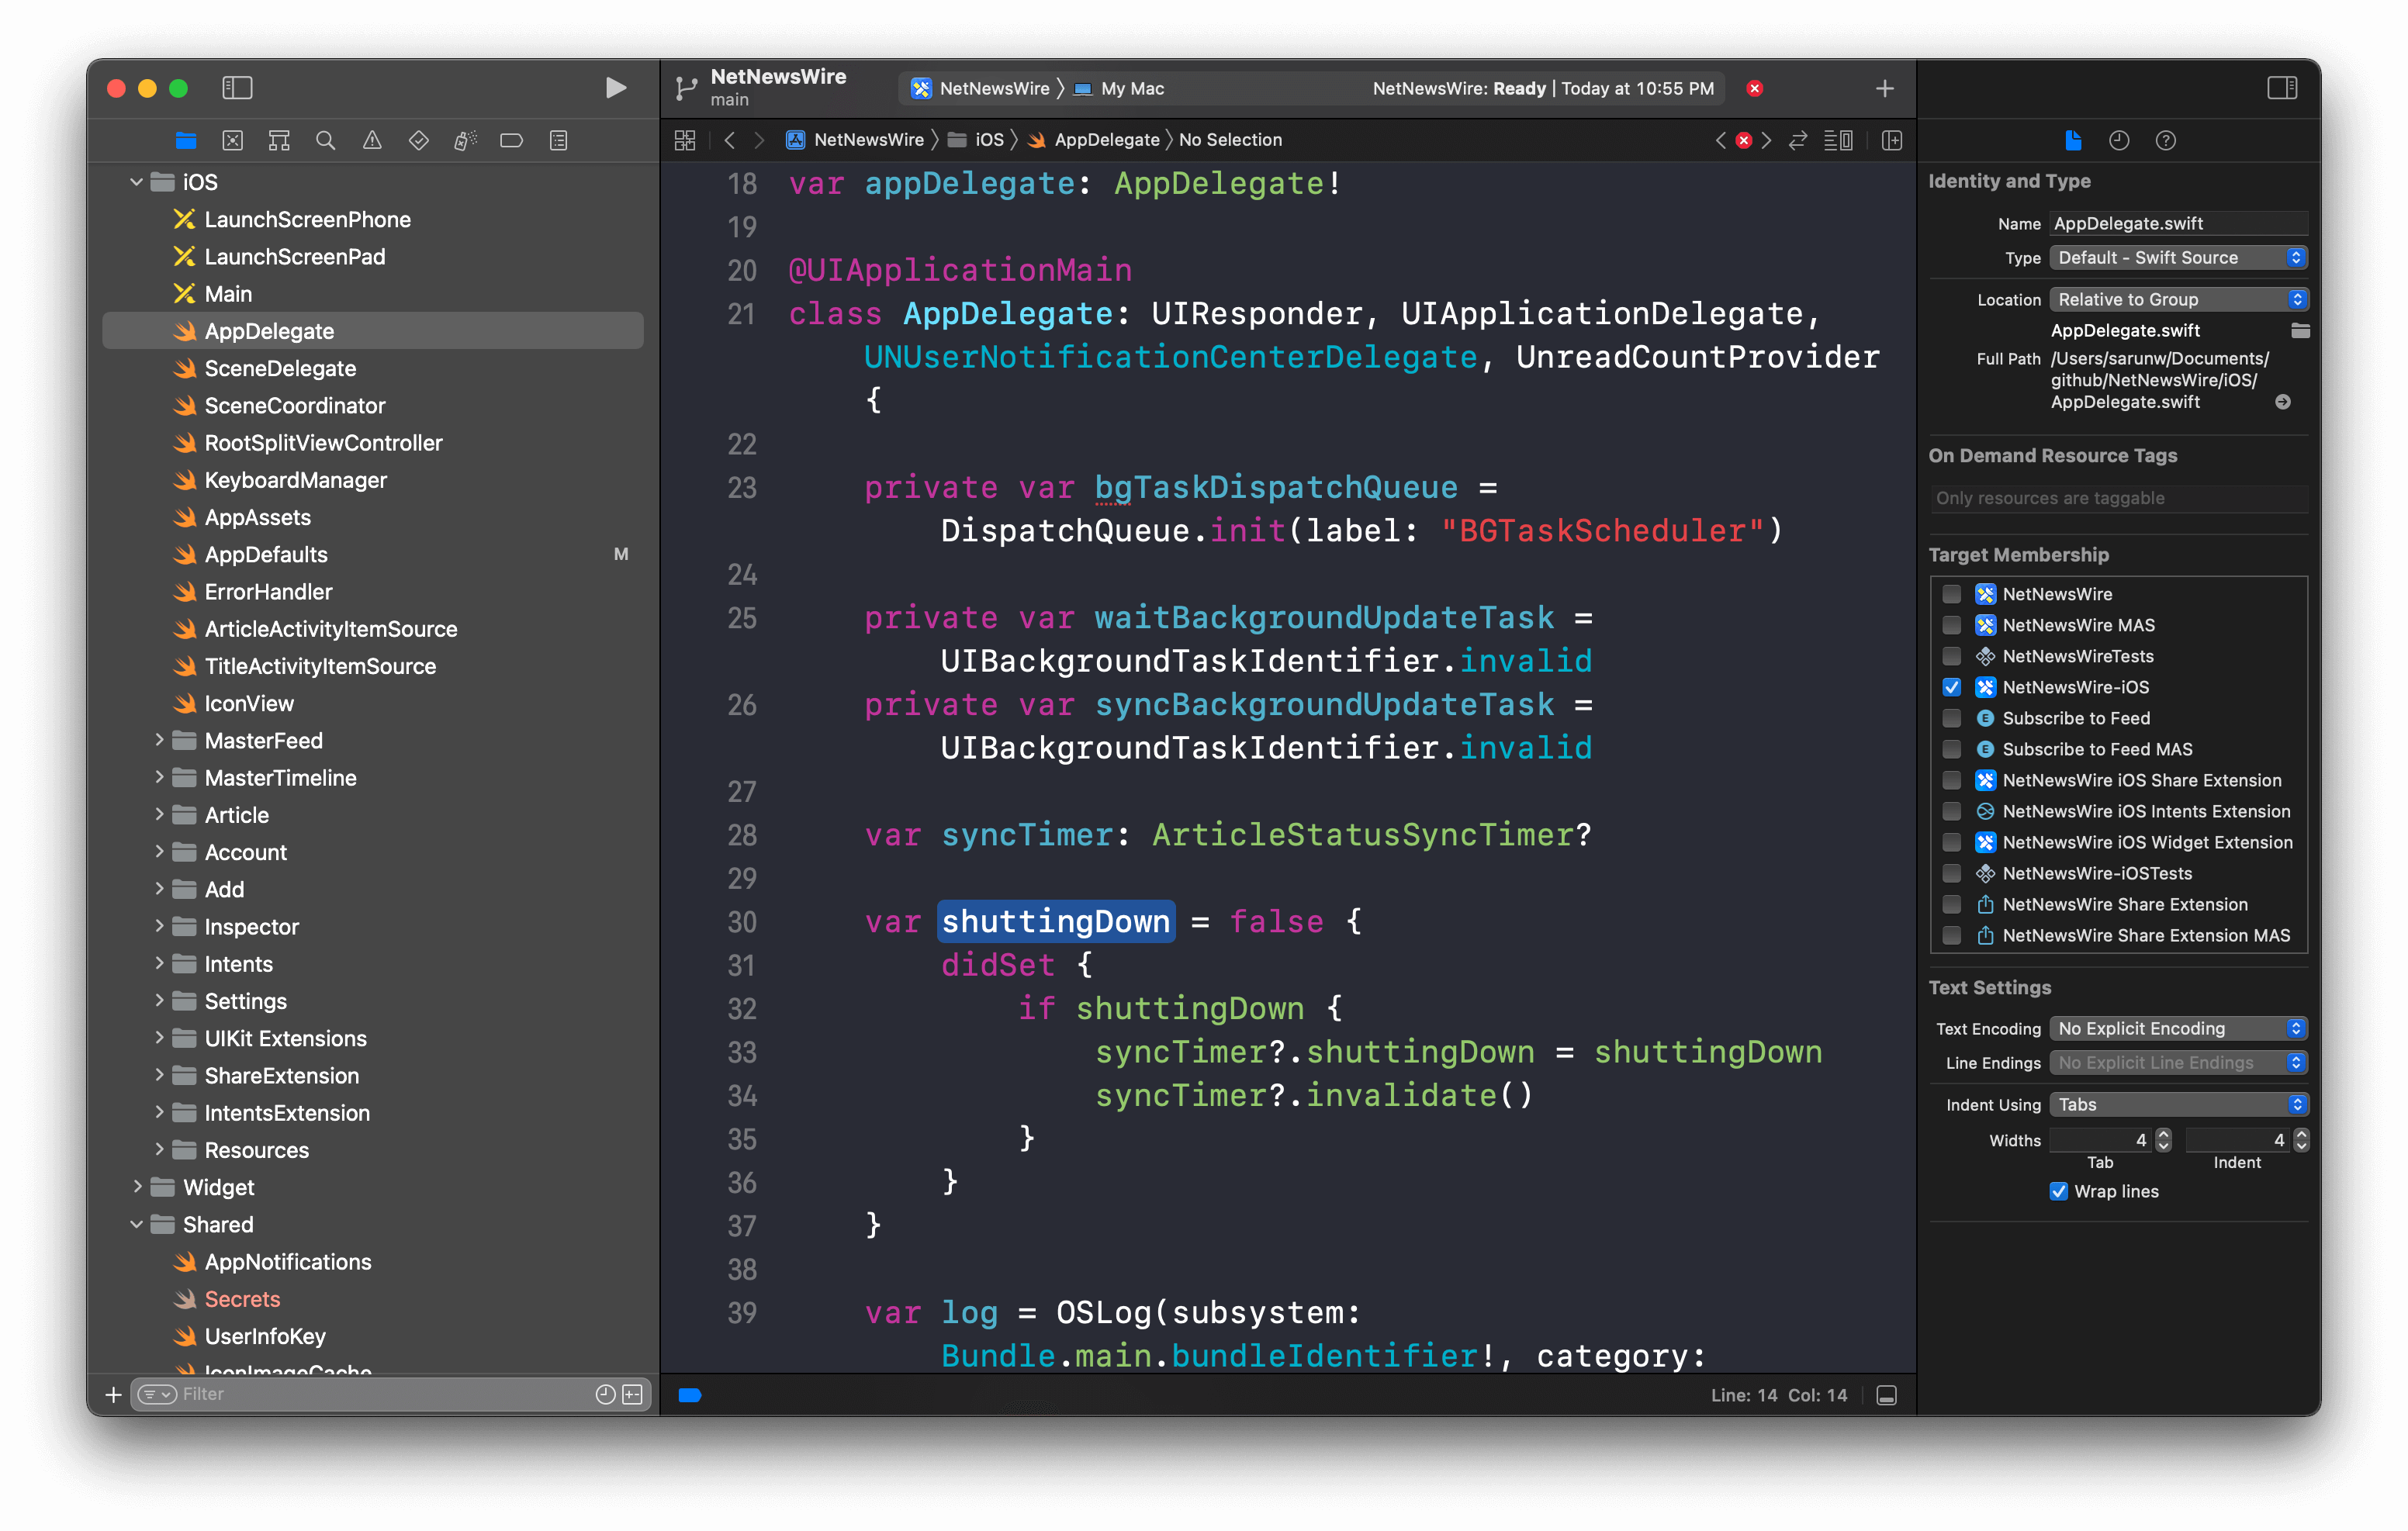
Here is an example of opening up the SceneDelegate class with Open Quickly.
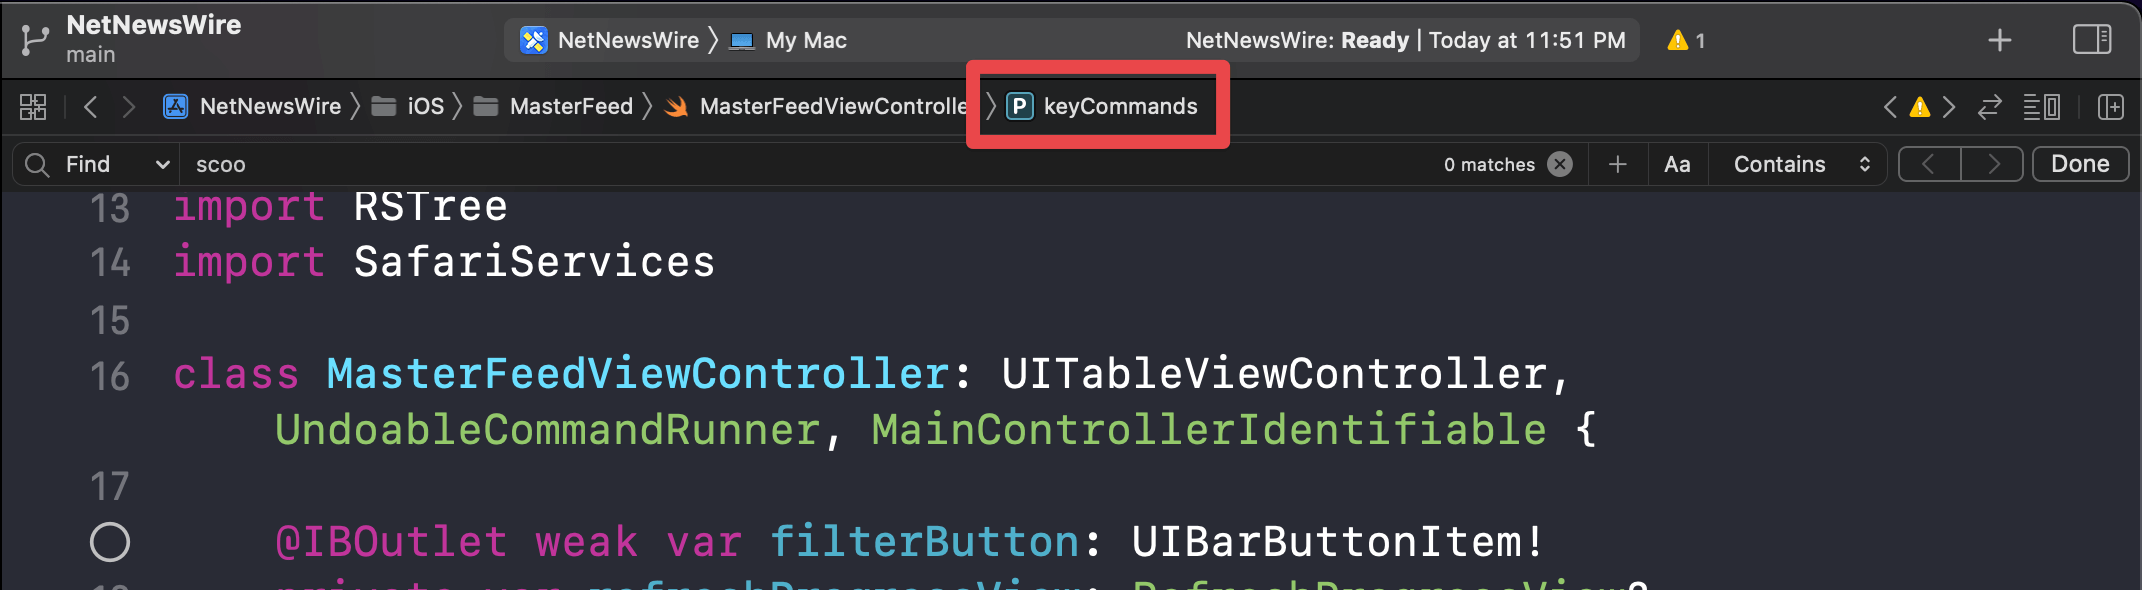
Here is another example of jumping to the _keyCommands variable in the KeyboardManager file. We open the file in the Secondary Editor using ⌥ + ⏎ (Option + Return).

Reveal in Project Navigator: ⇧ + ⌘ + J (Shift + Command + J)
This is an Open Quickly command's companion.
I usually group related files under the same folder. For example, I might group model, view model, and view controller under a User folder.
After you jump to a file, you probably need to open other files in that group. Reveal in Project Navigator command will scroll to the file you are working on in the Product Navigator and expand the folders in which the file is located.
How to use Reveal in Project Navigator
To use Reveal in Project Navigator, we use this shortcut.
⇧ - shift + ⌘ - command + J or
Navigate menu > Reveal in Project Navigator
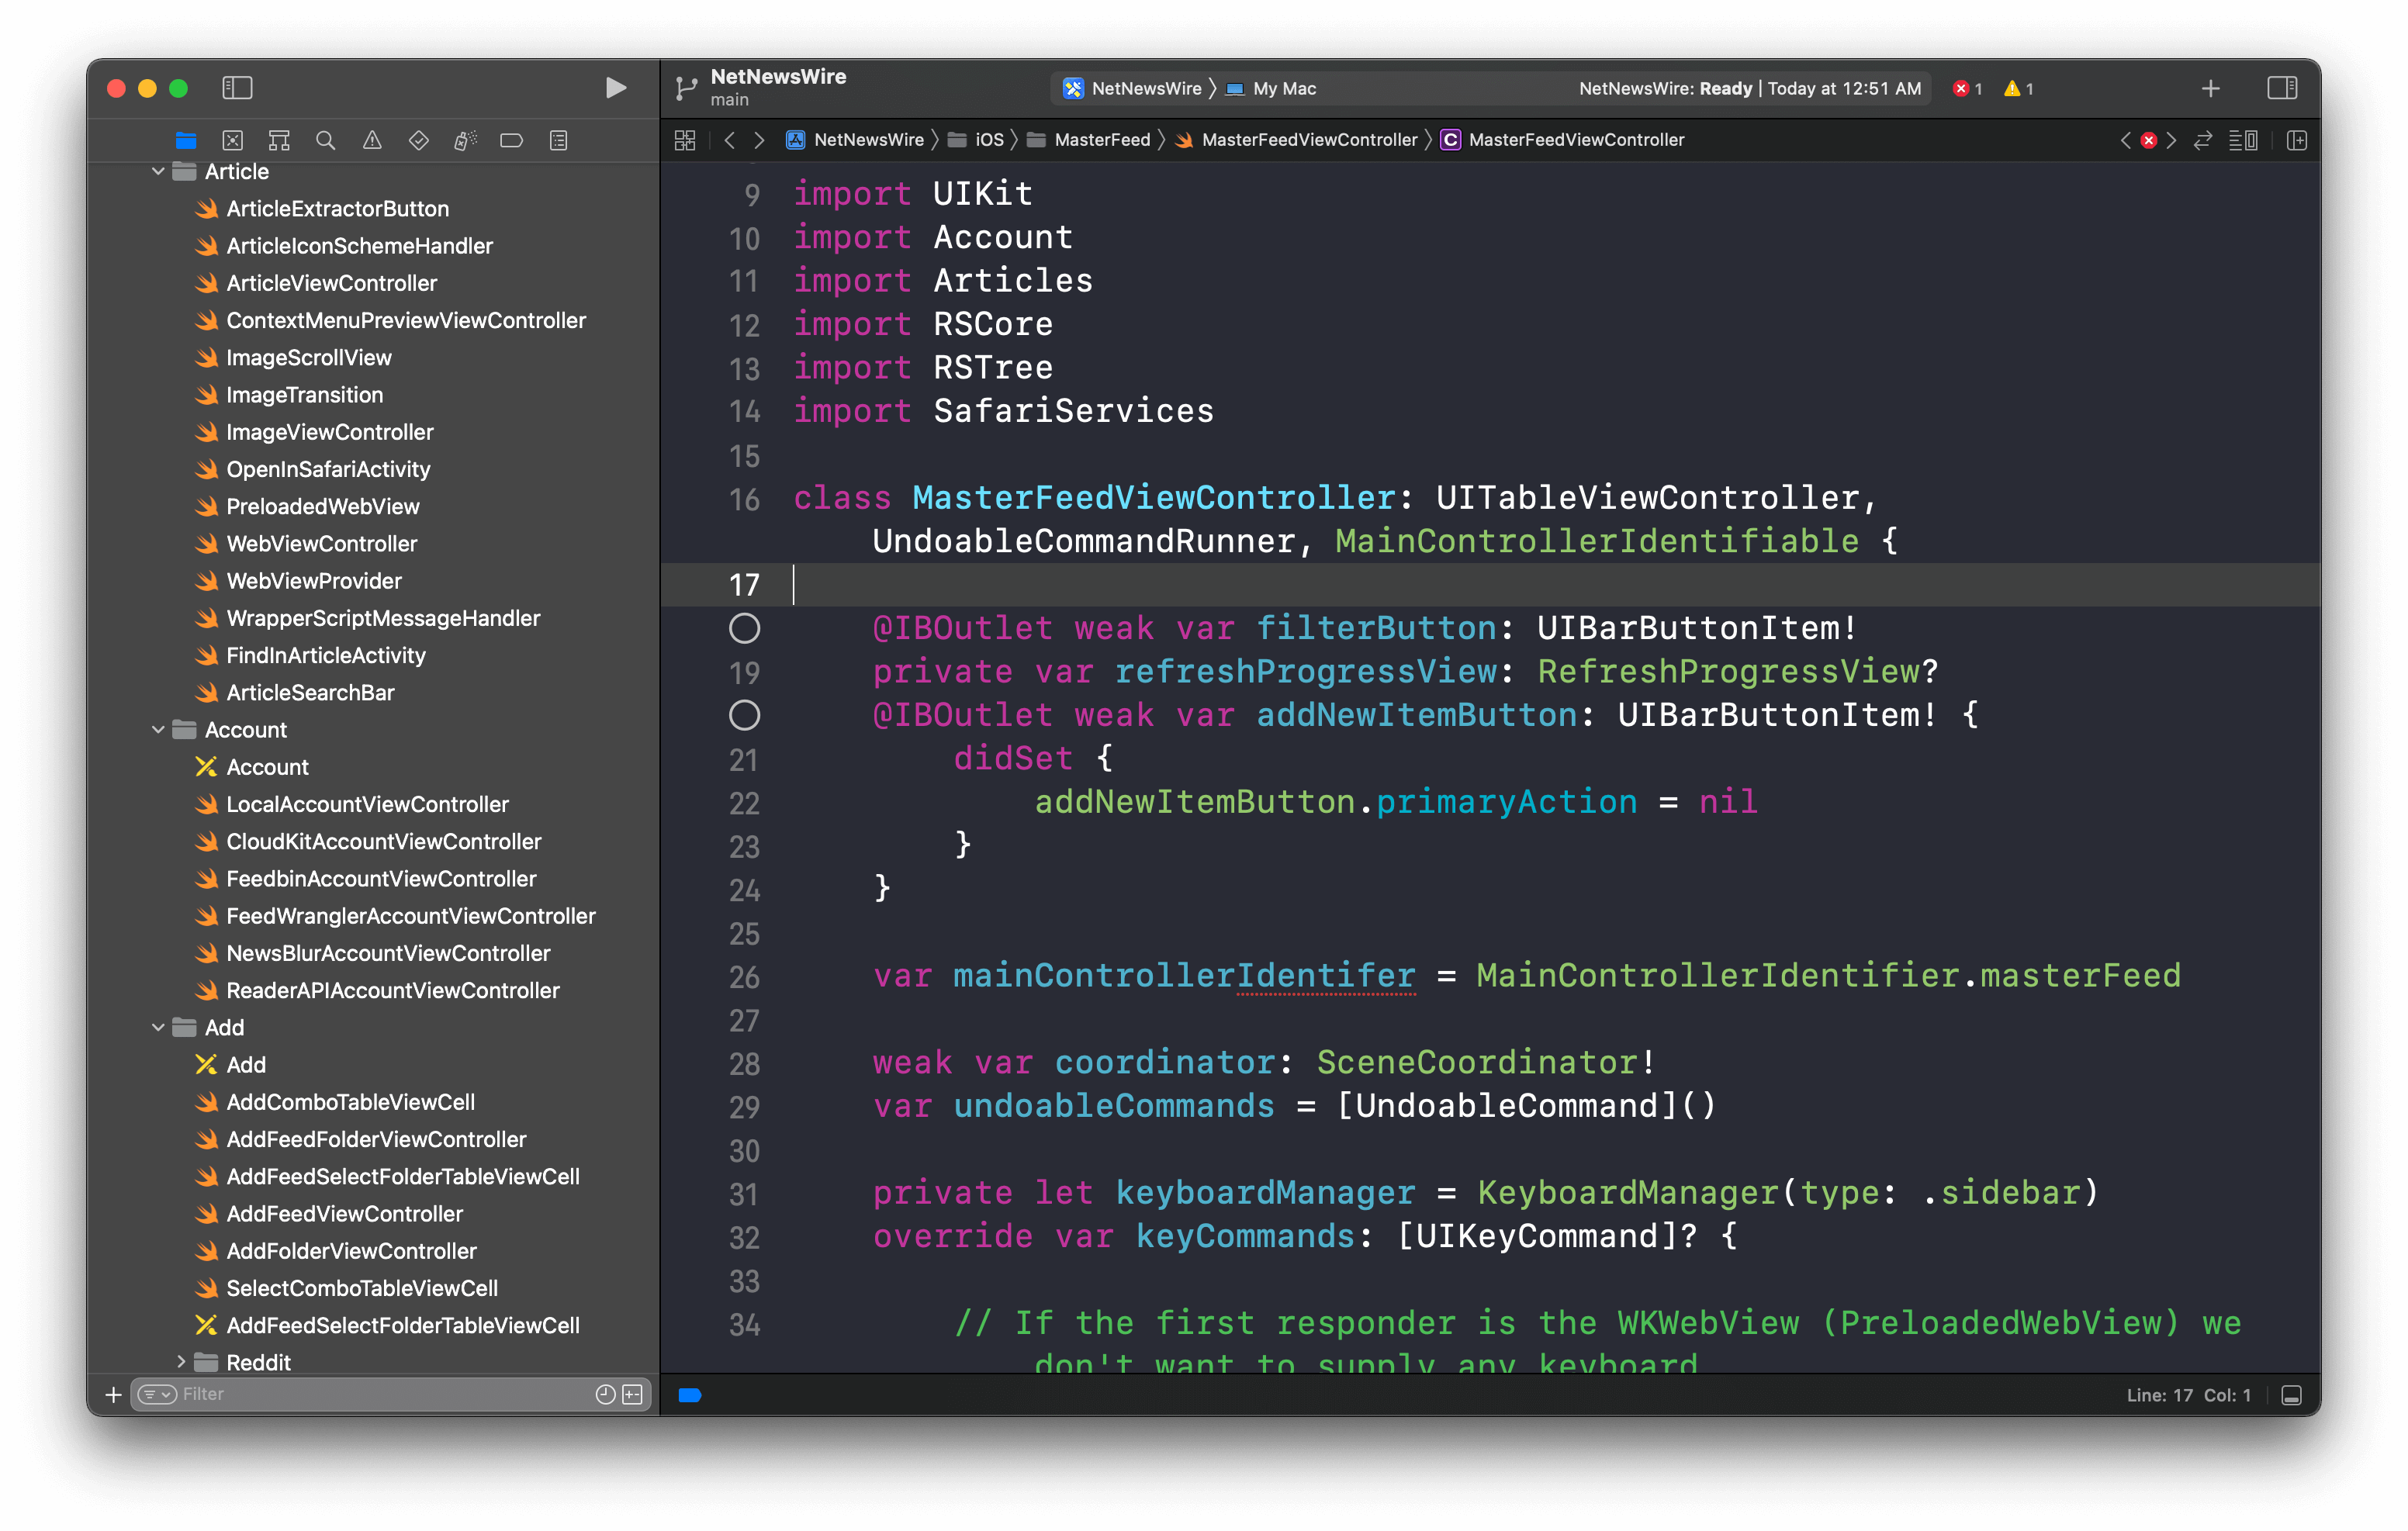
Here is an example where we reveal MasterFeedViewController in Project Navigator.
Filter file in Project Navigator
This one isn't a shortcut but a nice trick to learn nonetheless. You can filter files in Project Navigator to show only the ones you are interested in.
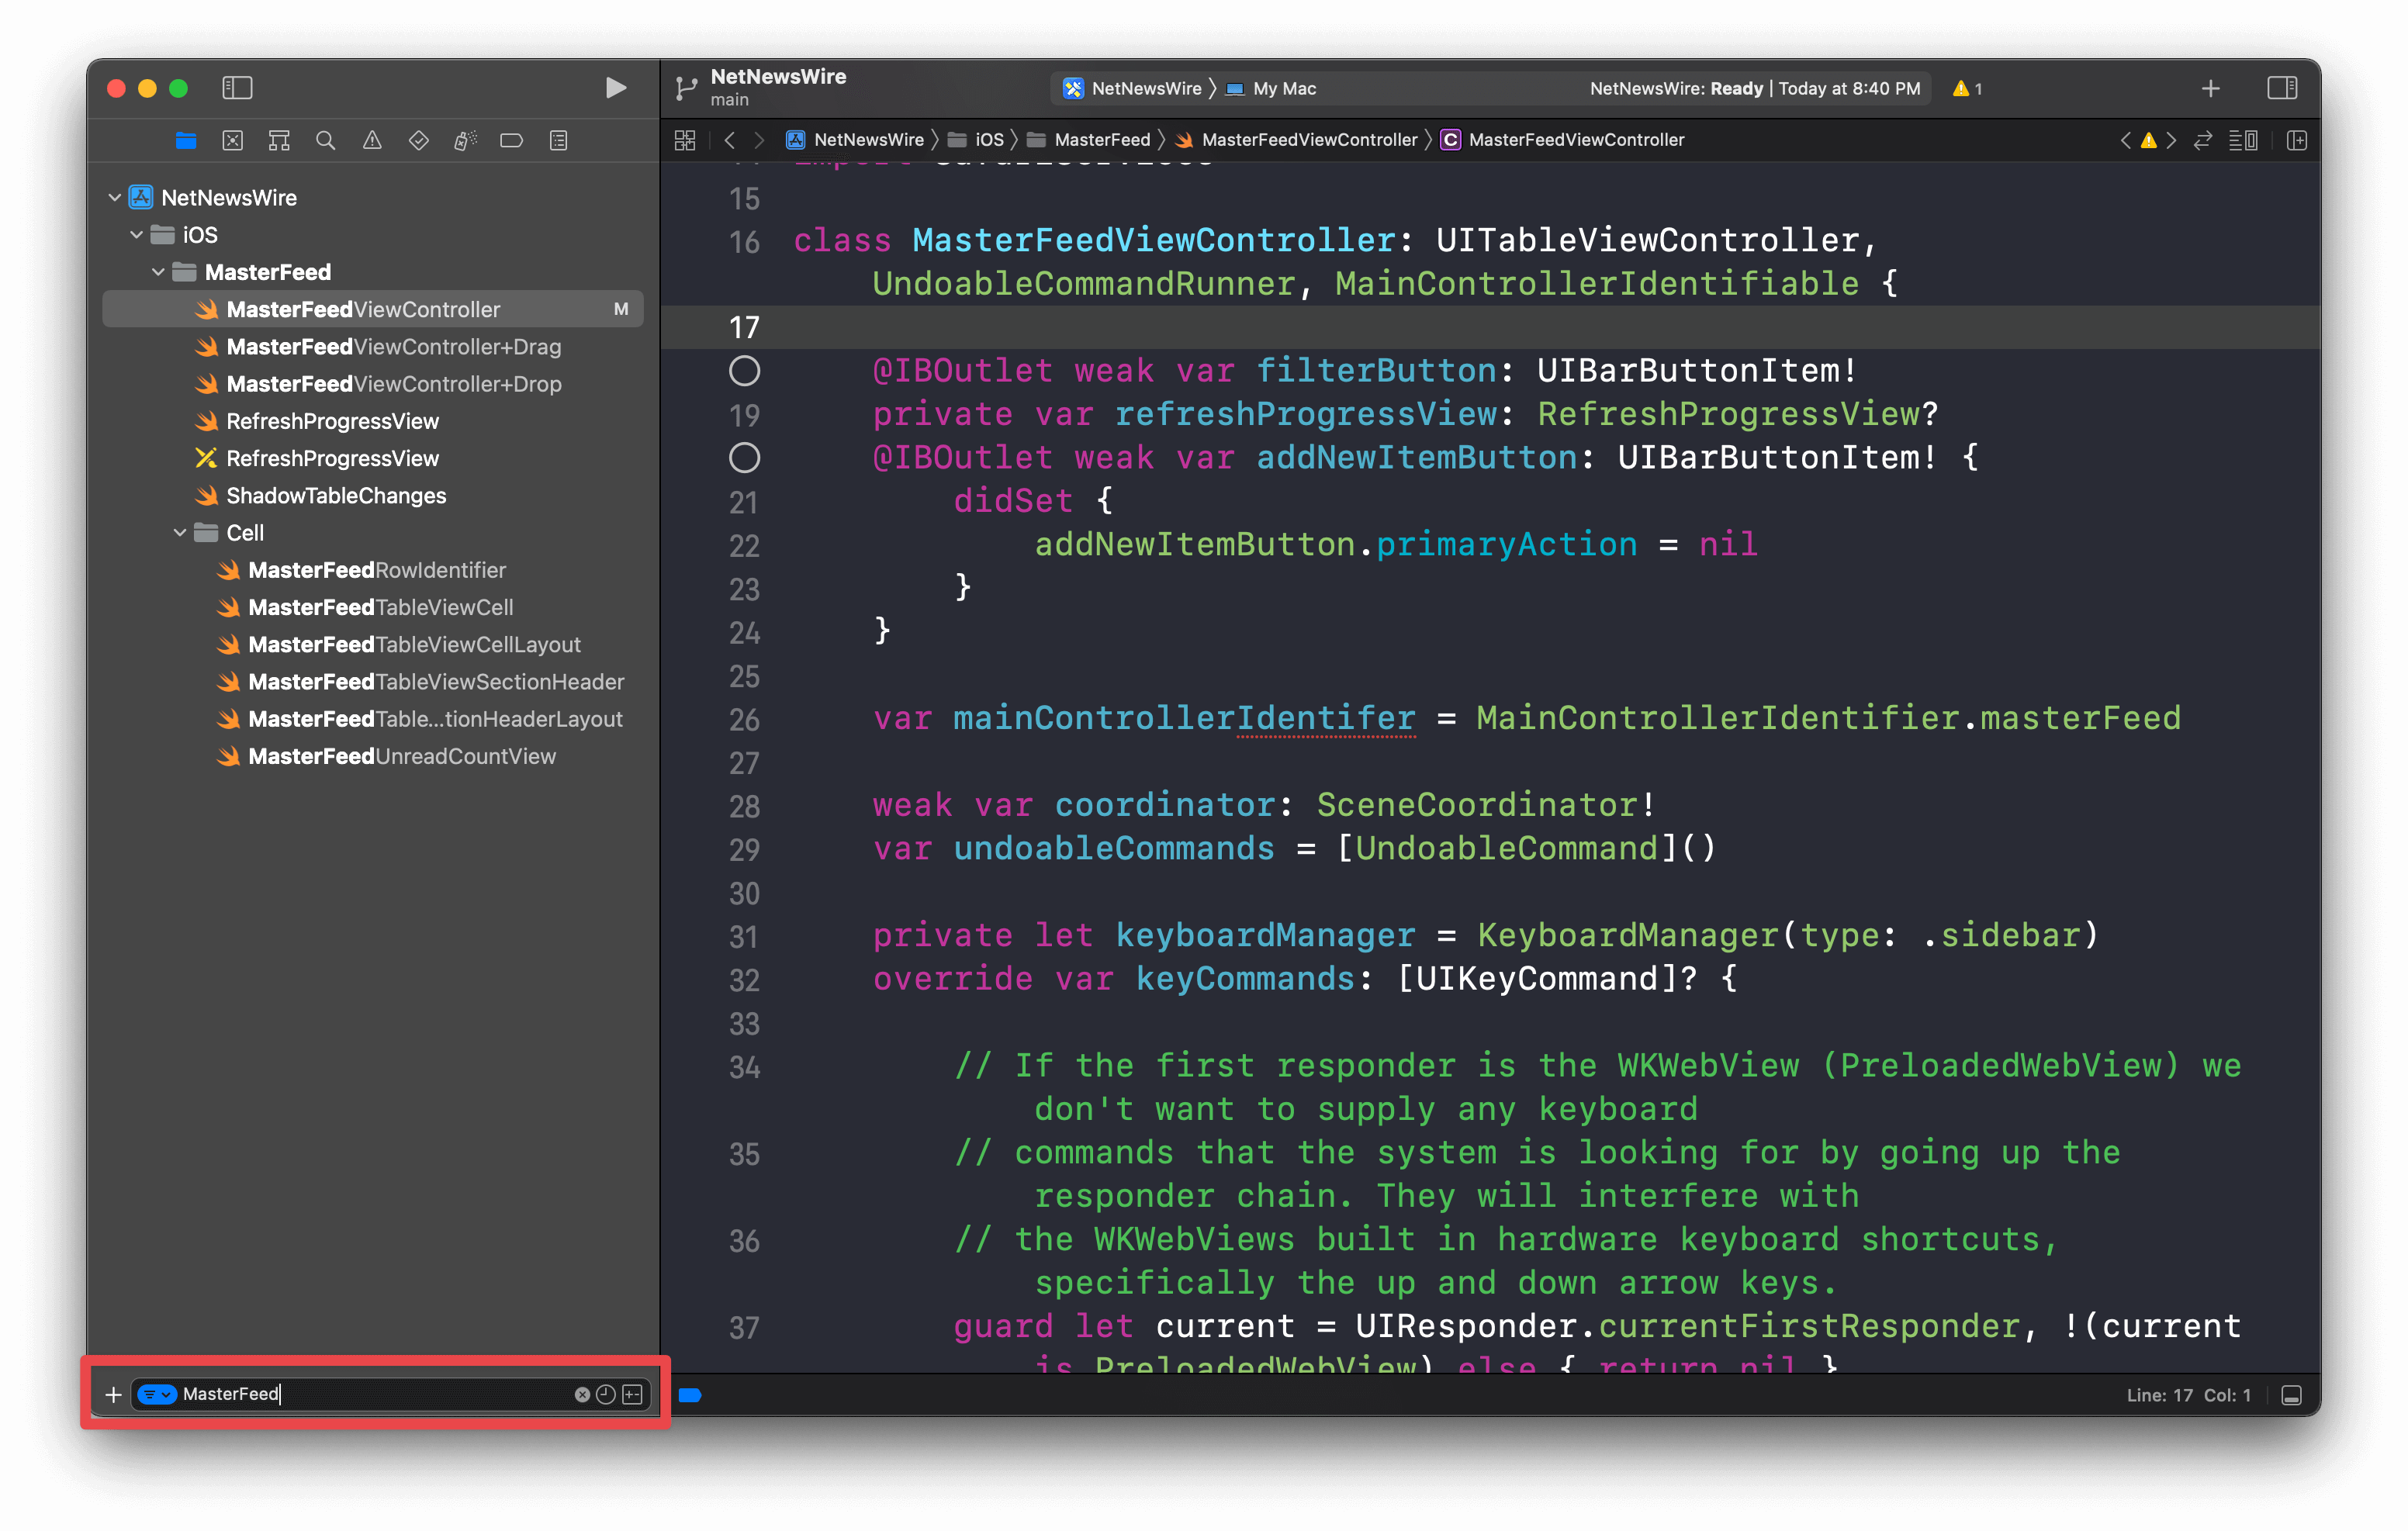
How to Filter file in Project Navigator
To filter files in Project Navigator, you type your search term in the search bar at the bottom of the Project Navigator.
Then you can work on a subset of interested files.
Going Back and Forward: ⌃ + ⌘ + ← and ⌃ + ⌘ + → (Control + Command + ← and Control + Command + →)
Every time you open a file in the editor, the previous file is remembered in the Xcode navigation stack. You can going back and forth between these history with ⌃ + ⌘ + ← and ⌃ + ⌘ + → (Control + Command + ← and Control + Command + →).
How to Go Back
To go back to you previous opened file, we use this shortcut.
⌃ - control + ⌘ - command + ← or
Navigate menu > Go Back
How to Go Forward
To go forward on your navigation stack, we use this shortcut.
⌃ - control + ⌘ - command + → or
Navigate menu > Go Forward

Jump to Line: ⌘ + L (Command + L)
This command will jump to a specific line in the current file.
This is useful when you want to know what happens exactly at that line. You probably need this when debugging.
How to use Jump to Line
To use Jump to Line, we use this shortcut.
⌘ - command + L or
Navigate menu > Jump to Line
After you trigger Jump to Line, you will see a search field popup.
- Type in a line number that you want to jump to.
- Hit return.
Show Document Items: ⌃ + 6 (Control + 6)
As your project grows, you might have a hundred lines of codes and many more related entities, e.g., variables, function, extension, in the same file.
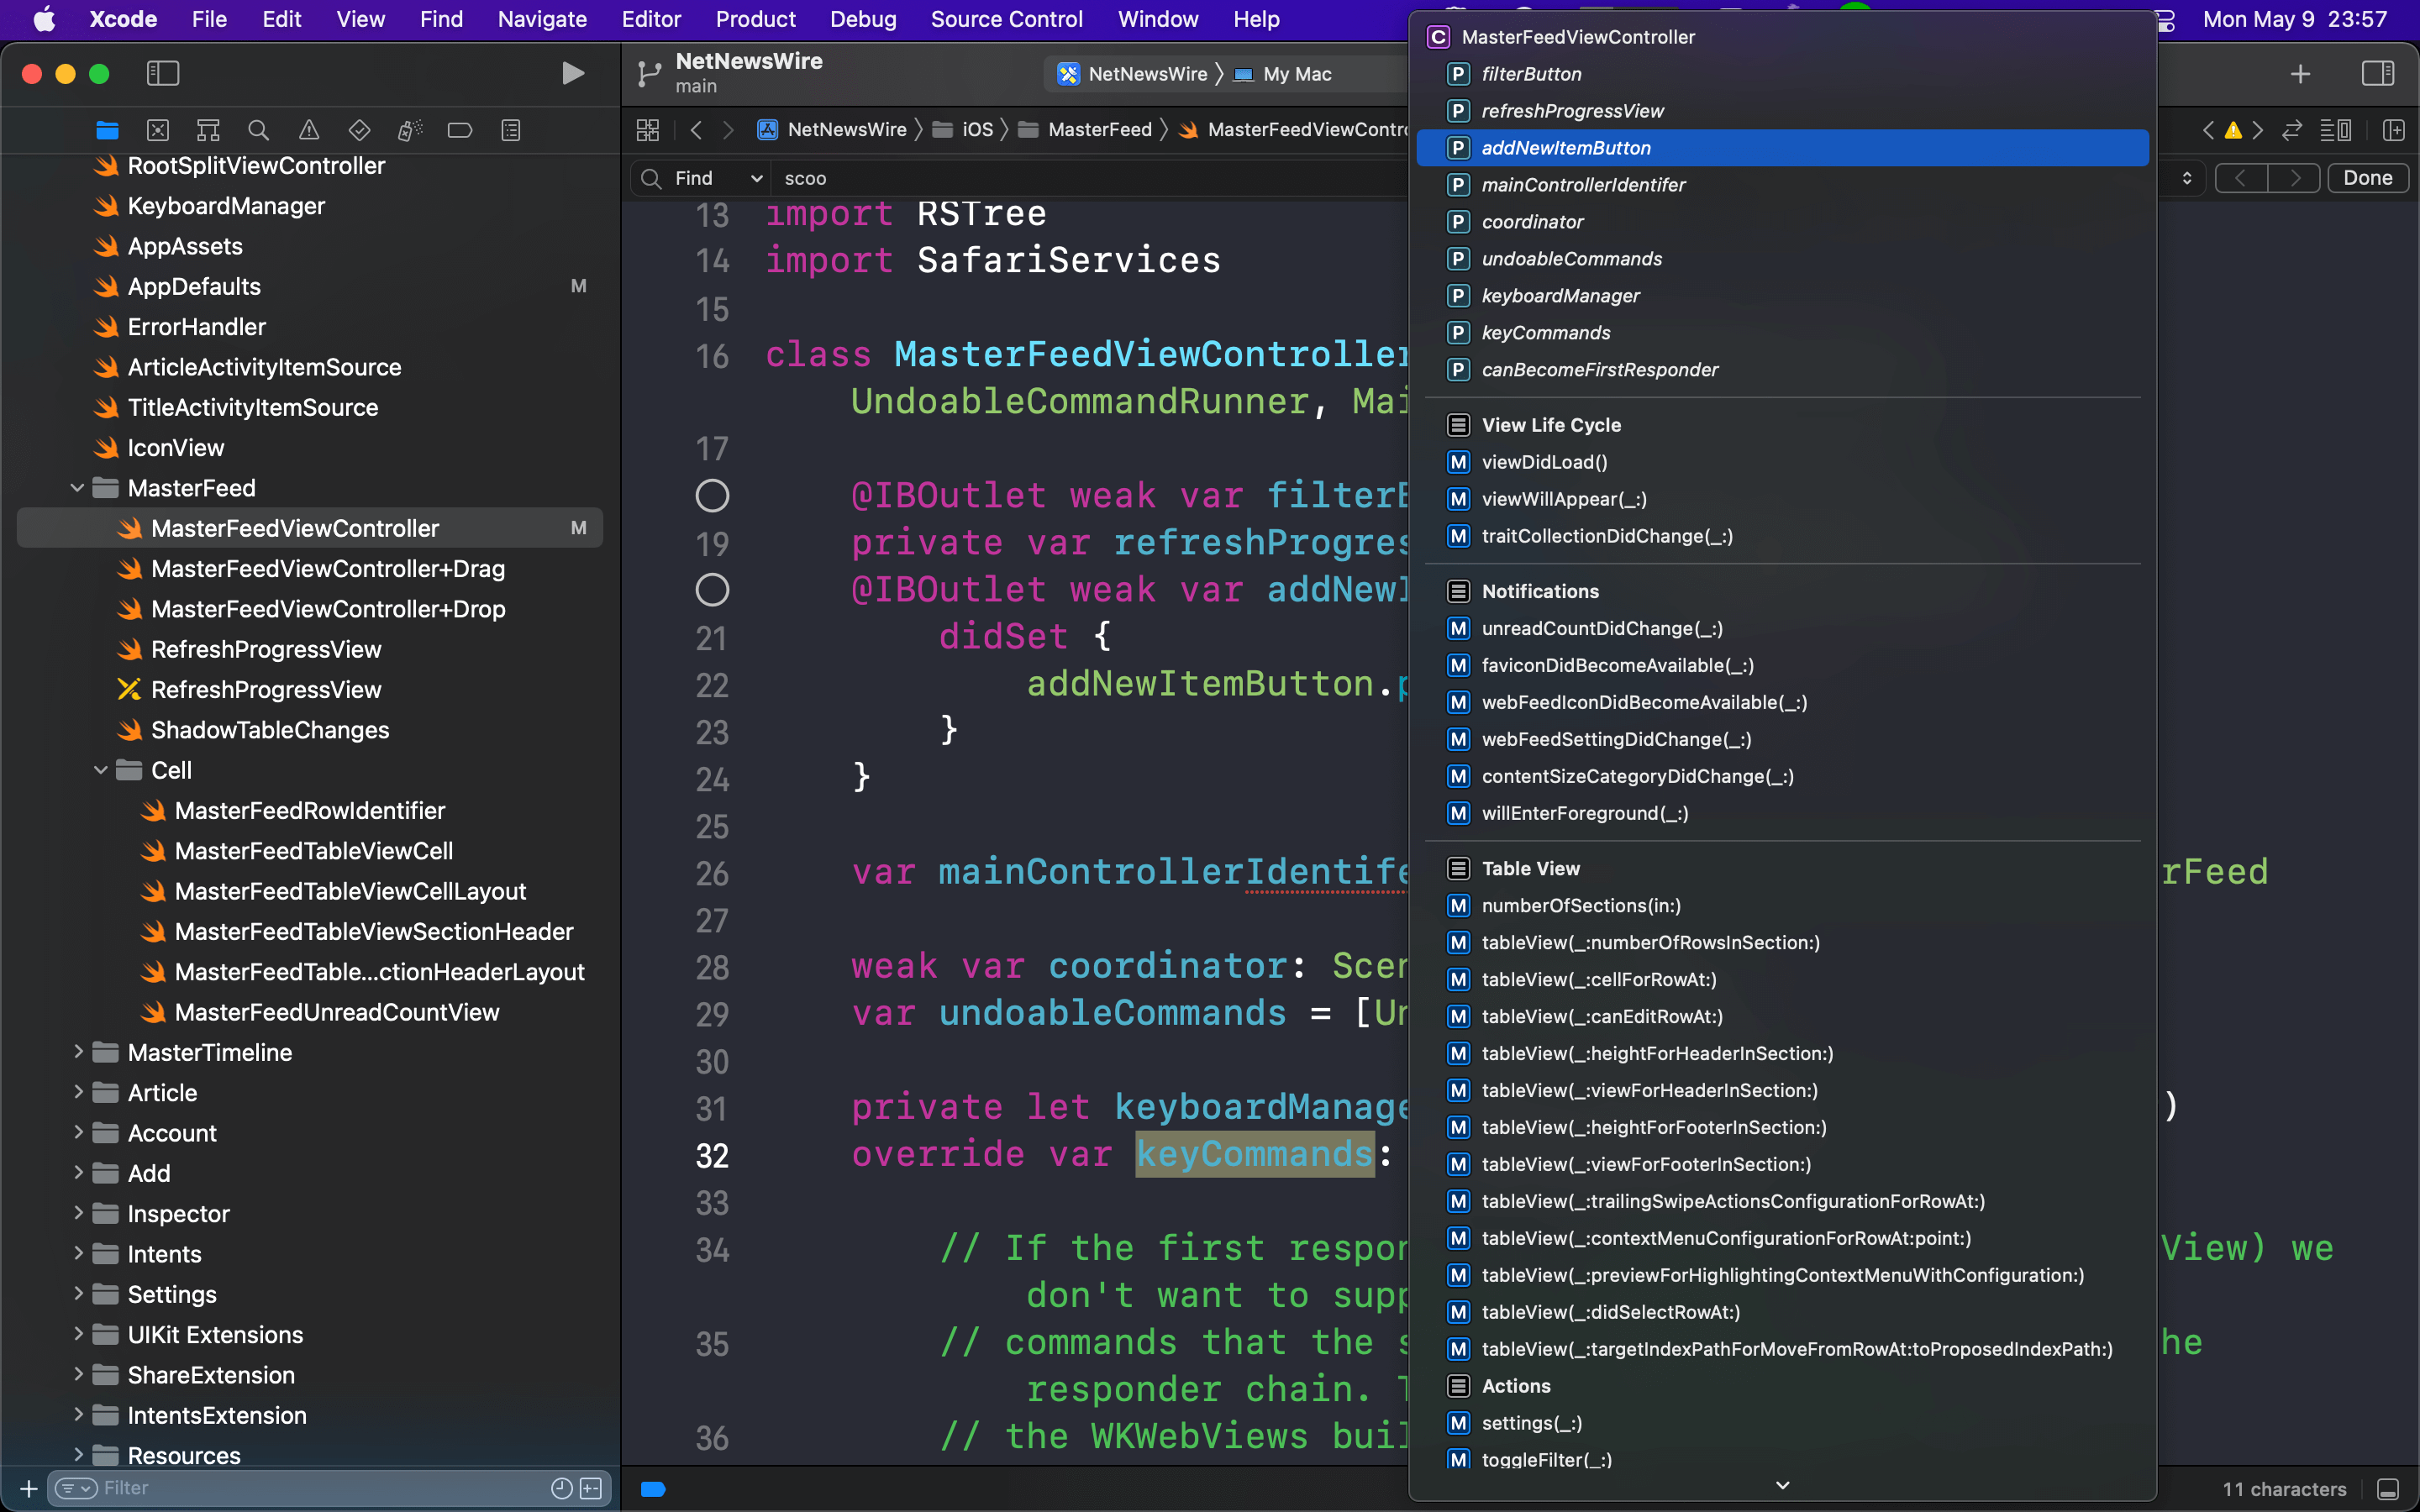
Scrolling through all of that is a pain if you don't know this command, Show Document Items. Show Document Items will show a drop-down menu with all the symbols in the current file.
How to use Show Document Items
To use Show Document Items, we use this shortcut.
⌃ - control + 6 or
View menu > Editor > Show Document Items
Or you can click on the last part of the jump bar.
After using Show Document Items, you will see a drop-down menu with all the symbols in the current file. You can select a symbol you want by either one of these three methods.
- Use the up/down arrow to move selected symbols and press return to select.
![]()
- Scroll and click.
![]()
- You can filter the list down by starting typing your search term.
![]()

Minimap
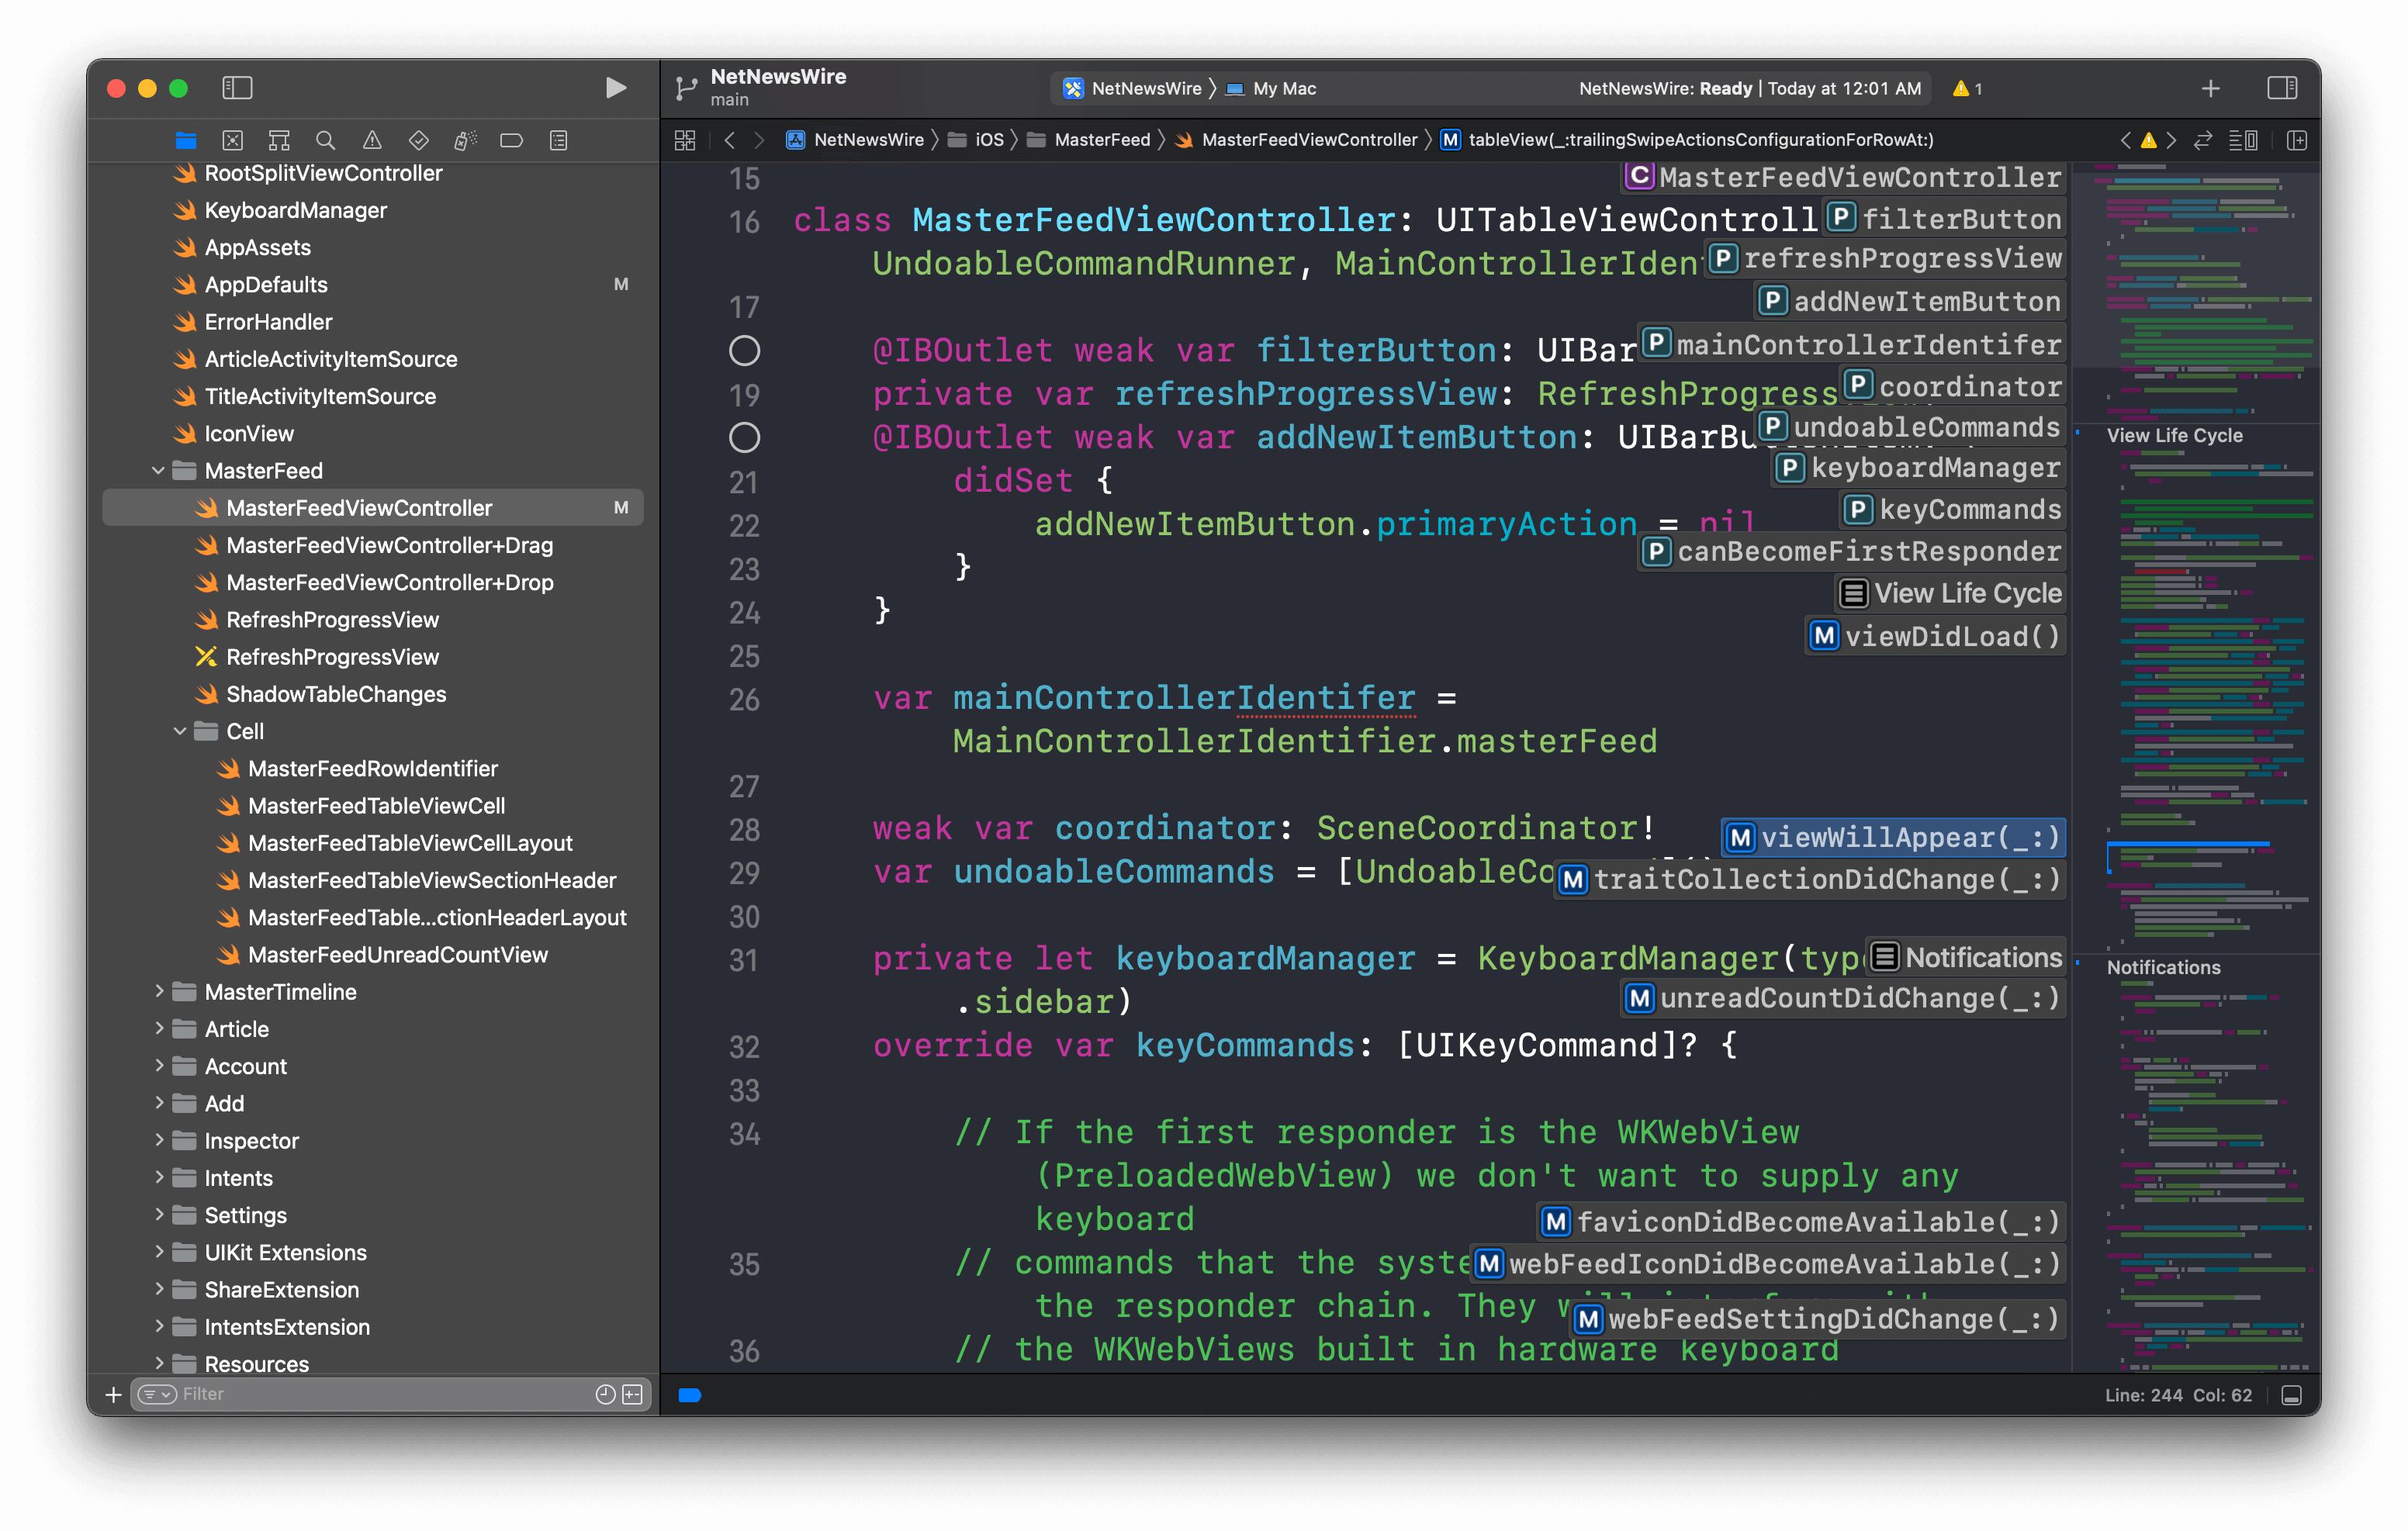
Minimap was first introduced in Xcode 11. The minimap shows an outline overview of your code that you can scroll through.
You can use the minimap to discover symbols within a file and jump right to it.
How toggle minimap on/off
To use Show/Hide minimap, we use this shortcut.
⌃ - control + ⇧ - shift + ⌘ - command + M or
Editor menu > Minimap
- When hovering over the minimap, it will display the name of the symbol at the mouse cursor position.
- Press ⌘ (command) while hovering to see a list of all symbols.
You can easily support sarunw.com by checking out this sponsor.
Screenshot Studio: Create App Store screenshots in seconds not minutes.
Conclusion
Even the title said Xcode shortcuts for a large project. You can benefit from it for both big and small projects.
You might find the following articles useful if you love these tips and tricks.
- 4 Xcode shortcuts to boost your productivity for SwiftUI
- 4 Xcode shortcuts to get back your screen space
The various aspects of your code that you can search with Open Quickly (properties, types, functions, interface, and so on) are referred to as "entities" for brevity. ↩︎ ↩︎
Fuzzy search finding strings that match a pattern approximately (rather than exactly) https://en.wikipedia.org/wiki/Approximate_string_matching ↩︎
Read more article about Xcode, Development, Shortcut, or see all available topic
Enjoy the read?
If you enjoy this article, you can subscribe to the weekly newsletter.
Every Friday, you'll get a quick recap of all articles and tips posted on this site. No strings attached. Unsubscribe anytime.
Feel free to follow me on Twitter and ask your questions related to this post. Thanks for reading and see you next time.
If you enjoy my writing, please check out my Patreon https://www.patreon.com/sarunw and become my supporter. Sharing the article is also greatly appreciated.
Become a patron Buy me a coffee Tweet ShareHow to add section header and footer to SwiftUI list
We can group related data in a SwiftUI list using Section view. We can also optionally add a header and footer to describe a particular section. Let's learn how to do that.