How to change SwiftUI Button Size
Table of Contents
There are two ways we can control a button size.
How to change a button size using .controlSize modifier
You can change the size of a SwiftUI Button by using controlSize(_:).
There are four sizes to choose from
Here is an example of a large bordered prominent style button.
Button("Large Button") {

}
.buttonStyle(.borderedProminent)
.controlSize(.large)
The control size can affect many aspects of a button. As you can see in the following example, it can affect padding, text size, and corner radius.
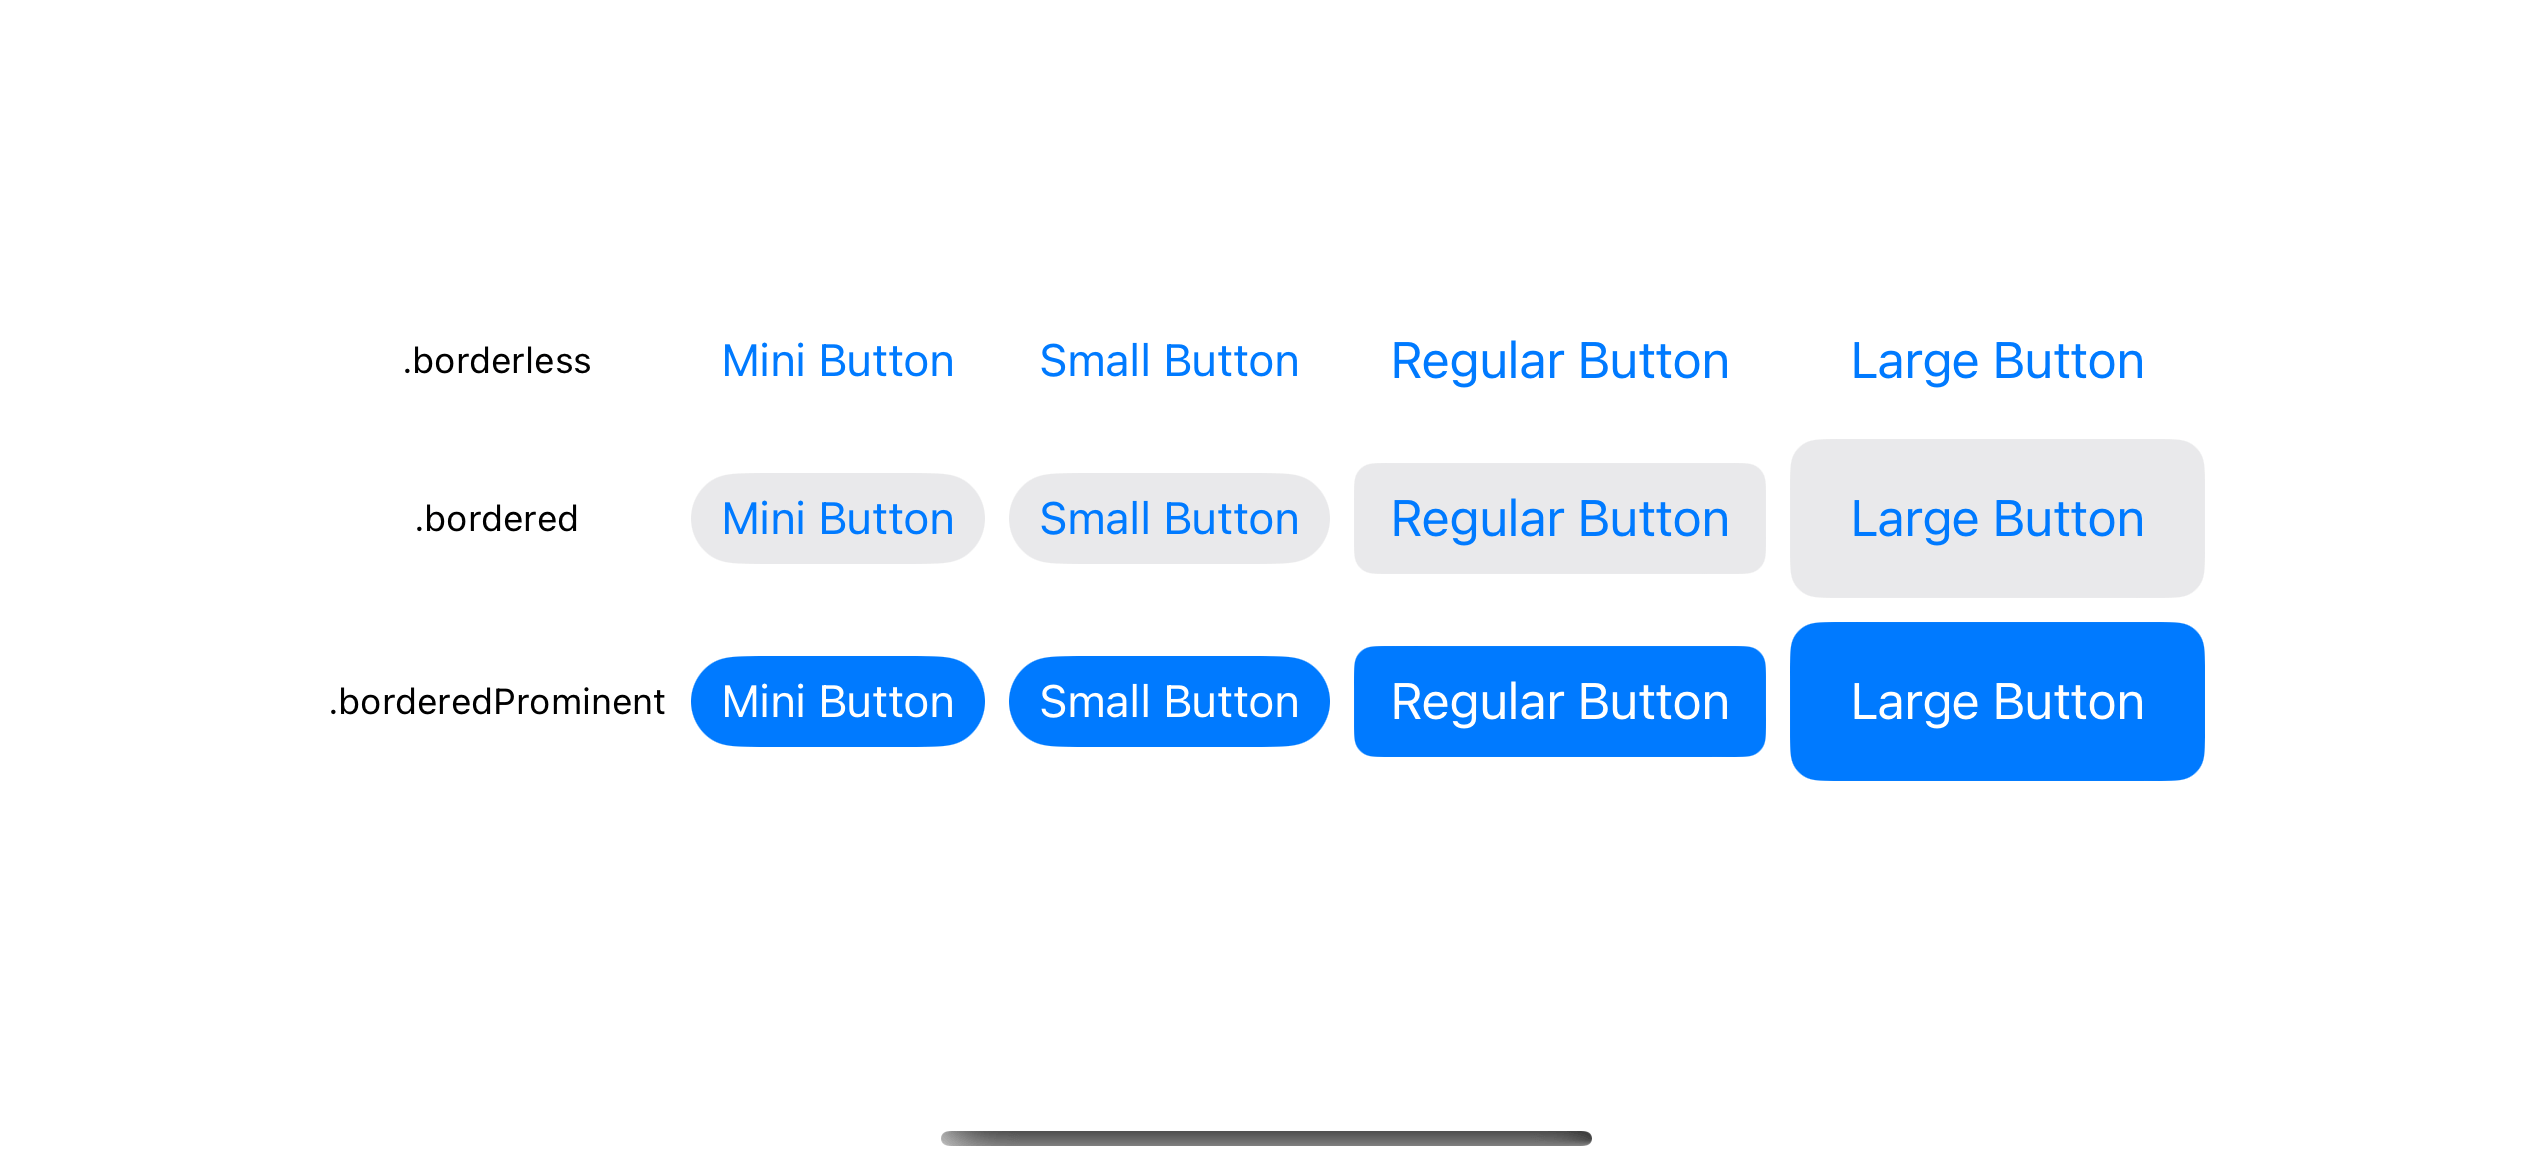
You might see that there is no noticeable different between the mini and small control sizes. ControlSize just convey our intention, but it is up to SwiftUI to decide how it looks depending on the context.
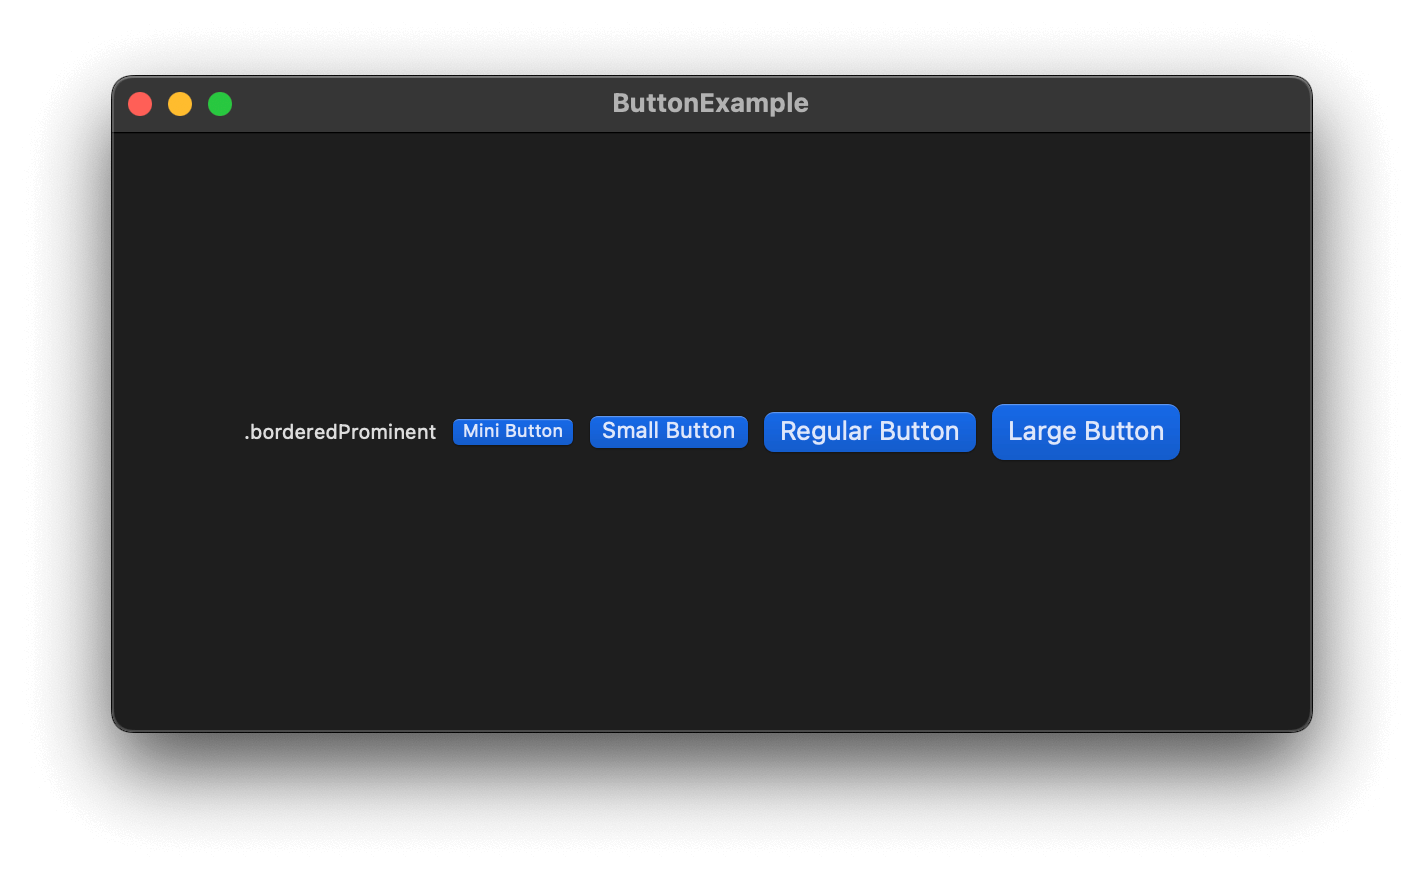
The following example is the different control sizes on macOS. As you can see, the mini size is smaller than small on this platform.
You can easily support sarunw.com by checking out this sponsor.
Offline Transcription: Fast, privacy-focus way to transcribe audio, video, and podcast files. No data leaves your Mac.
How to change a button size manually
Using controlSize is a quick and easy way to control the size of a button.
But as you see, you are giving up control to SwiftUI. If you want more control over the size you have to do it in a button label.
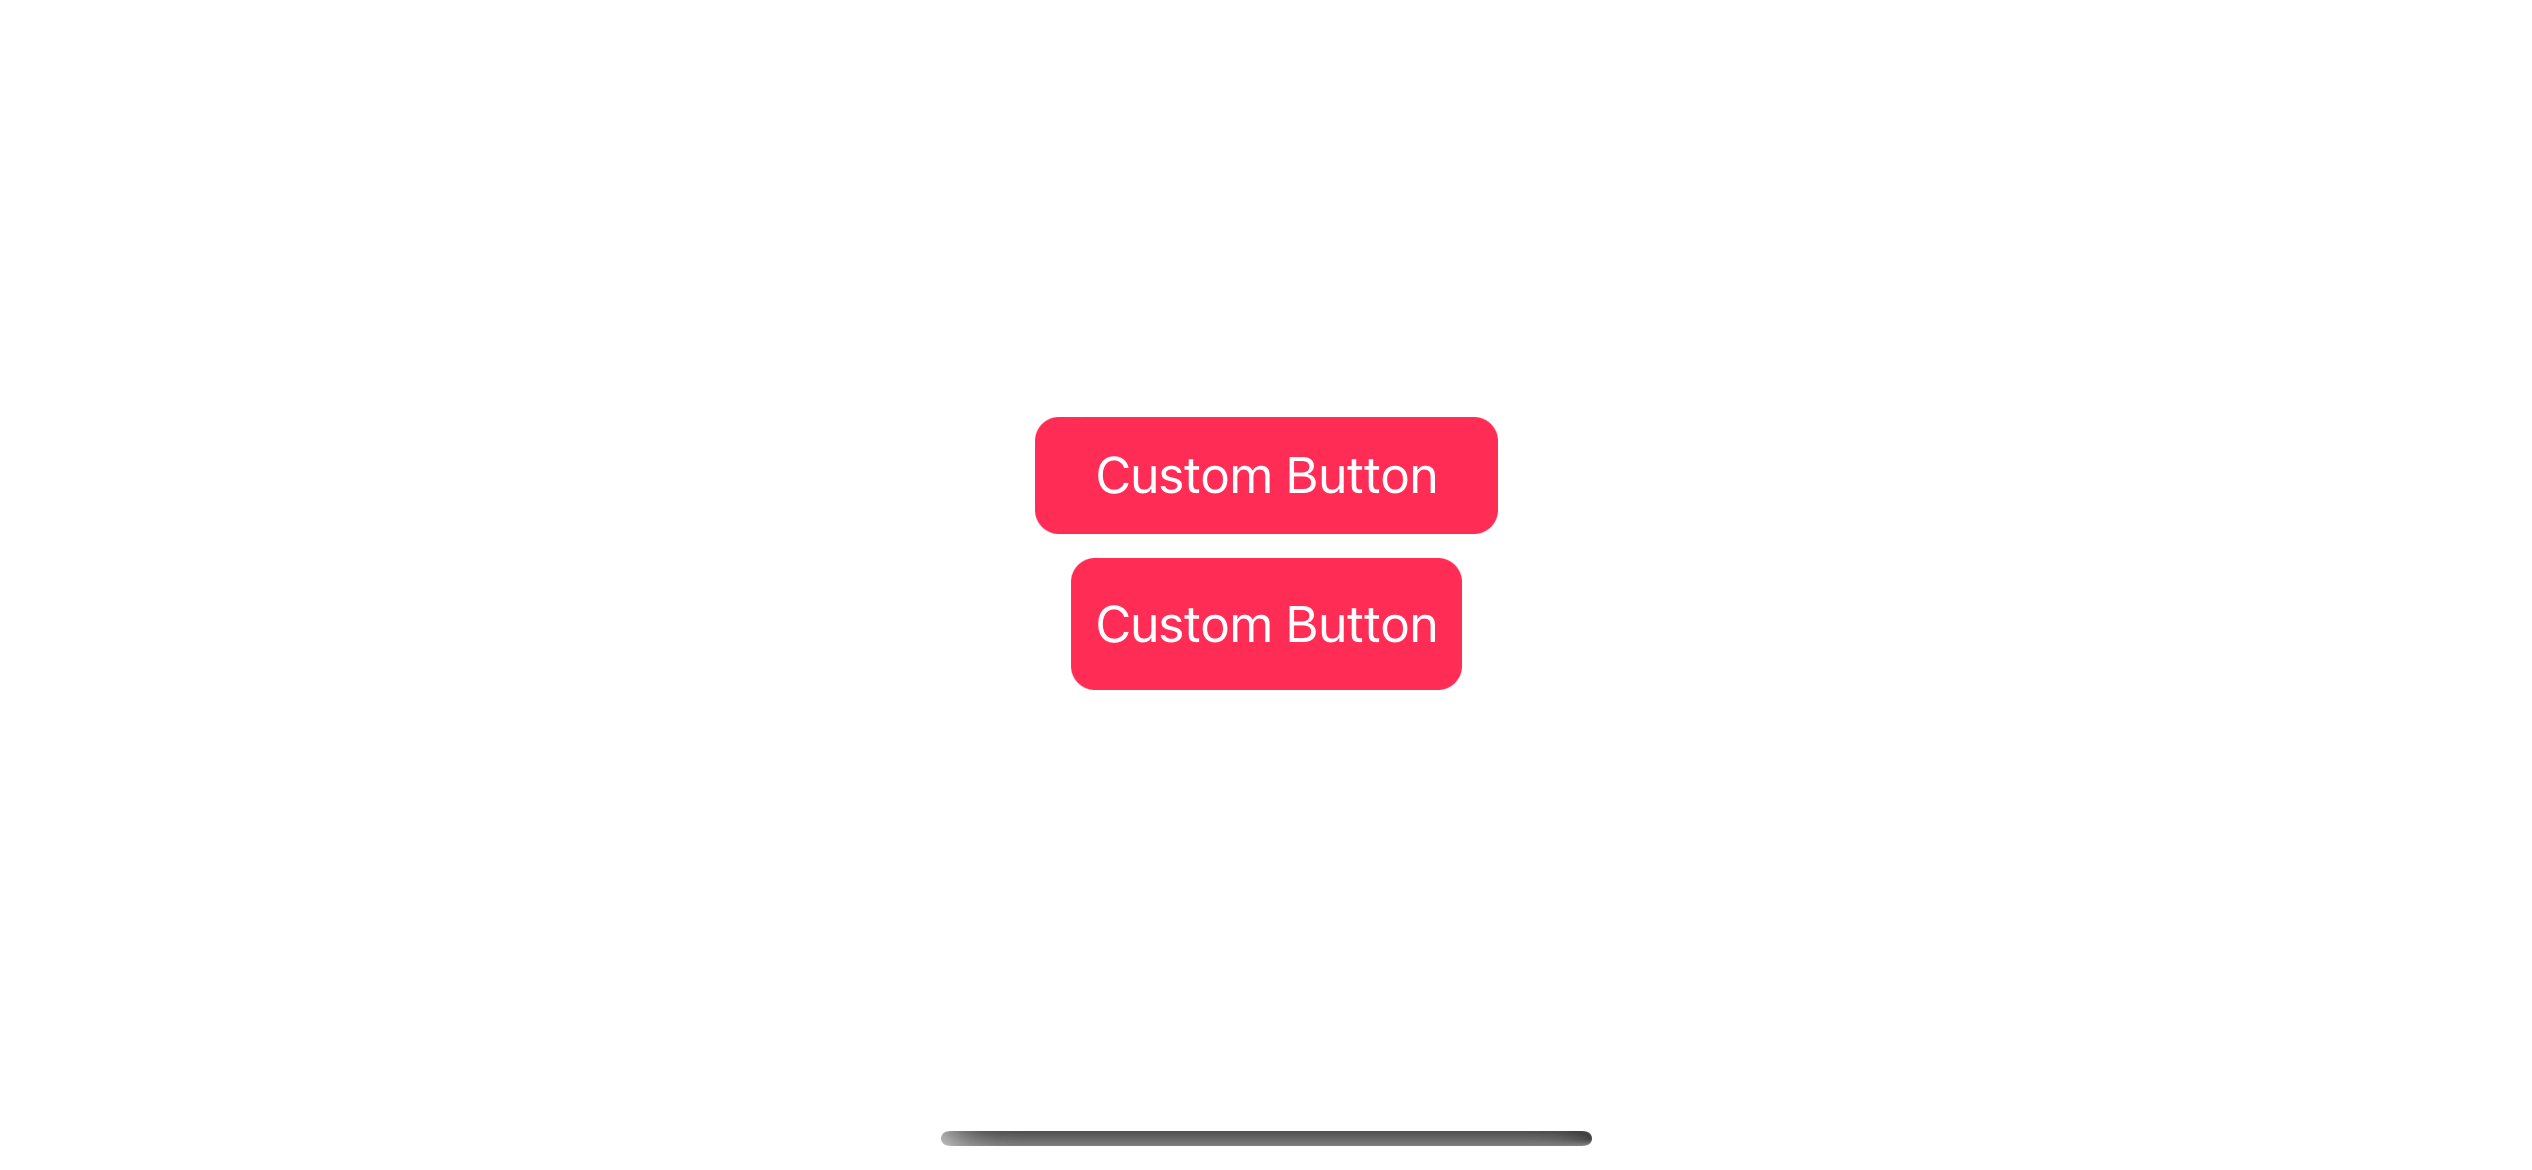
I usually use padding and frame to control the size of a button. But you can use anything you can think of. The label size determines the button size.
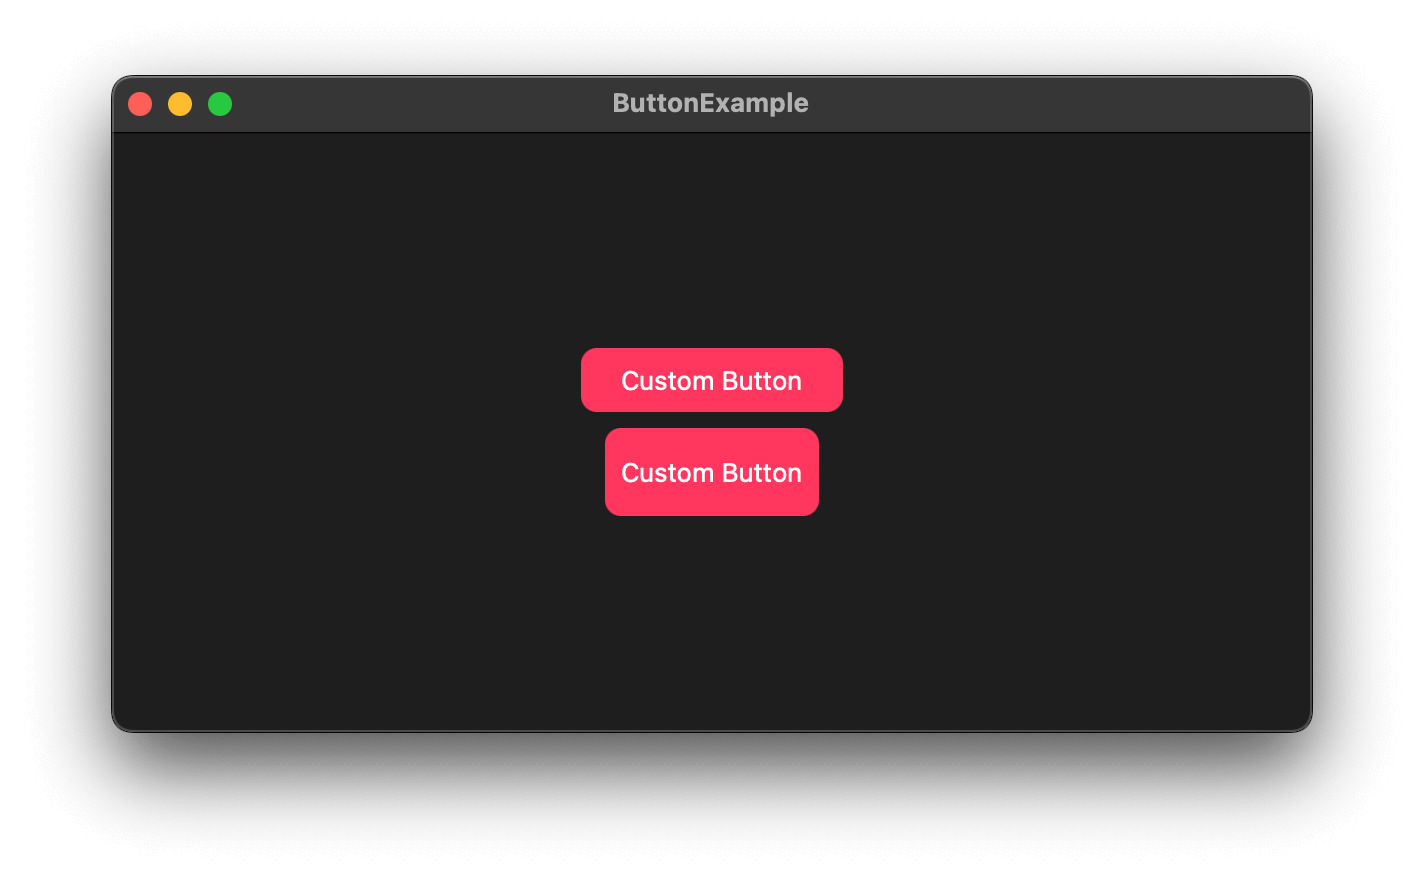
Here is an example where we control button sizes using .padding and .frame.
VStack {
    Button {

    } label: {
        Text("Custom Button")
            .padding(.horizontal, 20)
            .padding(.vertical, 8)
            .foregroundColor(.white)
            .background(.pink)
            .cornerRadius(8)
    }

    Button {

    } label: {
        Text("Custom Button")
            .padding(.horizontal, 8)
            .frame(height: 44)
            .foregroundColor(.white)
            .background(.pink)
            .cornerRadius(8)
    }
}
Caveat
Normally, button size and tappable area are determined by the button content, but that is not entirely true.
Some button styles might decide to override that. One example is the .bordered button style on macOS.
If you run the code in the previous section on macOS, this is what you will get.
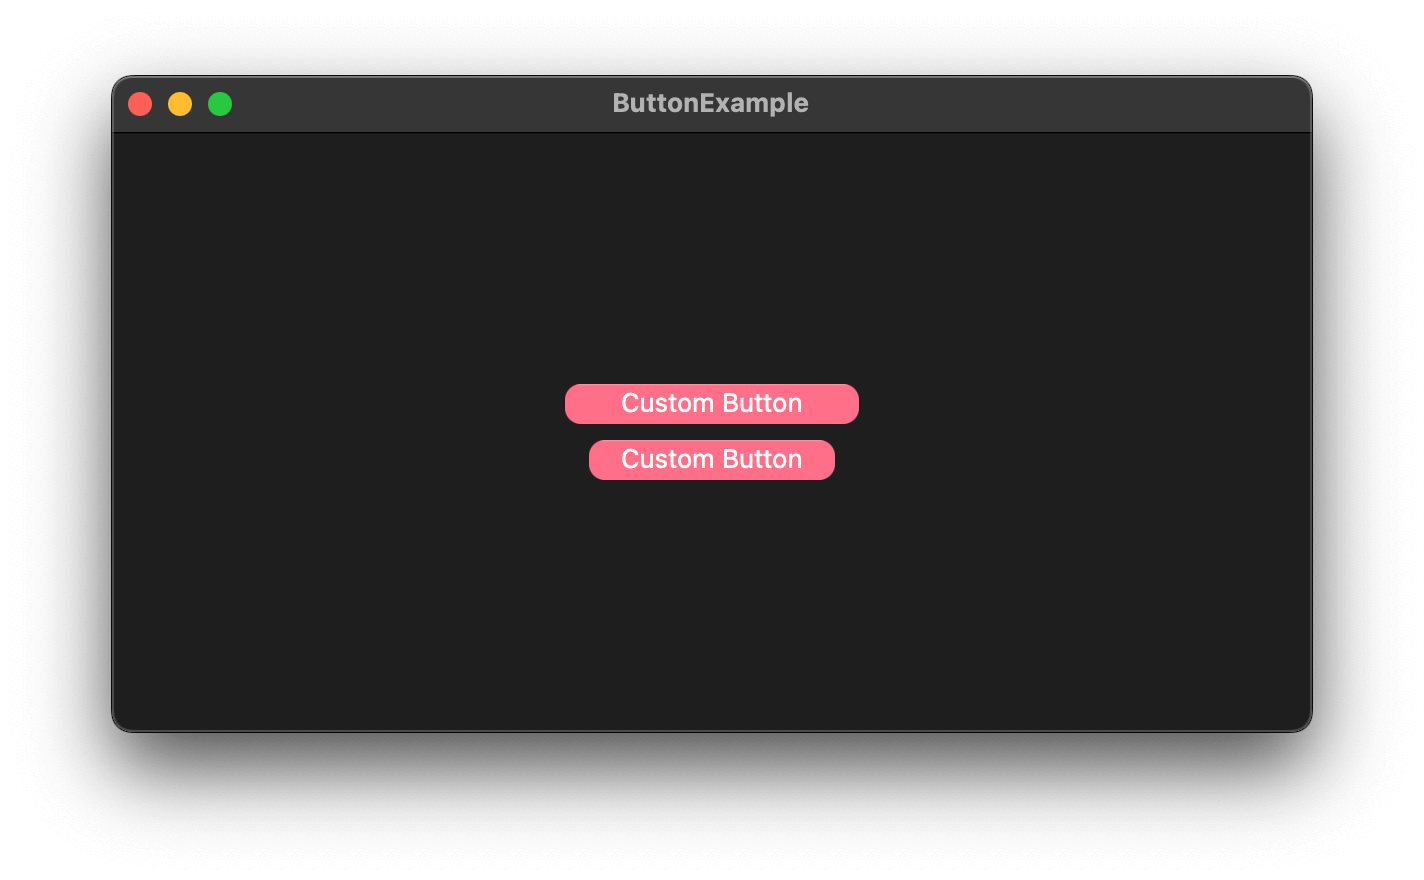
As you see, the button's height is overridden by the .bordered button style (The default style for macOS).
To fix this, you have to opt out of the problematic style. You can create your own style or use .plain button style.
VStack {
    Button {

    } label: {
        Text("Custom Button")
            .padding(.horizontal, 20)
            .padding(.vertical, 8)
            .foregroundColor(.white)
            .background(.pink)
            .cornerRadius(8)
    }
    .buttonStyle(.plain)

    Button {

    } label: {
        Text("Custom Button")
            .padding(.horizontal, 8)
            .frame(height: 44)
            .foregroundColor(.white)
            .background(.pink)
            .cornerRadius(8)
    }
    .buttonStyle(.plain)
}
Read more article about SwiftUI, Button, or see all available topic
Enjoy the read?
If you enjoy this article, you can subscribe to the weekly newsletter.
Every Friday, you'll get a quick recap of all articles and tips posted on this site. No strings attached. Unsubscribe anytime.
Feel free to follow me on Twitter and ask your questions related to this post. Thanks for reading and see you next time.
If you enjoy my writing, please check out my Patreon https://www.patreon.com/sarunw and become my supporter. Sharing the article is also greatly appreciated.
Become a patron Buy me a coffee Tweet ShareHow to check if an Element is in an Array in Swift
Learn two ways to check if an array contains a given element.
How to initialize final variables in Dart
Learn four different ways to initialize final variables in Dart.