What's new in Xcode 14.3 and iOS 16.4
Table of Contents
Apple released Xcode 14.3 Beta and iOS 16.4 this morning (February 16, 2023), and it came with a lot of improvement, more than I expected.
In this article, we will quickly go through some of them that I find interesting.
I will group the changes into three categories.
Sheet
Apple introduces a new set of view modifiers that works on modal presentation, e.g., sheet or popover.
- Interact with a view Behind a sheet
- Translucent Sheet Background
- Adjust the corner radius of a sheet
- Control scrolling and expansion behavior
- Control a modal presentation in compact size classes
SwiftUI Preview
Function Back Deployment
Interact with a view Behind a sheet
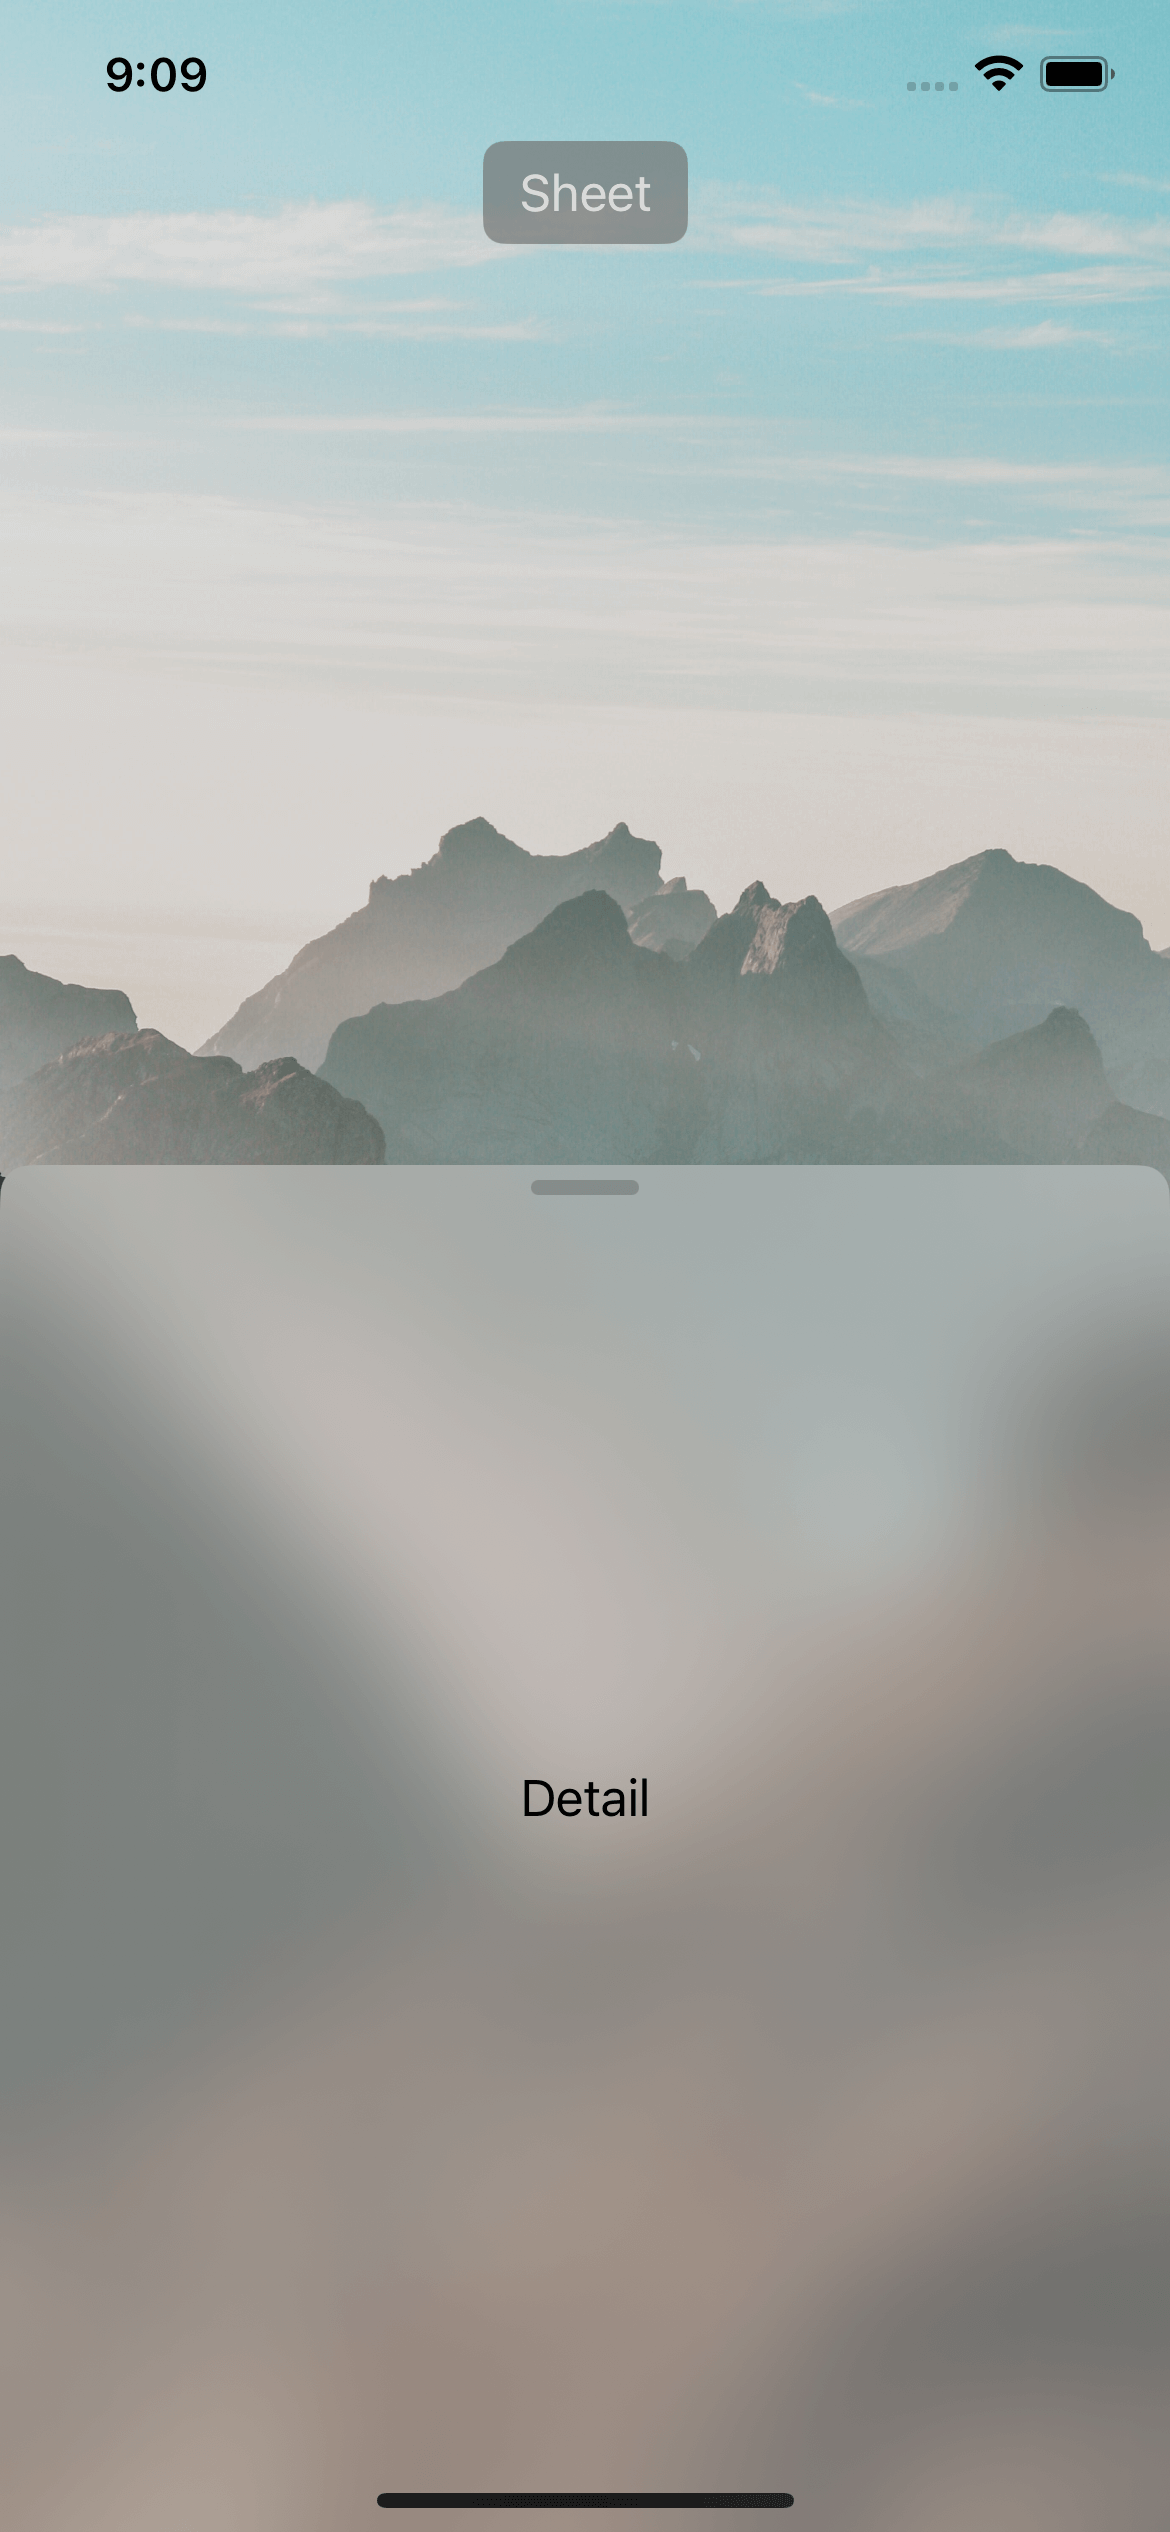
In iOS 15, we can use .presentationDetents to show a non-full-size sheet.
But we can't interact with a view behind the sheet.
In iOS 16.4, we can do that with the .presentationBackgroundInteraction(.enabled) modifier.
struct ContentView: View {
    @State private var isPresented = false

    var body: some View {
        ZStack(alignment: .top) {
            Image("background")
                .resizable()
                .scaledToFill()
                .ignoresSafeArea()
                .onTapGesture {
                    print("Image tapped")
                }
            Button("Sheet") {
                isPresented = true
            }
            .buttonStyle(.borderedProminent)
        }
        .sheet(isPresented: $isPresented) {
            Text("Detail")
                .presentationDetents(
                    [.height(120), .medium, .large])
                // 1
                .presentationBackgroundInteraction(.enabled)
        }
    }
}
1 .presentationBackgroundInteraction(.enabled) make the view behind the sheet still accept user interaction[1].
As you can see, we can click on the image at the back and get "Image tapped" print in the debug console.
You can easily support sarunw.com by checking out this sponsor.
AI Grammar: Correct grammar, spell check, check punctuation, and parphrase.
Translucent Sheet Background
We can make a sheet background translucent with the new presentationBackground(_:) modifier.
The following example uses the ultra-thin material (ultraThinMaterial) as the sheet background.
struct ContentView: View {
    @State private var isPresented = false

    var body: some View {
        ZStack(alignment: .top) {
            Image("background")
                .resizable()
                .scaledToFill()
                .ignoresSafeArea()
            Button("Sheet") {
                isPresented = true
            }
            .buttonStyle(.borderedProminent)
        }
        .sheet(isPresented: $isPresented) {
            Text("Detail")
                .presentationDetents(
                    [.height(120), .medium, .large])
                .presentationBackground(.ultraThinMaterial)
        }
    }
}
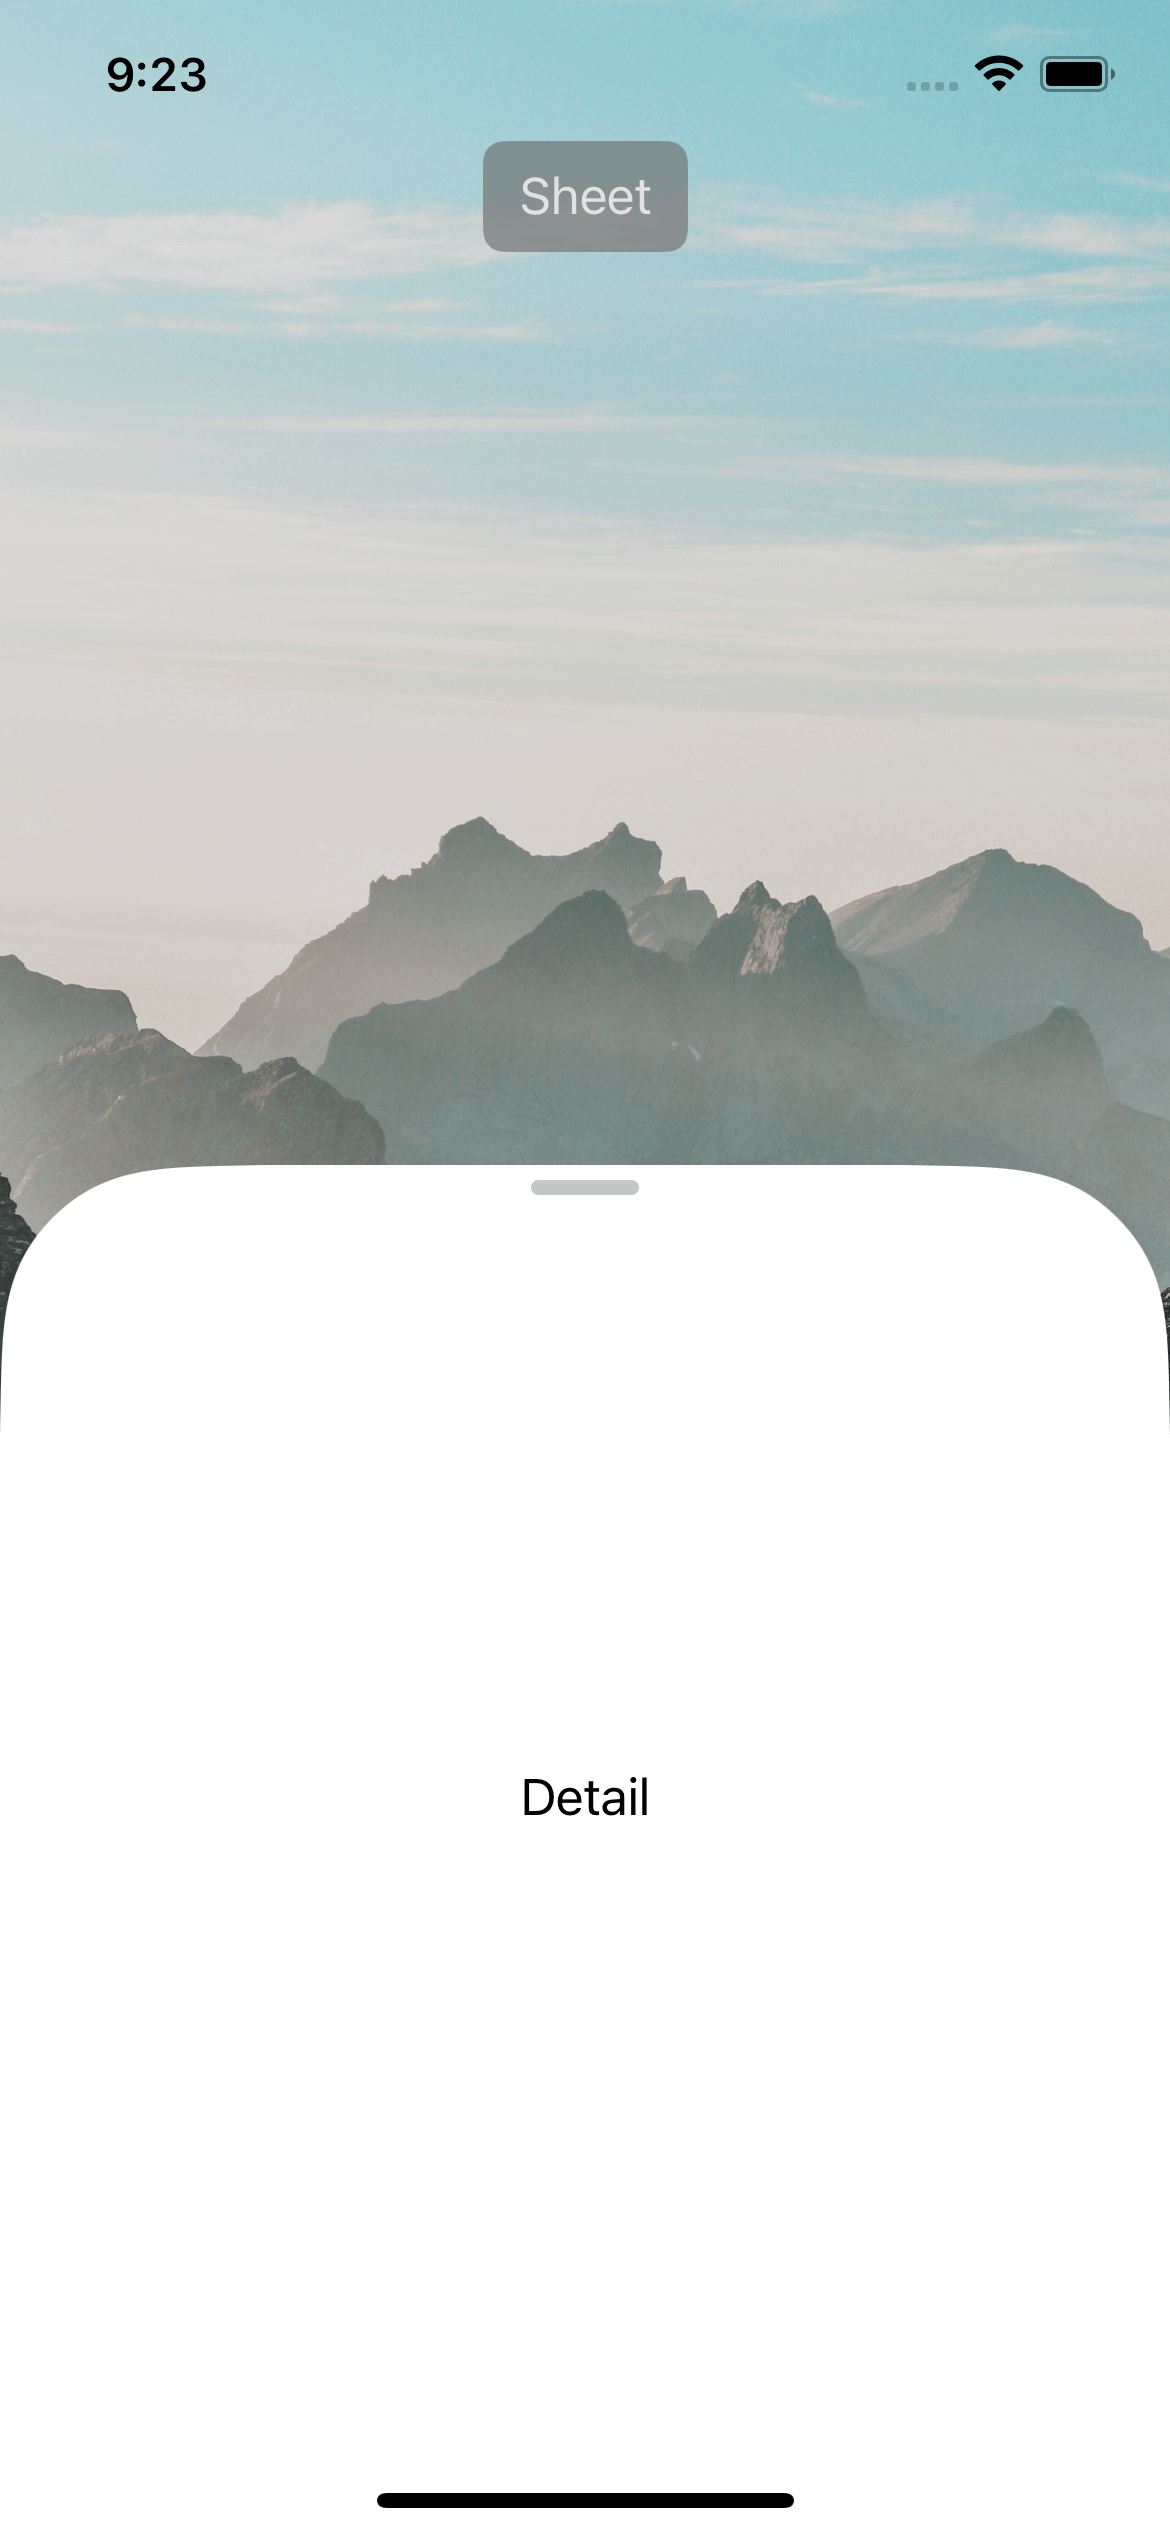
Adjust the corner radius of a sheet
I think many people would love this new API.
We can finally change the corner radius of a sheet using .presentationCornerRadius() modifier.
struct ContentView: View {
    @State private var isPresented = false

    var body: some View {
        ZStack(alignment: .top) {
            Image("background")
                .resizable()
                .scaledToFill()
                .ignoresSafeArea()
            Button("Sheet") {
                isPresented = true
            }
            .buttonStyle(.borderedProminent)
        }
        .sheet(isPresented: $isPresented) {
            Text("Detail")
                .presentationDetents(
                    [.height(120), .medium, .large])
                .presentationCornerRadius(60)
        }
    }
}
We set the corner radius of the sheet to 60 in this example.
Control scrolling and expansion behavior
By default, a sheet resizing take precedence over a scroll view embedded in the sheet.
So you can only scroll after the presentation reaches its largest detent size.
In iOS 16.4, you can use .presentationContentInteraction(.scrolls) to make scrolling take precedence over the sheet resizing.
struct ContentView: View {
    @State private var isPresented = false

    var body: some View {
        ZStack(alignment: .top) {
            Image("background")
                .resizable()
                .scaledToFill()
                .ignoresSafeArea()
            Button("Sheet") {
                isPresented = true
            }
            .buttonStyle(.borderedProminent)
        }
        .sheet(isPresented: $isPresented) {
            List(0..<100) { i in
                Text(i.description)
            }
                .presentationDetents(
                    [.medium, .large])
                .presentationContentInteraction(.scrolls)
        }
    }
}
Control a modal presentation in compact-size classes
In horizontally or vertically compact size classes, a modal presentation like a sheet or popover might change its appearance.
In iOS 16.4, we can control this behavior using the new .presentationCompactAdaptation(_:) modifier.
Print in SwiftUI Preview
Print debugging is everyone's favorite debugging technique, and I am glad that Xcode supports print in SwiftUI Previews in Xcode 14.3.
print output now appears in the console for SwiftUI Previews.
You need to select the "Previews" tab in the console.

We can see print output from the SwiftUI Previews.
You can easily support sarunw.com by checking out this sponsor.
AI Grammar: Correct grammar, spell check, check punctuation, and parphrase.
Function Back Deployment
We got a new attribute, @backDeployed(before:).
The @backDeployed(before:) is used to extend the availability of a function to OS releases prior to the introduction of that function as ABI.
I don't fully understand this new attribute yet. And Xcode has not recognized it in the current beta, but I hope this makes the future release of SwiftUI features can backport to older iOS versions.
Here is an example from the release note.
@available(macOS 12, *)
public struct Temperature {
  public var degreesCelsius: Double

  // ...
}

extension Temperature {
  @available(macOS 12, *)
  @backDeployed(before: macOS 13)
  public var degreesFahrenheit: Double {
    return (degreesCelsius
  - 9 / 5) + 32
  }
}
Photo by Guillaume Briard on Unsplash. ↩︎
Read more article about Xcode, iOS, SwiftUI, or see all available topic
Enjoy the read?
If you enjoy this article, you can subscribe to the weekly newsletter.
Every Friday, you'll get a quick recap of all articles and tips posted on this site. No strings attached. Unsubscribe anytime.
Feel free to follow me on Twitter and ask your questions related to this post. Thanks for reading and see you next time.
If you enjoy my writing, please check out my Patreon https://www.patreon.com/sarunw and become my supporter. Sharing the article is also greatly appreciated.
Become a patron Buy me a coffee Tweet Share4 Picker styles in SwiftUI Form
Explore all possible picker styles, so you can choose the one that suits your needs.